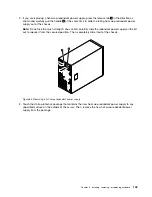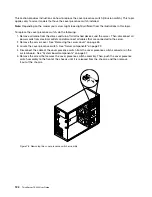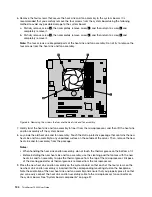
7. Remove the four screws
1
at the rear of the chassis that secure the power supply assembly, and
then push the power supply assembly from the rear until it is released from the metal retaining tab
2
.
Then, carefully lift it out of the chassis.
Figure 76. Removing the non-hot-swap power supply assembly
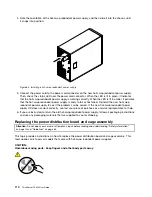
8. Touch the static-protective package that contains the new power supply assembly to any unpainted
surface on the outside of the server. Then, remove the new power supply assembly from the package
and ensure that the new power supply assembly is the correct replacement. See “Features” on page 7
for information about the supported power supply assembly.
122
ThinkServer TS440 User Guide
Summary of Contents for ThinkServer TS440
Page 1: ...ThinkServer TS440 User Guide Machine Types 70AL 70AM 70AN and 70AQ ...
Page 16: ...4 ThinkServer TS440 User Guide ...
Page 18: ...6 ThinkServer TS440 User Guide ...
Page 56: ...44 ThinkServer TS440 User Guide ...
Page 74: ...62 ThinkServer TS440 User Guide ...
Page 166: ...154 ThinkServer TS440 User Guide ...
Page 176: ...164 ThinkServer TS440 User Guide ...
Page 181: ......
Page 182: ......


