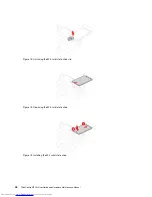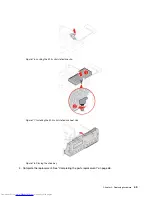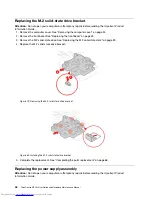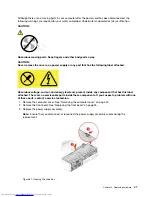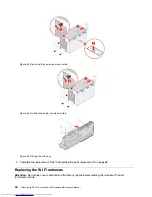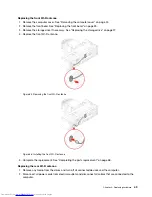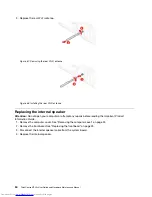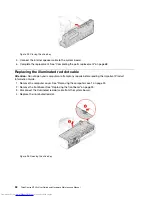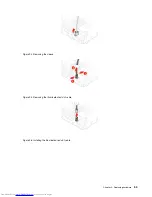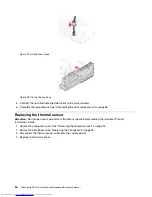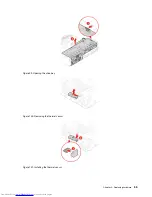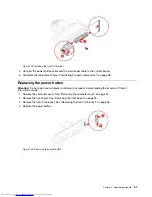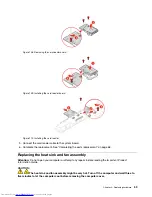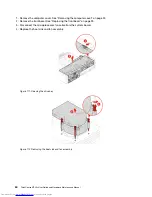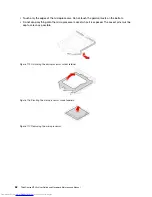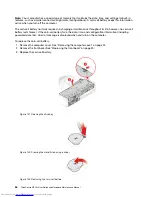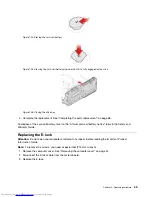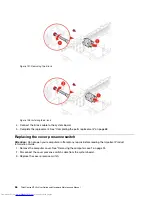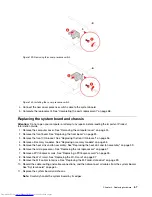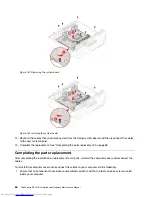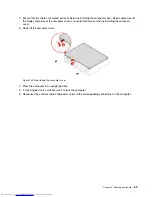
Figure 106. Installing the power button
5. Connect the power button cable to the system board.
6. Complete the replacement. See “Completing the parts replacement” on page 68.
Replacing the card reader board
Attention:
Do not open your computer or attempt any repairs before reading the
Important Product
Information Guide
.
1. Remove the computer cover. See “Removing the computer cover” on page 24.
2. Remove the front bezel. See “Replacing the front bezel” on page 25.
3. Remove the front I/O bracket. See “Replacing the front I/O bracket” on page 56.
4. Replace the card reader board.
Figure 107. Removing the card reader
58
ThinkCentre M720s User Guide and Hardware Maintenance Manual
Summary of Contents for ThinkCentre M720s
Page 4: ...ii ThinkCentre M720s User Guide and Hardware Maintenance Manual ...
Page 12: ...8 ThinkCentre M720s User Guide and Hardware Maintenance Manual ...
Page 17: ...Figure 8 Attaching a smart cable clip Chapter 3 Computer locks 13 ...
Page 18: ...14 ThinkCentre M720s User Guide and Hardware Maintenance Manual ...
Page 74: ...70 ThinkCentre M720s User Guide and Hardware Maintenance Manual ...
Page 76: ...72 ThinkCentre M720s User Guide and Hardware Maintenance Manual ...
Page 78: ...74 ThinkCentre M720s User Guide and Hardware Maintenance Manual ...
Page 79: ......
Page 80: ......

