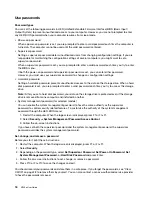
7. After the resetting process is completed, one of the following will happen:
• If the data on the system storage drive is erased, you will be prompted that no operating system is
available.
• If the data on the non-system storage drive is erased, the computer restarts automatically.
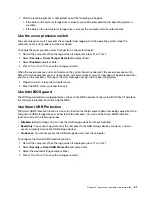
Use the cover presence switch
The cover presence switch prevents the computer from logging in to the operating system when the
computer cover is not properly installed or closed.
To enable the cover presence switch connector on the system board:
1. Restart the computer. When the logo screen is displayed, press F1 or Fn+F1.
2. Select
Security
➙
Cover Tamper Detected
and press Enter.
3. Select
Enabled
and press Enter.
4. Press F10 or Fn+F10 to save the changes and exit.
When the cover presence switch connector on the system board is enabled, if the cover presence switch
detects that the computer cover is not correctly installed or closed, an error message will be displayed when
you turn on the computer. To bypass the error message and log in to the operating system:
1. Properly install or close the computer cover.
2. Enter the BIOS menu, save and then exit.
Use Intel BIOS guard
The BIOS guard module cryptographically verifies all the BIOS updates to the system BIOS flash. Therefore,
the malware is blocked from attacking the BIOS.
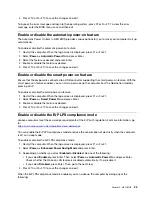
Use Smart USB Protection
The Smart USB Protection function is a security function that helps prevent data from being copied from the
computer to USB storage devices connected to the computer. You can set the Smart USB Protection
function to one of the following modes:
•
Disabled
(default setting): You can use the USB storage devices without limitation.
•
Read Only
: You cannot copy data from the computer to the USB storage devices. However, you can
access or modify data on the USB storage devices.
•
No Access
: You cannot access the USB storage devices from the computer.
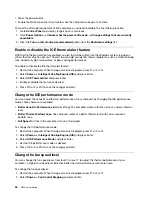
To configure the Smart USB Protection function:
1. Restart the computer. When the logo screen is displayed, press F1 or Fn+F1.
2. Select
Security
➙
Smart USB Protection
and press Enter.
3. Select the desired setting and press Enter.
4. Press F10 or Fn+F10 to save the changes and exit.
Secure your computer and information
21
Summary of Contents for ThinkCentre M720e
Page 1: ...M720e User Guide ...
Page 6: ...iv M720e User Guide ...
Page 14: ...8 M720e User Guide ...
Page 22: ...16 M720e User Guide ...
Page 28: ...22 M720e User Guide ...
Page 46: ...40 M720e User Guide ...
Page 68: ...62 M720e User Guide ...
Page 72: ...66 M720e User Guide ...
Page 92: ...86 M720e User Guide ...
Page 104: ...98 M720e User Guide ...
Page 107: ......
Page 108: ......


