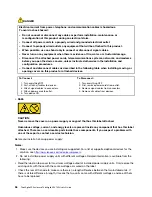
Attention:
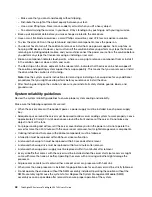
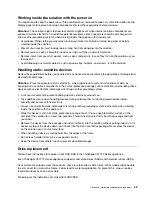
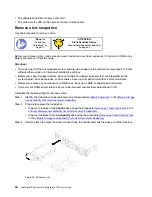
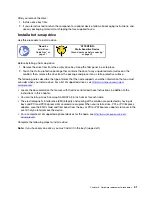
Static electricity that is released to internal solution components when the solution is
powered-on might cause the solution to halt, which might result in the loss of data. To avoid this
potential problem, always use an electrostatic-discharge wrist strap or other grounding system when
you work inside the solution with the power on.
Note:
Replace the failed fan and reinstall the fan cover in 3 minutes.
Complete the following steps to install a fan.
Step 1. Install the fan.
• For a 60x60x56mm fan:
1. Lower the fan into the socket, and push it downward until it clicks into place.
Figure 25. 60x60x56mm fan installation
• For an 80x80x80mm fan:
1. Lower the fan into the socket, and push it downward until it clicks into place.
2. Connect the power cable.
3. Carefully route the cable underneath the flange and make sure the cable is routed through the
notch.
Note:
Make sure the cable is routed in the proper location and no wire is stuck in the flange.
Figure 26. 80x80x80mm fan installation
After you install a fan, complete the following steps.
.
Hardware replacement procedures
61
Summary of Contents for ThinkAgile VX3720 7Y12
Page 1: ...ThinkAgile VX Enclosure ThinkAgile VX3720 User s Guide Machine Type 7Y12 ...
Page 16: ...12 ThinkAgile VX Enclosure ThinkAgile VX3720 User s Guide ...
Page 32: ...28 ThinkAgile VX Enclosure ThinkAgile VX3720 User s Guide ...
Page 38: ...34 ThinkAgile VX Enclosure ThinkAgile VX3720 User s Guide ...
Page 48: ...44 ThinkAgile VX Enclosure ThinkAgile VX3720 User s Guide ...
Page 90: ...86 ThinkAgile VX Enclosure ThinkAgile VX3720 User s Guide ...
Page 94: ...90 ThinkAgile VX Enclosure ThinkAgile VX3720 User s Guide ...
Page 96: ...92 ThinkAgile VX Enclosure ThinkAgile VX3720 User s Guide ...
Page 100: ...96 ThinkAgile VX Enclosure ThinkAgile VX3720 User s Guide ...
Page 101: ......
Page 102: ......


