Leica mojo3D, mojo3D Enhancements
253
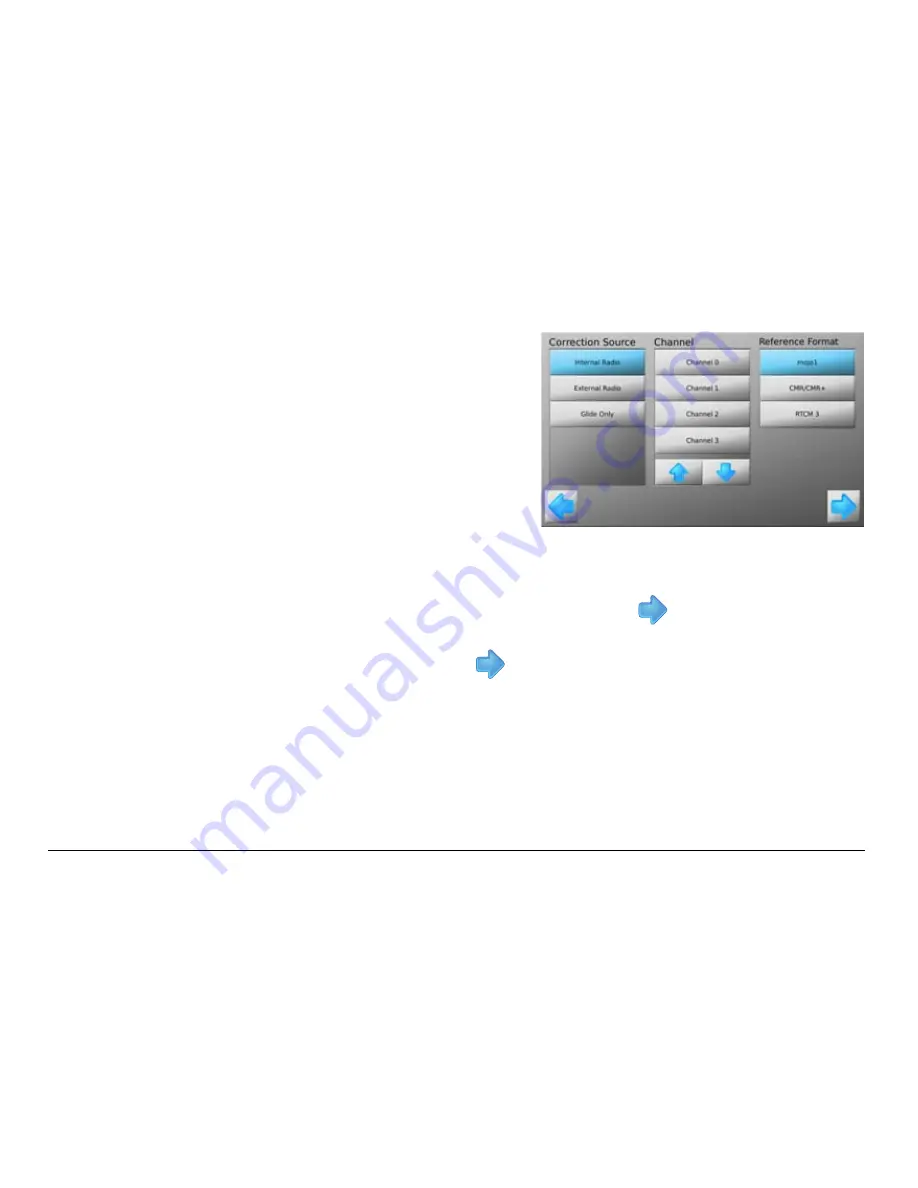
4. Select the necessary correction
type from the list.
This will depend on the particular installation and the method chosen for
GPS corrections, for example Base Station via internal radio.
5. Additional configuration information will need to be selected for most Correction
Source options. After setting this information tap
to continue.
6. The screen will display the correction data being received and also the strength
of the correction signal. Tap
to continue.
If Glide Only was selected this screen will not be displayed.
Summary of Contents for mojo3D
Page 1: ...Leica User Manual mojo3D Version 2 0 English ...
Page 11: ...Leica mojo3D Table of Contents 11 ...
Page 19: ...Leica mojo3D System Overview 19 ...
Page 31: ...Leica mojo3D System Installation 31 ...
Page 46: ...46 Leica mojo3D Running the mojo3D for the First Time Flyout Menu Example ...
Page 75: ...Leica mojo3D Setting Guidance Types 75 5 Tap to return to the main navigation screen ...
Page 78: ...78 Leica mojo3D Setting Guidance Types 7 Tap to return to the main navigation screen ...
Page 85: ...Leica mojo3D Setting Guidance Types 85 ...
Page 131: ...Leica mojo3D Field Boundary 131 ...
Page 149: ...Leica mojo3D Virtual Wrench Remote Service 149 ...
Page 168: ...168 Leica mojo3D Safety Directions 12 9 Labelling Labelling mojo3D CDMA unit mojo3D_011 ...
Page 169: ...Leica mojo3D Safety Directions 169 Labelling mojo3D HSDPA unit mojo3D_012 ...
Page 171: ...Leica mojo3D Safety Directions 171 ...
Page 199: ...Leica mojo3D Technical Data 199 ...
Page 267: ...Leica mojo3D GNU General Public License 267 ...


