10
WIRING HARNESS
NOTE: If you are upgrading your existing Generation 1 system, please read the
addendum on this upgrade at the end of this manual, before continuing with the
wiring harness.
The next step is to route the wiring harness. The
harness and the plugs are routed mostly under the
seat. Different models have different amounts of
space in this area, and all the wires are long enough
to allow you to place the connectors in the best
place for your bike.
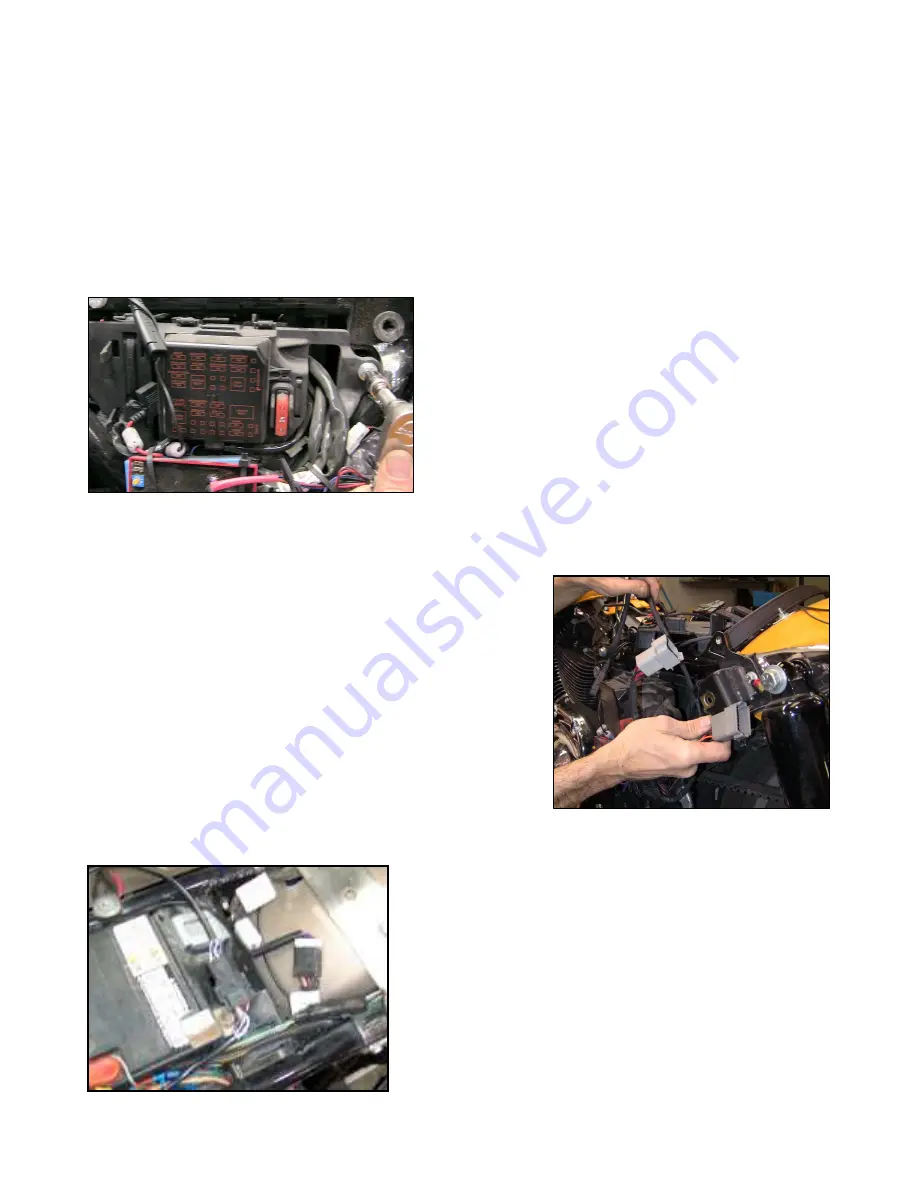
Remove the left side cover & saddlebag. We need
to make room for two big plugs to come through the
seat area toward the left saddlebag. On later model
bikes, this means removing the Torx bolt that holds the fuse box under the left side cover. On
earlier bikes there is more room in this area and nothing needs to be removed.
Find the two BIG plugs on the harness (12 pin with an 8
pin pigtail attached), and slide them through the seat area,
and out just below the left fender support. Leave the
remainder of the wire harness under the seat for now.
Once both plugs are through, you can pull most of the
slack out. We will be pulling these plugs back toward the
back end of the saddlebag, behind the shock.
The plug from the Proximity Sensor (3-wire) needs to
routed under the seat as well. If you have Pulley bolts on
the drive pulley (07-earlier) bring the plug up on the left
side (where the big plugs just went through). If you have a Cush-Drive bike (08-later), bring the
wire up through the right side cover and under the seat. At this point just route the wires into the
general area and plan where you would like to tie them
up safely. The Proximity sensor is not mounted yet
because we need to have power to make sure it is
placed perfectly, so just route the wire for now. You
can collect any excess wire under the seat area, when
the time comes.
Disconnect the fender plug under the seat, and plug the
double white plug in-between the plugs from the bike.
Summary of Contents for LandinGear Generation II
Page 2: ...2 ...
Page 9: ...9 Pin Out for Handlebar Control Box Plugs ...
Page 40: ...40 ILLUSTRATIONS ...


