A__mic8 / A__digital8 User Guide
Version: 10.0.0/4
14/66
7. Installing the Unit
7. Installing the Unit
7.1
Checklist
To install the device, please complete each of the following steps:
1.
Unpack and check the contents of the shipping box. You should find:
·
1 x
A__mic8 / A__digital8
·
1 x External 12V DC Power Supply (optional)
·
1 x CAT5 to Coax Converter (optional)
·
19" rack-mounting kit (optional)
Please check the contents, and in the event of any transport damage, please contact your local Lawo
representative or email
..
2.
Install the frame.
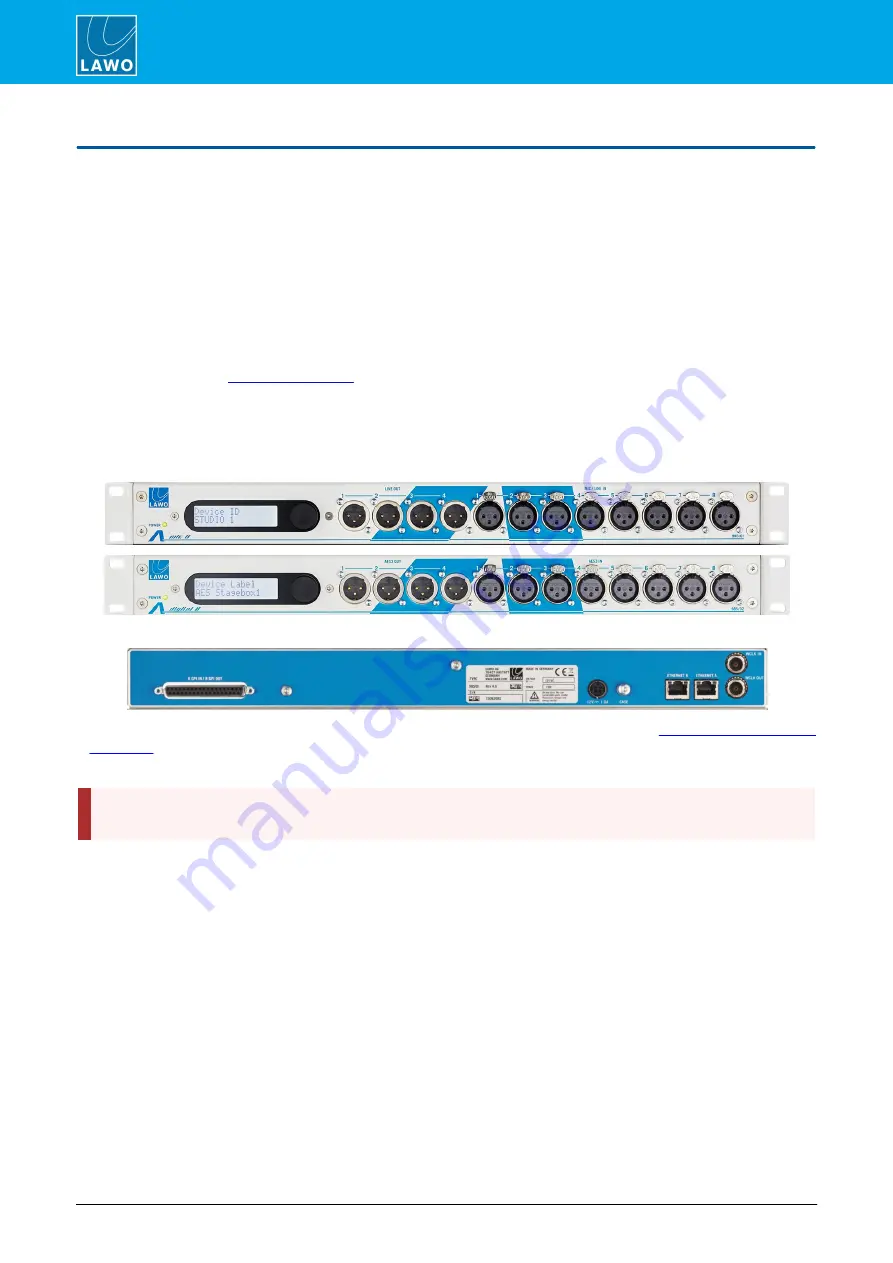
The unit is delivered with rack-mounting ears fitted to the sides of the frame - this is ideal for mounting the unit in
a 19" housing:
Front View (with rack mounting ears)
Rear View
3.
Connect your local audio, GPIO and, if applicable, external sync signals. See
.
At this stage, do NOT connect the
ETHERNET
ports to the network, as first you must configure their IP settings.
A__mic8 / A__digital8
is a fanless unit and relies on convection cooling. Please do NOT obstruct the
ventilation holes when connecting your cabling.
4.
Apply power, either by using Power over Ethernet or the external 12V DC power supply.
To use Power over Ethernet, a suitable powering device should be connected to the
ETHERNET A
port - for
example, a powering network switch or
V__line
device.
To use the external power supply, connect its power cable to the
12V DC IN
port. The port uses a locking 4-pin
DIN connector. So, to fully insert or remove the power cable, you must pull back its collar away from the socket.
If both PoE and the external supply are connected, then the unit benefits from power redundancy. In this instance,
PoE takes priority.
The unit has no on/off switch and starts automatically as soon as power is applied - the
POWER
LED on the front
panel illuminates. The front panel display shows "
initializing...
" while the unit is booting. When the boot process
is complete, you will see "
Device ID
" - the unit is now ready for configuration.


