5.5 Switching on the device
1.
Switch on the device at the mains switch.
A signal tone is emitted and the operation and fault indicator LED
lights up several times.
The LED then lights up green continuously when there are no
faults pending.
2.
After about 30 seconds, the home window appears.
3.
The device can now be operated using the Command Touch unit.
You can now view the version numbers of the software
installed on the device in the menu at any time.
5.6 Device operation using the Command Touch unit
5.6.1 Menu window
This section is relevant for:
Device operation using the Command Touch unit
The high-resolution multi-touch screen and simple finger movements (ges-
tures) make the Command Touch unit extremely simple and effective to use.
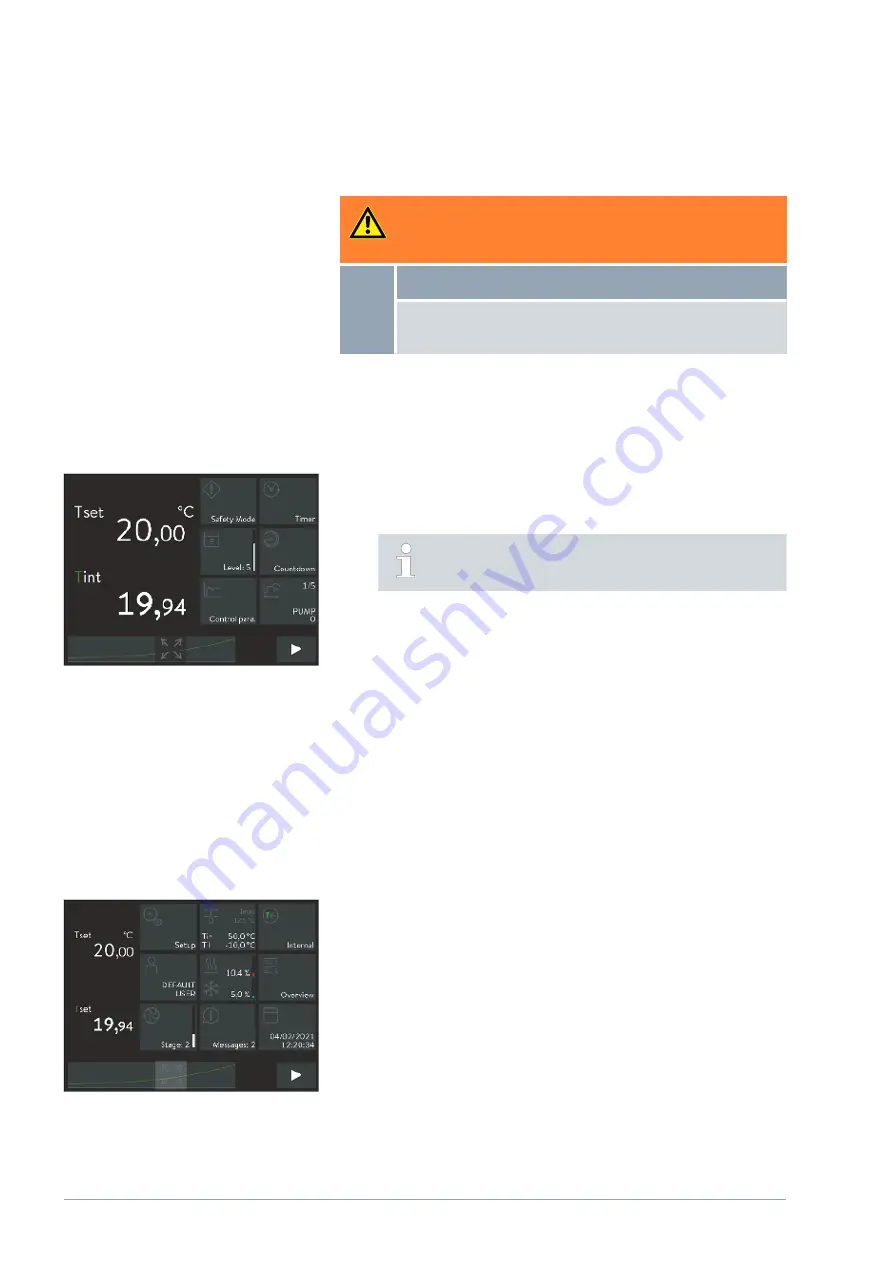
Working with tiles
Display a hidden [tile] on the screen:
Swipe your finger left or right over any [tile ].
Select a specific tile on the screen:
Touch the [tile] directly to open the associated submenu.
Switch from the submenu back to the main window:
Touch directly on the [arrow] button at the bottom left of the screen.
Change from standby mode to operating mode and vice versa:
Press the [square symbol] button at the bottom right corner of the
screen for 2 seconds.
Fig. 26: Home window 2
Working with tiles and the temperature
curve
Fig. 27: Home window 3
V6
PRO bath thermostats and circulation thermostats
66 / 156
WARNING!
Risk of contact with cold/warm parts if the operator does not
realize that the device is switched on
Scalding, cold burns
The remote control unit must be kept within visual range of
the device.
Summary of Contents for P 10
Page 146: ...V6 PRO bath thermostats and circulation thermostats 146 156 ...
Page 147: ...V6 PRO bath thermostats and circulation thermostats 147 156 ...
Page 148: ...V6 PRO bath thermostats and circulation thermostats 148 156 ...
Page 157: ......
Page 158: ......
Page 159: ......


