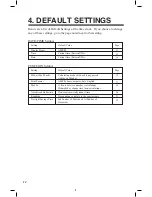
Below are a list of Default Settings of the time clock. If you choose to change
any of these settings, go to the page noted next to that setting.
4. DEFAULT SETTINGS
Display Hours
Time
Date
13
13
14
AM/PM
Current time (Eastern USA)
Current time (Eastern USA)
Default Value
Setting
Page
DATE/TIME Settings
Modes (Pay Period)
Print Format
Max In
15
17
18
Calculating mode with weekly pay period
starting on Monday
AM/PM hours, minutes, date, English
Auto Break Deduction
20
Do not automatically deduct time
Rounding
21
No rounding, calculate to the exact minute
13 hours between punches (calculating)
Midnight day change time (non-calculating)
Daylight Savings Time
23
2nd Sunday of March and 1st Sunday of
November
Default Value
Setting
Page
FUNCTION Settings
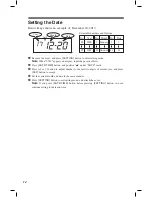
5. SETTING: Date and Time
Setting the Display Hours
Below image shows an example that "24hours" is chosen.
Remove the cover, and press [SETTING] button to enter setting mode.
Note
: When "9999" appears on display, input the password first.
Press [DATE/TIME] button, and position " " under "DISPLAY HOURS" mark.
Press [+] or [-] button to select number 1 or 2, and press [SET] button to accept.
Press [SETTING] button to exit setting mode, and attach the cover.
Note
: If you press [DATE/TIME] button before pressing [SETTING] button, you can
continue setting for date and time.
Selectable numbers and Options
No.
1
2
DISPLAY
HOURS
Type of Hours
AM/PM
24 hour
Example
PM 3:30
15:30
Type of Hours
"Display hours" is the format that the hours appear on the clock face.
Once you select "AM/PM" for display hours, time in setting mode is also
indicated in "AM/PM" format.
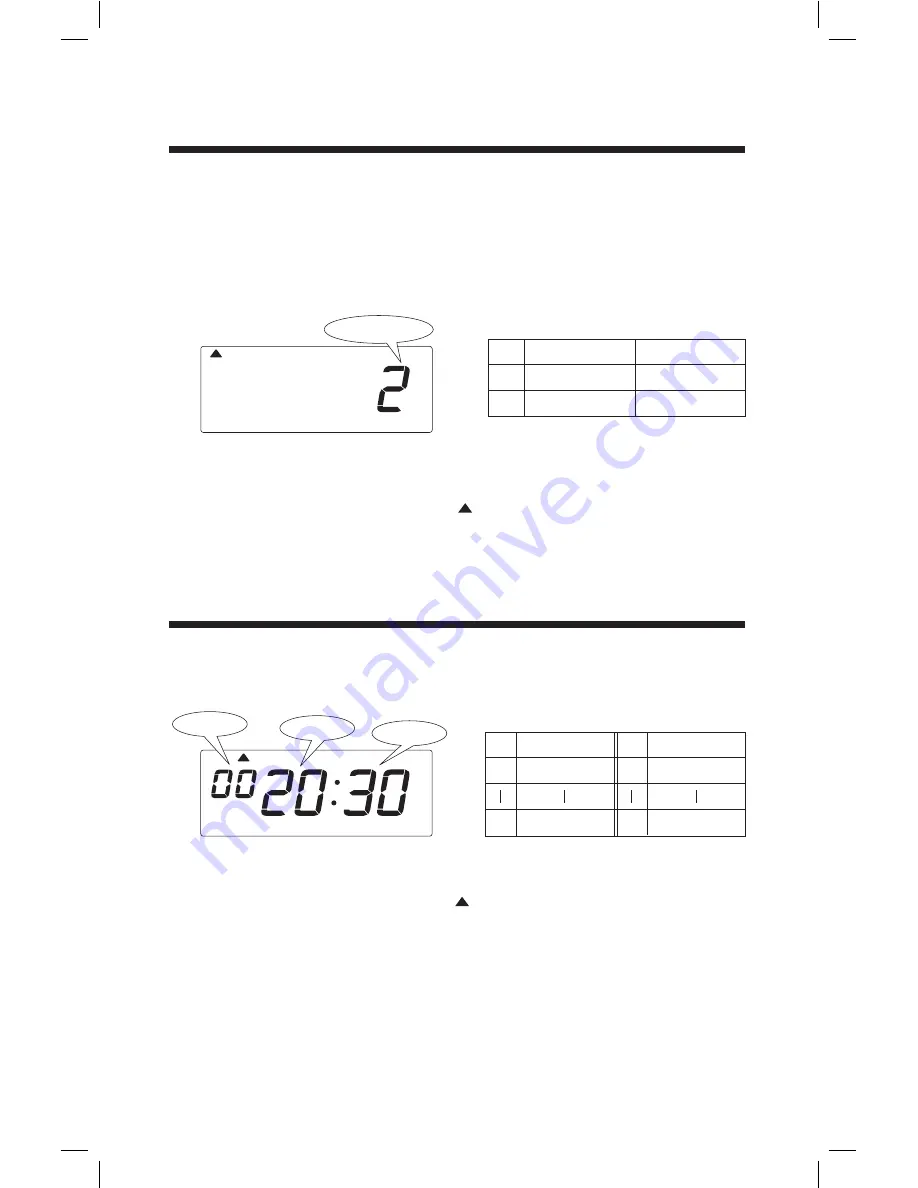
Setting the Time
Below image shows an example set at 8:30 PM.
Remove the cover, and press [SETTING] button to enter setting mode.
Note
: When "9999" appears on display, input the password first.
Press [DATE/TIME] button and position " " under "TIME" mark.
Press [+] or [-] button to adjust number to current hour, and press [SET] button to accept.
Note
: When you change time, second will be back to 0 second automatically.
Set current minute in the same manner.
Press [SETTING] button to exit setting mode, and attach the cover.
Note
: If you press [DATE/TIME] button before pressing [SETTING] button, you can
continue setting for date and time.
Hour
12AM
11PM
No.
0
23
No.
00
59
Minute
00
59
TIME
Selectable numbers and Options
Minute
Second
Hour
13
Summary of Contents for 700E
Page 1: ......


