Lake Shore Model 642 Electromagnet Power Supply User’s Manual
Operation
4-1
CHAPTER 4
OPERATION
4.0 GENERAL
This chapter provides operating instructions for the features of the Model 642 Electromagnet Power Supply. Computer
interface instructions are in Chapter 5.
4.1
TURNING POWER ON
Verify that the AC line voltage indicator on the rear panel of the unit shows the appropriate AC line voltage before
turning the instrument on. The instrument may be damaged if it is turned on with the incorrect voltage selected.
Instructions for checking line voltage selection are given in Paragraph 3.3.1.
CAUTION:
Be sure the unit is connected to an appropriate load before applying power.
Note:
The Model 642 will not turn on if an Emergency Stop Switch is not connected or a jumper is not put in its
place on the “Auxiliary” connector at the rear of the unit. The unit will not turn on if it is connected to a
voltage source more than 10% greater than the voltage for which it is configured.
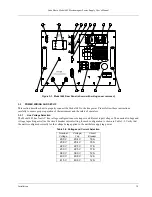
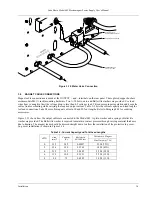
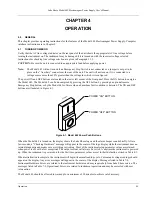
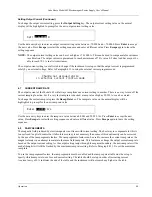
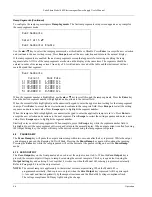
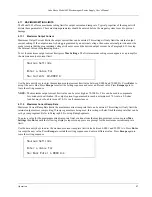
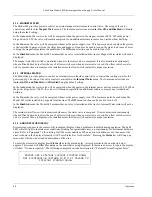
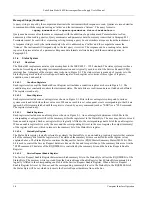
The power ON and OFF buttons are located in the lower left corner of the front panel. Press the ON button to energize
the Model 642. The Model 642 can be de-energized by pressing the OFF button, by pressing an optional remote
Emergency Stop button, or by the Model 642 software when a hazardous fault condition is detected. The ON and OFF
buttons are illustrated in Figure 4-1.
POWER "ON" BUTTON
POWER "OFF" BUTTON
Figure 4-1. Model 642 Power Push Buttons
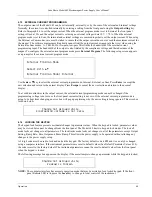
When the Model 642 is turned on, the display shows the Lake Shore logo and the alarm beeper sounds briefly. After a
few seconds, a “Checking Hardware” message will appear in the center of the logo display while the instrument does an
internal diagnostic and makes sure everything is working. Most of the instrument setup parameter values are retained
when power is off with a few exceptions. The output current will always be set to 0 A anytime the instrument is powered
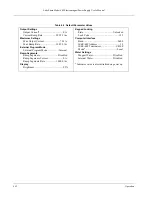
up. When the instrument is powered on for the first time, parameter values are set to their defaults, as listed in Table 4-3.
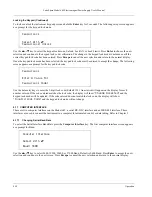
When initialization is complete, the instrument will begin its normal reading cycle. Current and voltage readings should
appear on the display. Any error messages will appear in the center of the display. Messages listed in Table 7-2,
Instrument Hardware Errors, are related to the instrument hardware and may require help from Lake Shore service. The
messages listed in Table 7-3, Operational Errors, are related to instrument operation and may be corrected with user
intervention.
The Model 642 should be allowed to warm up for a minimum of 30 minutes to achieve rated accuracy.

