LaCie d2 Network
Administering Your LaCie d2 Network
User Manual
page 32
4.3. Groups
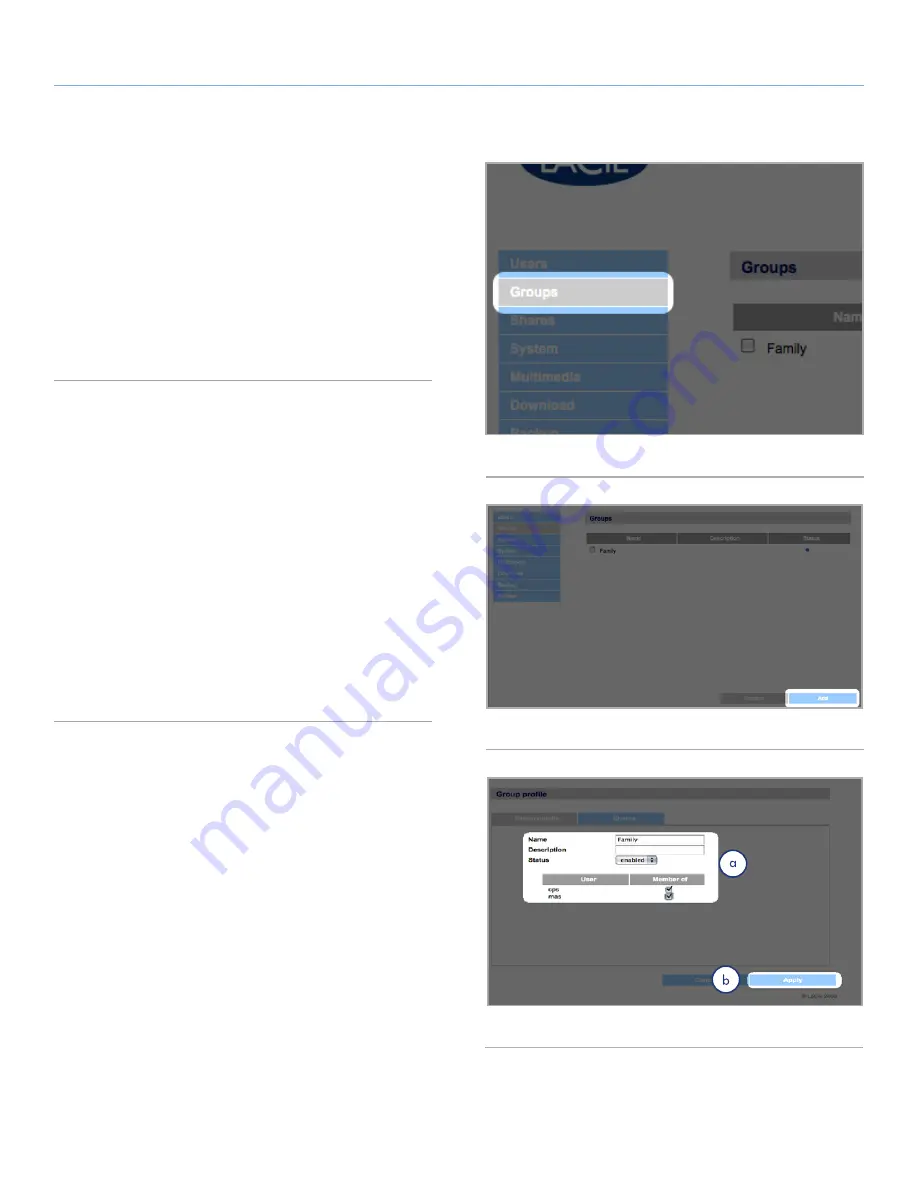
Click on the
Groups
link in the navigation bar to open the Groups
page (
Fig. 40
). Use this page to create, edit and delete groups.
If you use your d2 Network in an office setting where many different
people from different departments need to have access to the d2
Network, setting up groups is a good way to organize users and to
give the most appropriate access to shares. You can specify which
shares groups can access, which users belong to which groups and
enable or disable entire groups.
4.3.1. Adding Groups
To add a group:
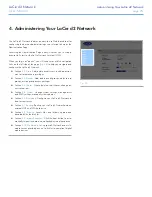
1. Click
Add
on the Groups page (
Fig. 41
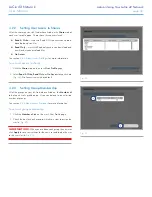
). The Group Profile
page opens (
Fig. 42
).
2. Enter a name and description for the group. The description
only appears to the administrator as part of the Group Profile
on this page (a,
Fig. 42
).
3. Select “enabled” to activate the group as soon as your changes
are applied.
4. All user accounts on the d2 Network are listed in the User col-
umn. Select the users you want to be in the group.
5. Click
Apply
(b,
Fig. 42
).
Fig. 40
Fig. 41
Fig. 42


