28 | MSD Legend Series Operation & Maintenance Manual
5.
If the blade is still jammed, contact your LaBounty dealer for further assistance.
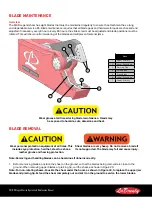
Removing Blades
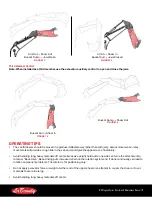
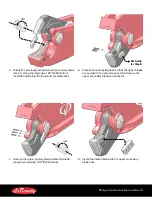
LaBounty shear blades are designed so that you may use the blade mounting bolts as handles to aid in removing
blades.
1.
Remove one bolt from each end of the blade being removed.
2.
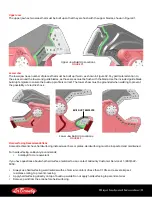
Thread the bolts back into their original holes, from the opposite side of the blade, as shown in Figure 22.
Blade Handles
Figure 22
3. Using the two backwards bolts as handles, hold the blade in place while a helper removes the final blade bolts.
4.
Carefully remove the blade.
Prior to Installation of blades
Before installing shear blades...
1.
Inspect all mating surfaces on the blades and on the blade seat. Ensure there is no dirt or debris that would prevent
a tight fit.
2.
Clean all surfaces with a wire brush or a needle scaler, if necessary.
3. Use a grinder to clean up blade edges. Remove sharp burrs and smooth out deformations.
Note: use caution when cleaning the blade seat. excessive grinding will damage the machined blade seat.
MEASURING & SHIMMING BLADE GAPS
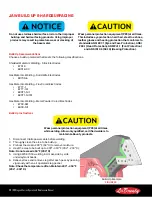
Do not check blade gaps while the shear is in motion.
Stay clear when moving the jaws or injury could result.
Stay at least 75 feet (23 m) away from the shear when
its moving. Severe injury could result.
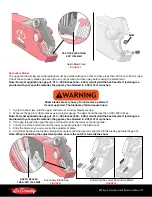
Guide Blade
The guide blade supports the upper jaw. The gap must be checked every 8 hours of operation and each day, before
using the attachment.
1.
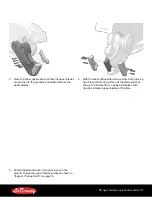
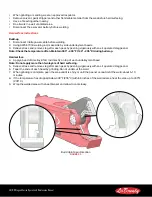
Cycle the shear jaw until the side of the piercing tip begins to overlap the guide blade.
2.
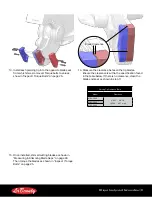
Measure the gap in multiple places using a feeler gauge. The gap should be less than .030 inches (.762 mm).
3. If the gap is larger than specified, remove the guide blade and add shims until the gap is as specified in the blade
Note: When reinstalling the guide blade, torque bolts to values shown in “inspect / Torque Bolts” on page 25.


