7. Front Panel Interface
PLM+ SERIES Operation Manual rev
3.0.1
33
7.1.3. Selecting a Module in the Lake Controller software via the Front Panel
It is sometimes useful to identify which Module icon/s in the Lake Controller software are associated with a
particular hardware Frame. To highlight the module in the Lake Controller software:
1. Ensure Meter Mode is selected and in Module view.
2. Press the button adjacent to the Module description on the left LCD. The corresponding module will show
highlighted text on the Lake Controller screen.
If the Frame is online, but the Module is not in the work area, the selected Module will be centered on the Module
scroll bar (assuming the Modules Menu is selected in the Lake Controller).
7.2. Front Panel Key Lock
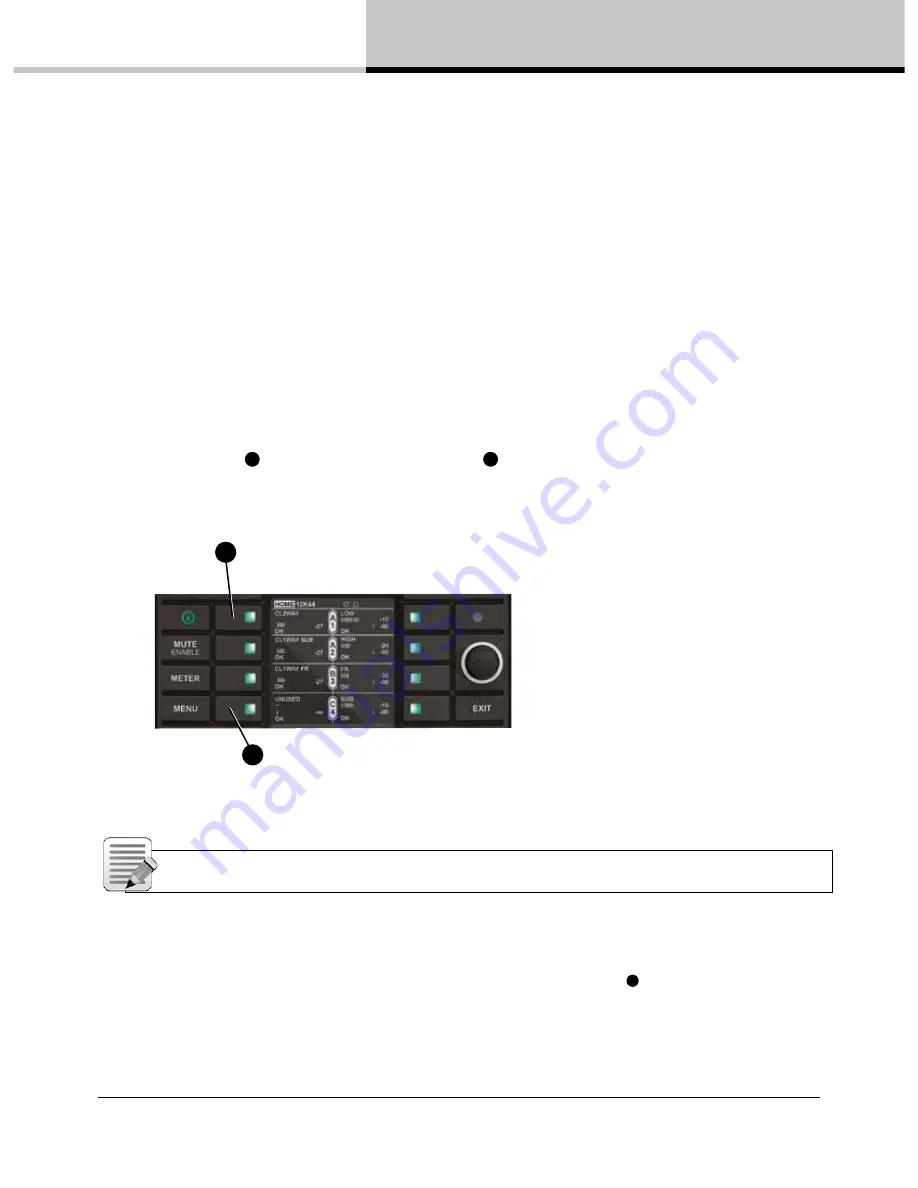
It is possible to lock the front panel buttons for security purposes. When this function is active, all front panel
controls (except power state) are disabled and all adjustment must be made via the network. To lock controls,
press and hold button
A
then simultaneously press button
B
as shown in Figure 7.2; repeat this process to
unlock.
1. Press + Hold
2. Press
A
B
Figure 7.2: Locking / Unlocking Front Panel Controls
NOTE: A key icon will appear at the top of the display when the Front Panel is locked.
7.3. Power Button
The unit is powered on by pressing the top-left button on the front panel, labelled
4
in Figure 7.1. It has a
bi-color power symbol which illuminates red when connected to the AC mains and the unit is in standby mode.
It turns green when the button is pressed to turn the unit on. A subsequent press of this button returns the unit
to standby mode.


