


Base Station
8. Function
test
With two foldable legs at the back of the unit, the base station can be placed
onto any flat surface or wall mounted at the desired location by the hanging
holes also at the back of the unit. It is important to check that the 433MHz (if
using wireless connection) and the WWVB radio controlled time signal can be
received before permanently mounting any of the units. Should the base
station not display the 433MHz weather data from the sensors or the radio
controlled time from the desired location, then relocate the units. Once the
signals are received, the system can be affixed. Also if you have selected to
use cable connection, ensure that distances can reach all desired locations
before affixing any unit permanently
Once the weather station is powered up, perform a function test by checking
that the weather data is received. To do this, press the DISPLAY,
PRESSURE or WIND keys to toggle through the relevant LCD sections:
1) Indoor temperature and humidity
2) Outdoor temperature and humidity
3) Outdoor
wind
chill
4) Dew
point
5) Rainfall 24 hour
6) Rainfall
1hour
NOTE
: For reception of WWVB time/date signal, do not mount the base station
closer than 5 feet from a computer, florescent lights or other electrical
appliances. Do not mount the base station on a wall that has metal heat/AC
ductwork in the wall behind the base station. For best WWVB reception place
the base station near a window facing Colorado. WWVB reception will be
obtained easiest in the nighttime hours when the WWVB signal is strongest.
7) Rainfall
Total
8) Relative and absolute pressure
9) Wind speed, wind direction and wind direction in degrees
If any readings cannot be received from the sensors, lines (- - -) will be
displayed in the respective weather sections of the LCD. In this case, check
that all cables are correctly inserted into the correct sockets and/or check the
batteries in the outdoor thermo-hygro sensor and press and hold the PLUS (+)
key for 2 seconds and a short beep will sound to synchronize the base station
to the sensors otherwise no weather data will be received..
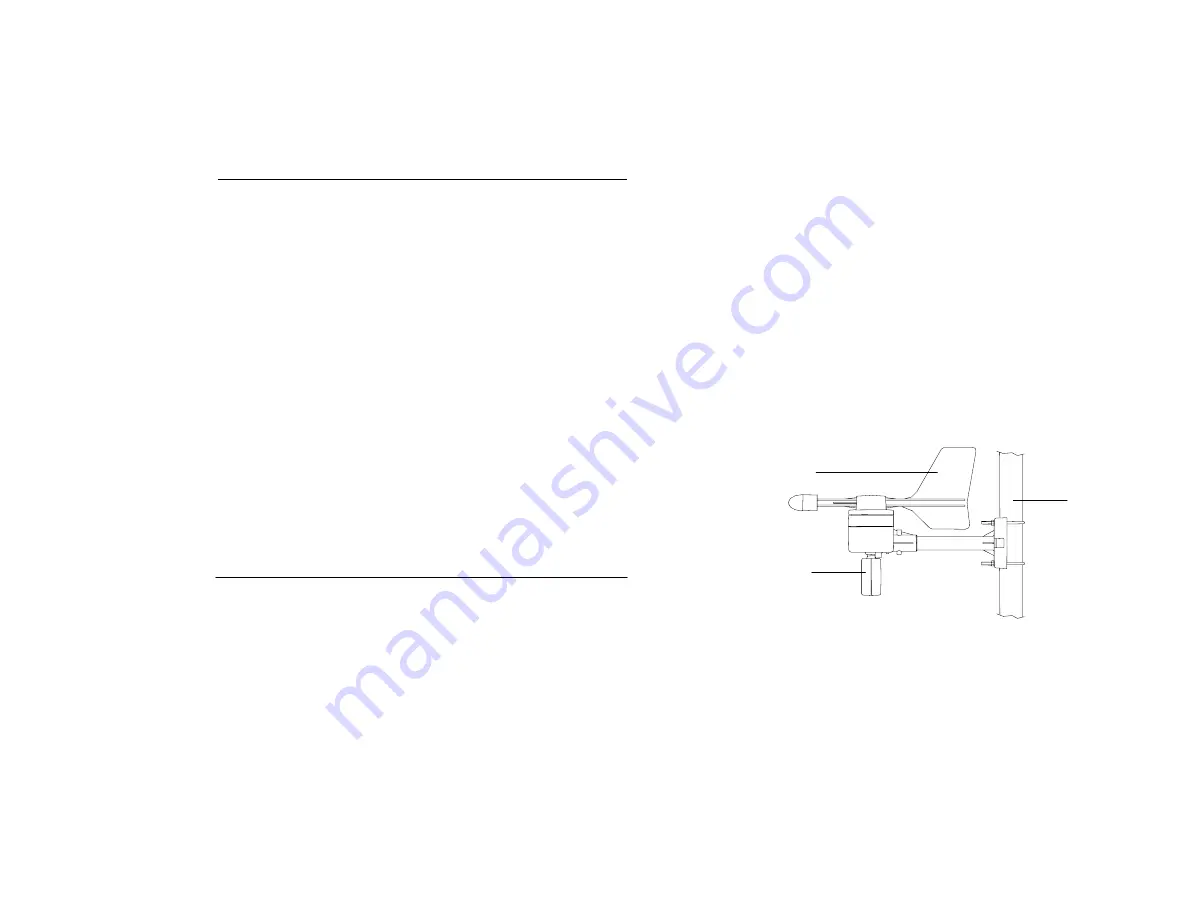
Mounting the Wind Sensor onto a mast
Wind-fan
Wind-vane
Mast
Some weather readings such as wind speed and direction may not appear
immediately on the LCD if the wind-fan or vane of the wind sensor is moved.
This is due to the set reading time intervals for the wind readings. However
the current wind speed or direction will be displayed once the time reading
interval is reached. For rainfall, the interval readings may take up to 2 minutes
before the data is displayed on the LCD.
9. Mounting
Important Note
Prior to drilling mounting holes and permanently affixing any of the units,
please ensure the following points are considered:
Firstly, check that the wind-fan and the wind-vane can rotate freely before
fixing the unit. For correct and accurate readings it is important to mount the
sensor so that the front (marked E) is pointing in East-West direction. The
wind sensor should now be mounted using the screw provided onto a mast to
allow the wind to travel around the sensor unhindered from all directions (ideal
mast size should be from Ø0.63” – Ø1.3”).
•
Cable lengths of the units meet with your distance requirements at the
point of fixing
•
Signals from the sensors can be received by the base station at points of
mounting
•
Radio controlled time signal can be received at the point of mounting
NOTE:
The WWVB receiver is located in the base station.
Once the wind sensor is fixed onto the mast, connect the cable to the
corresponding thermo-hygro sensor socket so that operating power supply can
be received and data can be transmitted to the base station.


