


Set-up
6
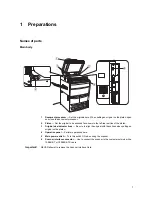
Making settings from the touch panel
This section explains the settings for using the scanner. The setting items are shown below.
•
Basic scanner settings...Page 6
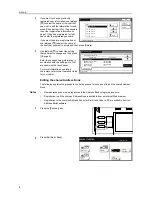
•
Registering and editing user information...Page 7
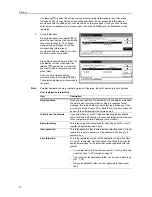
•
Editing the shared Address Book...Page 8
•
Date/Time and Time Zone...Page 12
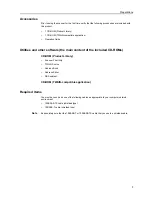
If you use the software that is included with this product, it is possible to perform the following
settings from an Internet Web browser, or the Address Editor software, from a computer that is
connected to the same network as the scanner. Refer to the Functions Edition of the Operation
Guide (On-Line Manual) for more detailed information.
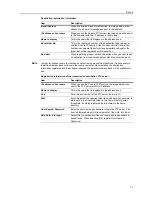
Notes
•
The network addresses that should be registered here will differ depending upon your network
environment. Check with your network administrator BEFORE performing this setting.
•
If you are using a DHCP/BOOTP server to automatically configure the network addresses, you
will not need to change the IP address and the Subnet Mask because DHCP/BOOTP server
configuration is already enabled (ON) as the factory default setting.
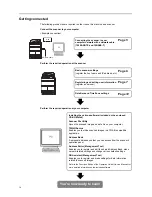
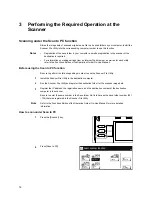
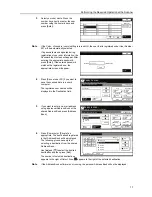
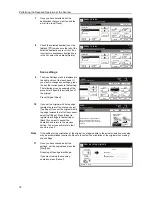
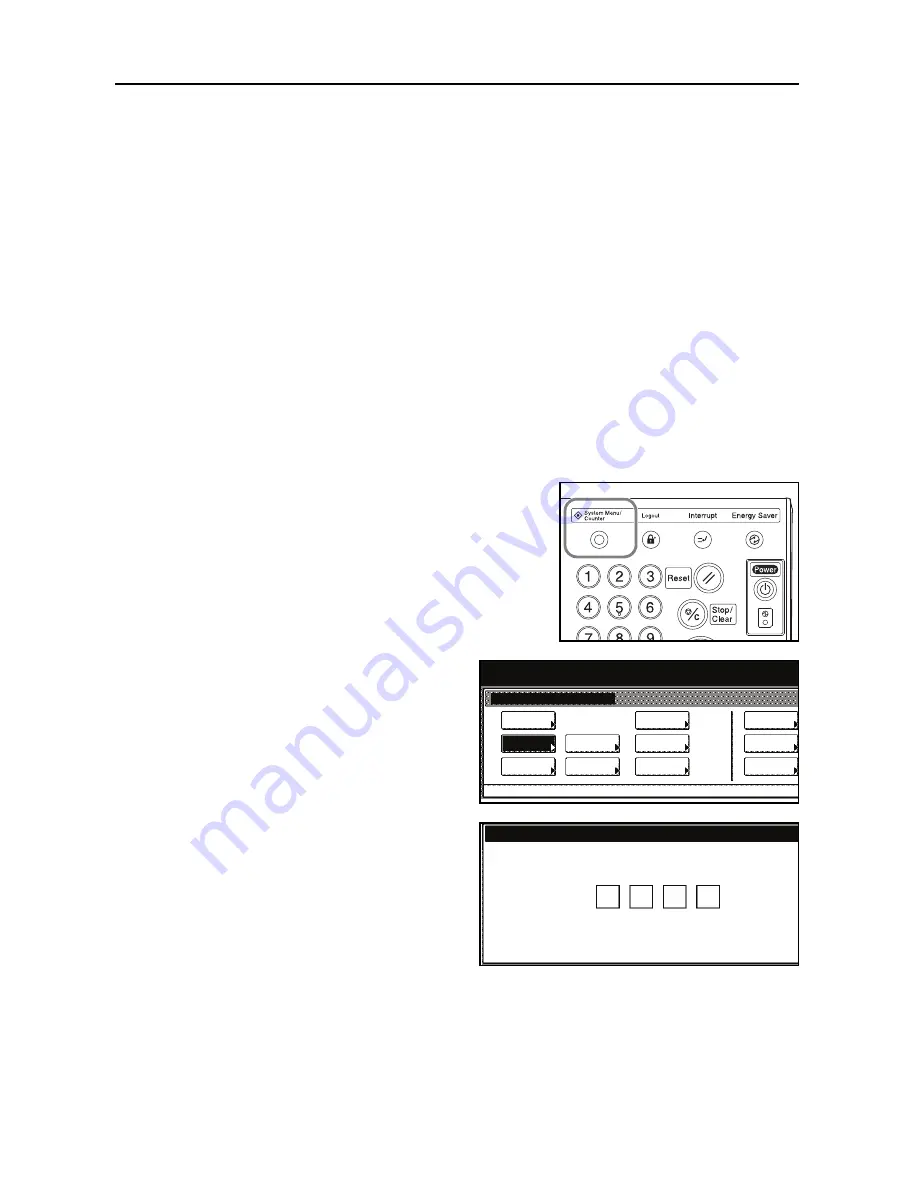
Basic scanner settings
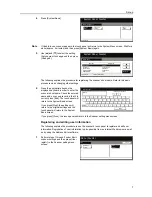
1
Press the
[
System menu/Counter
]
key.
2
Press [Scanner Default].
3
Use the numeric keys on the keypad to
enter the administrator password
number. The factory default setting for
62 ppm machines is
6200
and for 82
ppm machines is
8200
.
System Menu / Counter
Copy
Default
Machine
Default
Scanner
Default
Document
Management
Printer
Default
Language
Register
Orig. Size
MP tray
Accounting
Report
BOX
Management
System Menu
Job
Setting
Enter the administrator number.
Summary of Contents for Scan System (H)
Page 1: ...Scan System H Operation Guide Set up Edition...
Page 8: ...vi...
Page 41: ...MEMO...
Page 42: ...MEMO...
Page 43: ......
Page 44: ...First edition 2008 11 Printed in Japan 303M256010...


