Kudo3D Titan 1 - Build Manual
Ver. 1.1
21
of
33
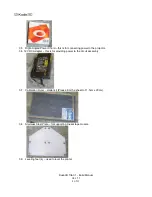
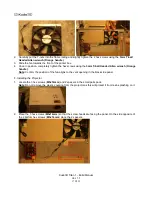
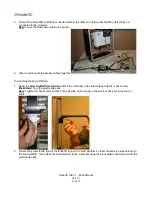
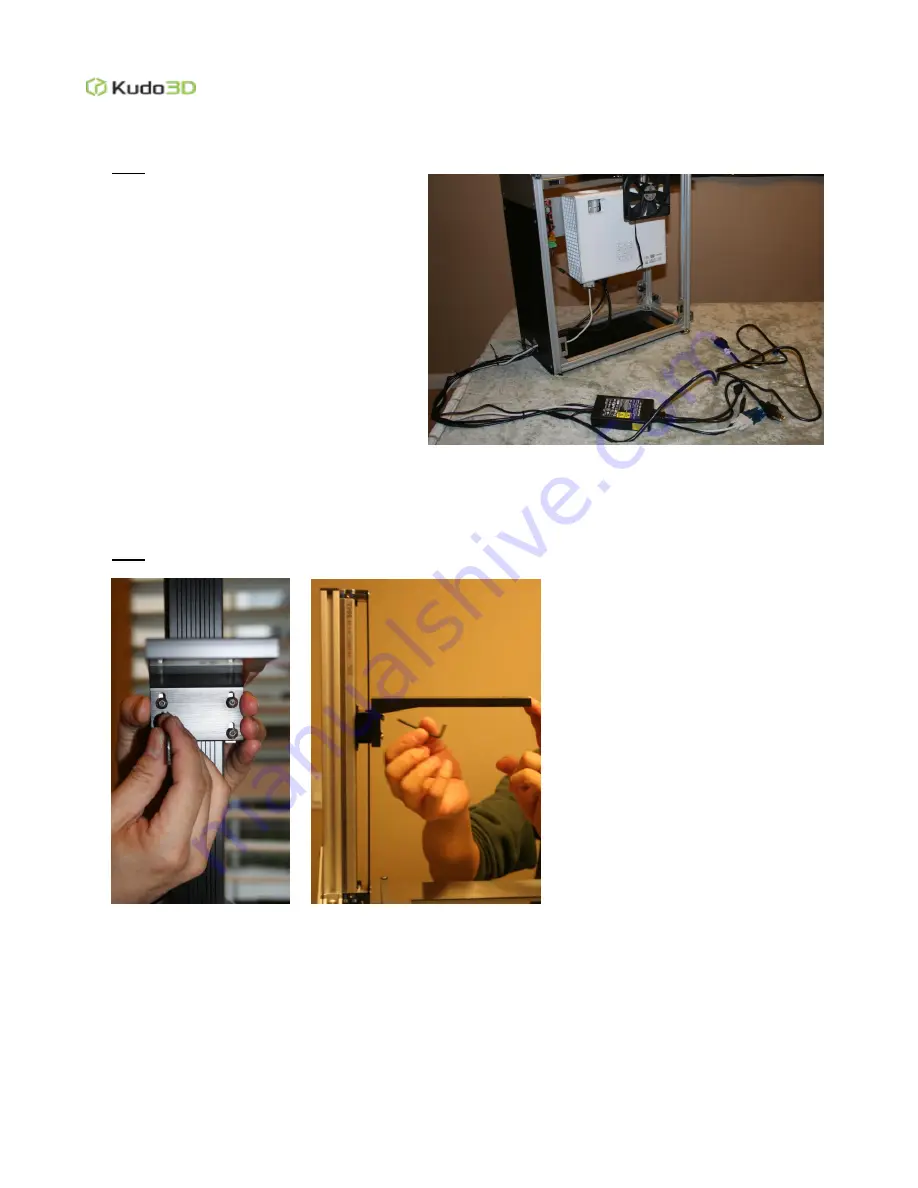
5. Connect the blue USB-to-RS232 converter cable to the other end of the white RS232 cable that is not
connected to the projector.
Note
: Leave the blue cable outside the printer.
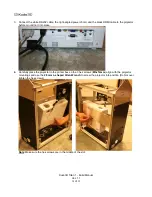
6. Wire tie and bundle the excess cables together.
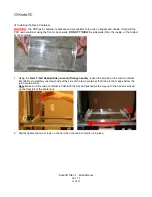
H. Attaching the Build Platform
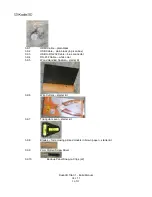
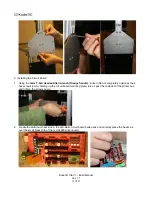
1. Using the
2mm Slotted Screw Driver
attach the L-bracket to the linear stage with the 4 hex screws
(
M4x20mm
) from the small parts pack.
Note
: Tighten the hex screws so that it can still slide up and down in the slot, but does not tilt over at an
angle.
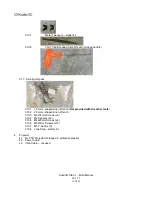
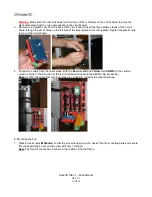
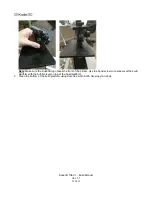
2. Loosen the screw to the right of the Kudo3D logo on the build platform so that connector is perpendicular to
the build platform, then attach the build platform to the L-bracket using the black plastic hand screw from the
small parts pack.

