Kudo3D Titan 1 - Build Manual
Ver. 1.1
12
of
33
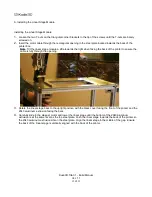
A. Installing the Linear Stage Module
Installing the Linear Stage Module
1.
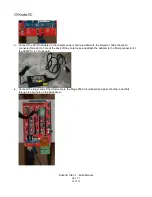
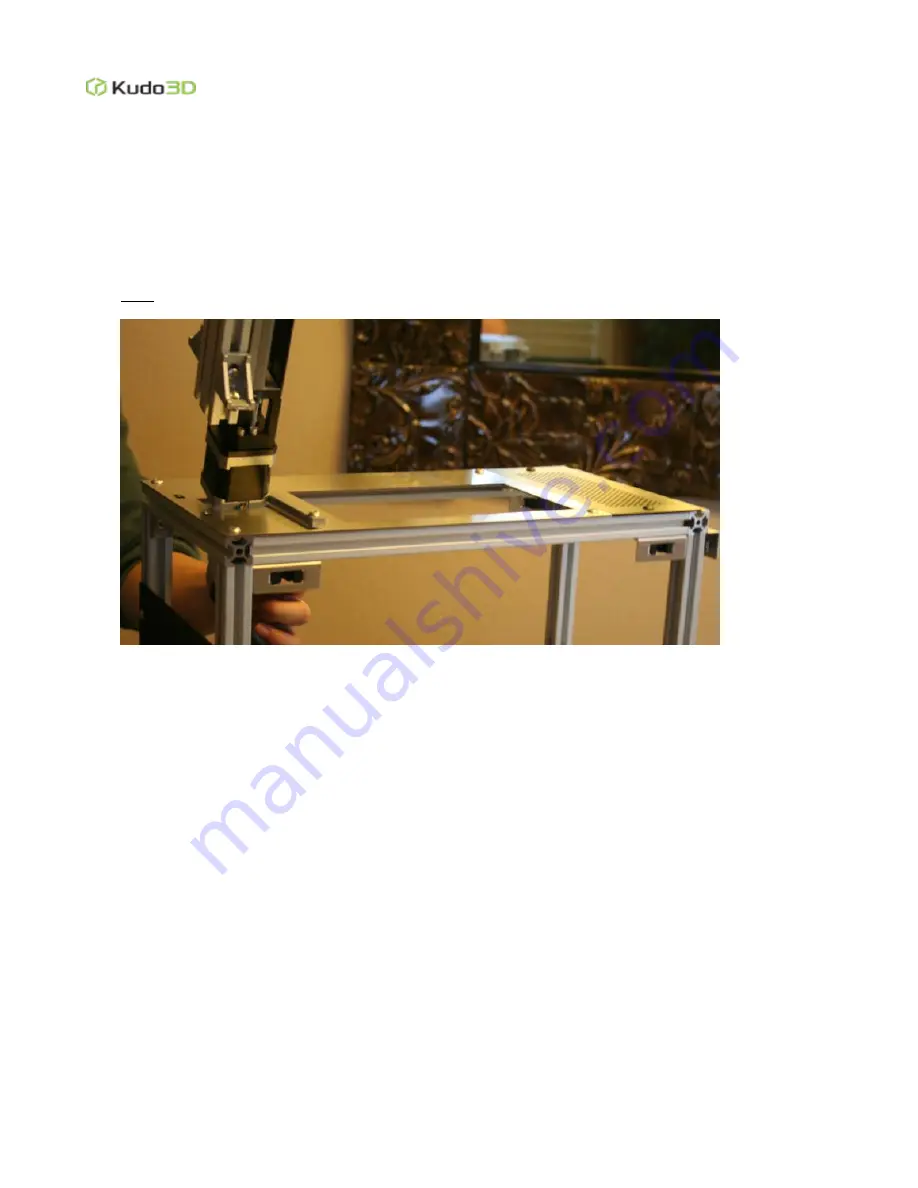
Loosen the two T-nuts on the triangular corner brackets to the tip of the screws until the T-nuts are barely
screwed on.
2.
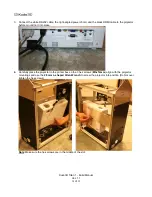
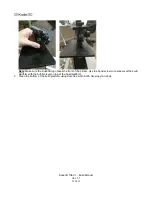
Insert the motor cable through the rectangular opening in the steel plate located towards the back of the
printer box.
Note
: Tilt the linear stage module a little towards the right when facing the back of the printer to ensure the
cable is fully through the opening
3.
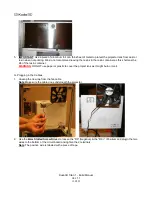
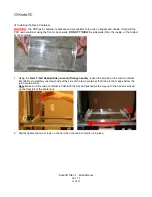
Rotate the linear stage back to the upright position with the black cover facing the front of the printer and the
2040 aluminum extrusion facing the back.
4.
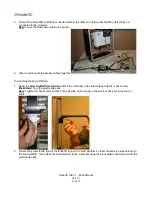
Carefully slide in the stepper motor and lower the linear stage until the bottom of the 2040 aluminum
extrusion is at the same level as the top steel plate. Push the linear stage towards the back of the printer so
the 2040 aluminum extrusion sits on the steel plate. Align the linear stage in the middle of the gap. Ensure
the back of the linear stage is vertically aligned with the back of the printer.


