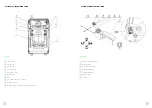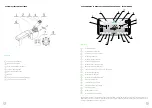
63
62
!
10.8 SWITCHING ON THE IGNITION AND PUTTING THE LOADER INTO OPERATION
1.
Insert the ignition key into the ignition switch and turn it to position "I".
2.
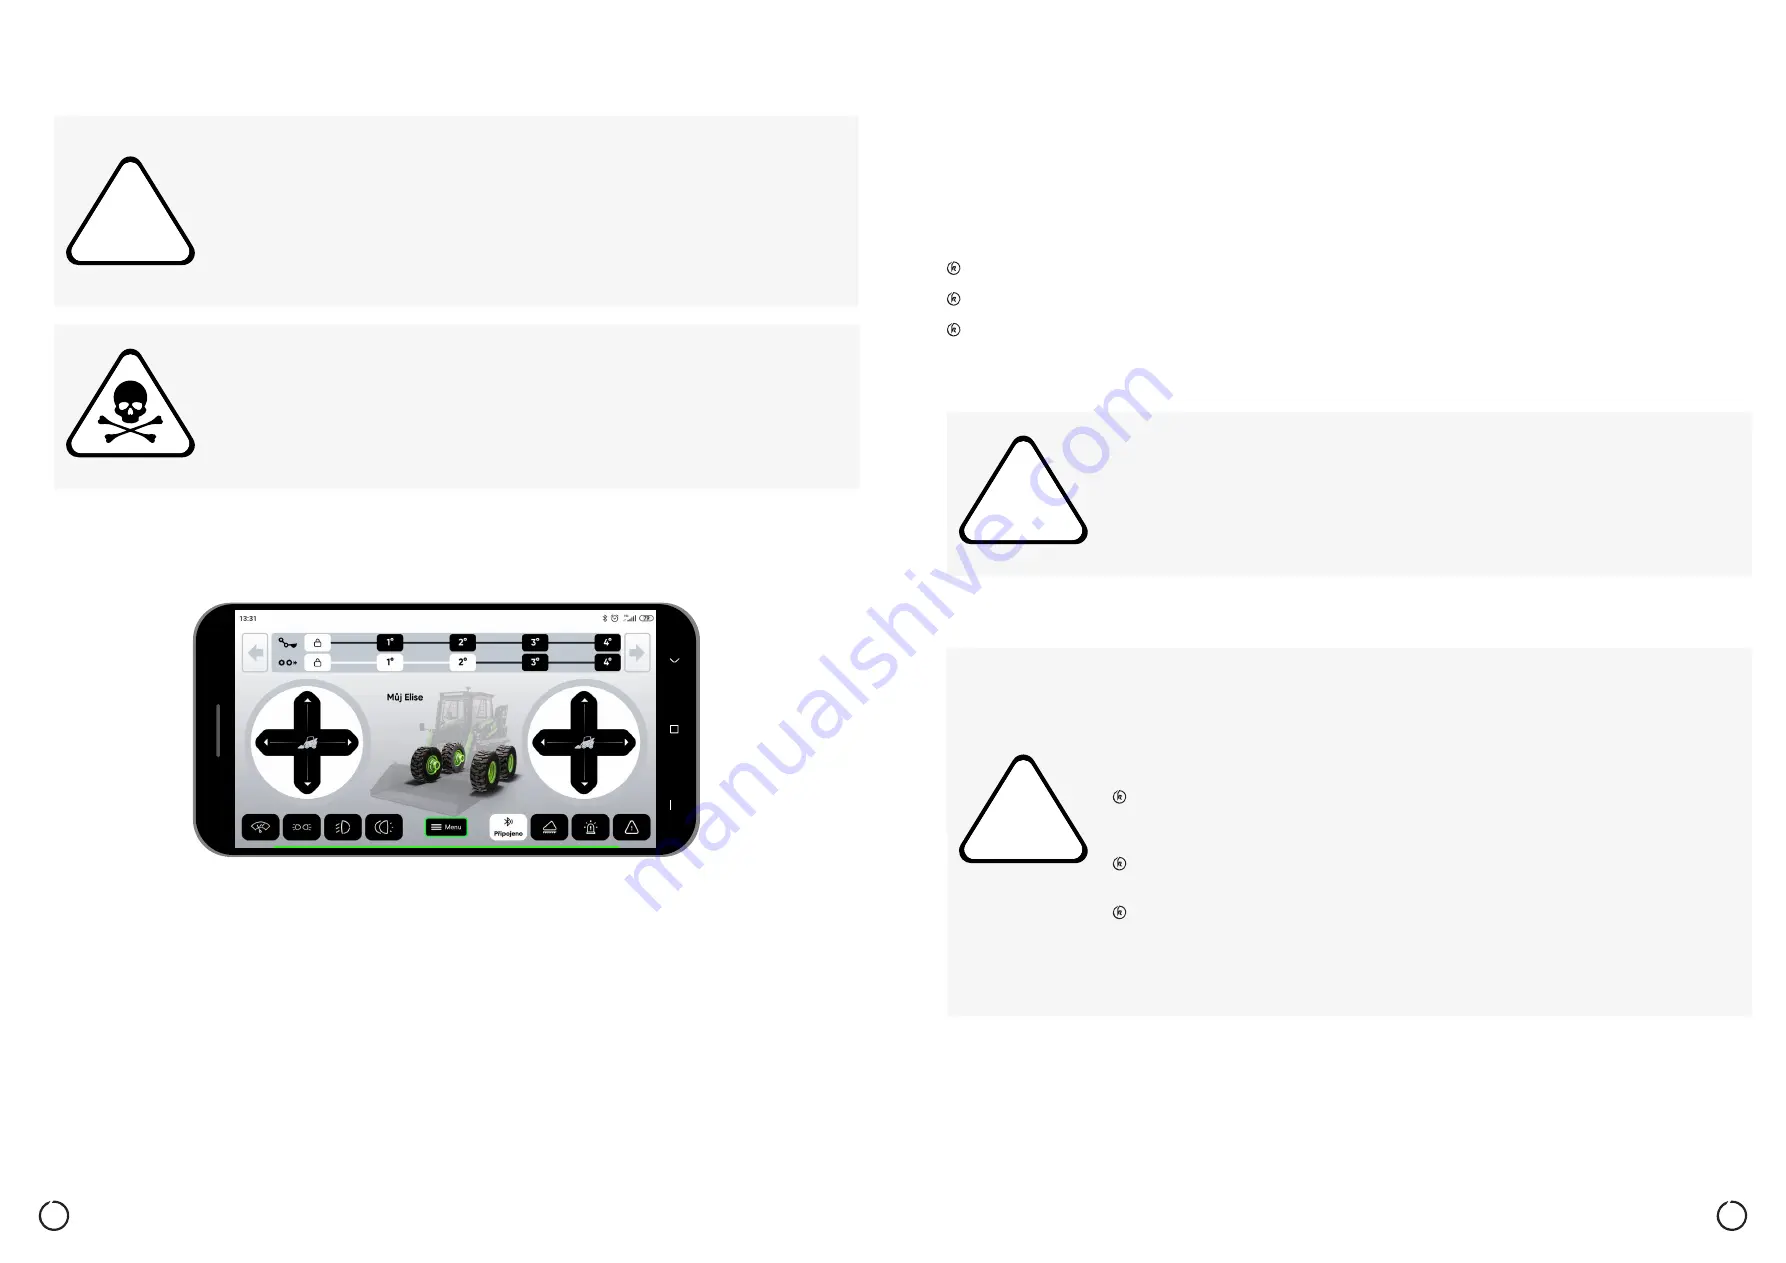
Start the Kovaco application and log into the application (more in the Kovaco Application Manual).
3.
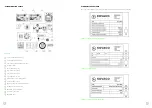
The screen displays information and connected devices. This includes information on the current battery status.
4.
Use the touch key to select the desired travel speed. The speed can be chosen on a range from 1 to 4. The selected
gear remains illuminated.
5.
Depending on needs and the type of work at hand, bucket levelling can be turned on or off with the touch button.
Bucket levelling on is signalled by illumination.
Warning
Before switching on the ignition, all the pre-commissioning checks and actions must be carried
out with no fault as a result.
If you find a fault, do not use the loader and contact an authorized service center.
Before putting the loader into operation and during operation, make sure that the door is closed.
Otherwise there is a risk of damage to the loader and its parts and the risk of injury.
Danger
Before inserting the ignition key into the ignition switch, close the door, fasten the seat belt
and secure yourself with the safety ramp. Place the mobile phone into the holder on the right
window. Check that the battery is fully charged and connected to the machine’s electrical system.
Picture 53
10:30 AM
85
%
!
!
10.9 CHANGING THE FLOW RATE OF HYDRAULIC OIL
If the loader has an attachment connected that needs a hydraulic connection, you can change the hydraulic oil flow rate
on a range from 20 to 65 l. The change can be made by a combination of touch buttons (17) and (5) as follows: press the
touch button (17) - the touch button starts flashing until selection is made with button (5). The selected request is indicated by
a blue mark (6). The hydraulic oil flow rate is divided equivalently to the vehicle travel speed into 4 levels, which are: Level
1 = 20 l, level 2 = 30 l, level 3 = 45 l, and level 4 = 65 l.
10.10 WORK LIGHTS
The work lights are located on the top of the cabin in the front and rear, with auxiliary side lights on the fenders.
If a malfunction occurs of the lights, do not use the loader and contact an authorized service center.
The work lights are switched on with button (15) as follows: by pressing the button the lights are switched on, the second
time the same button is pressed the lights are switched off. Switching on the lights illuminates the button.
10.11 ROAD LIGHTS
Warning
It is forbidden to operate the loader at reduced visibility!
For such conditions, the loader is equipped with work lights that must be switched on when visi-
bility is reduced. This will prevent possible collisions and collision-induced damage.
Warning
It is forbidden to drive the loader on public roads at reduced visibility with the work lights on! Oth-
er drivers using the public road may be dazzled by the lights. The work lights must be switched
off. For driving on public roads, the loader is equipped with road lights, which must be turned
on when using public roads. This will prevent possible collisions and collision-induced damage.
The road lights are located on the loader fenders and meet pertinent certifications
for use when driving on public roads. It is forbidden to replace these lights with any lights
other than approved by the manufacturer for this type of loader.
If a malfunction occurs of the lights, do not use the loader and contact an authorized
service center.
The road lights are switched on with the button with the respective icon in the lower
left corner of the Kovaco application as follows: pressing the button turns on the road
lights, by pressing the button the second time the road lights are switched off. Switching
on the lights illuminates the button.

