59
58
10.6.1 SHIFTING THE DRIVER’S SEAT
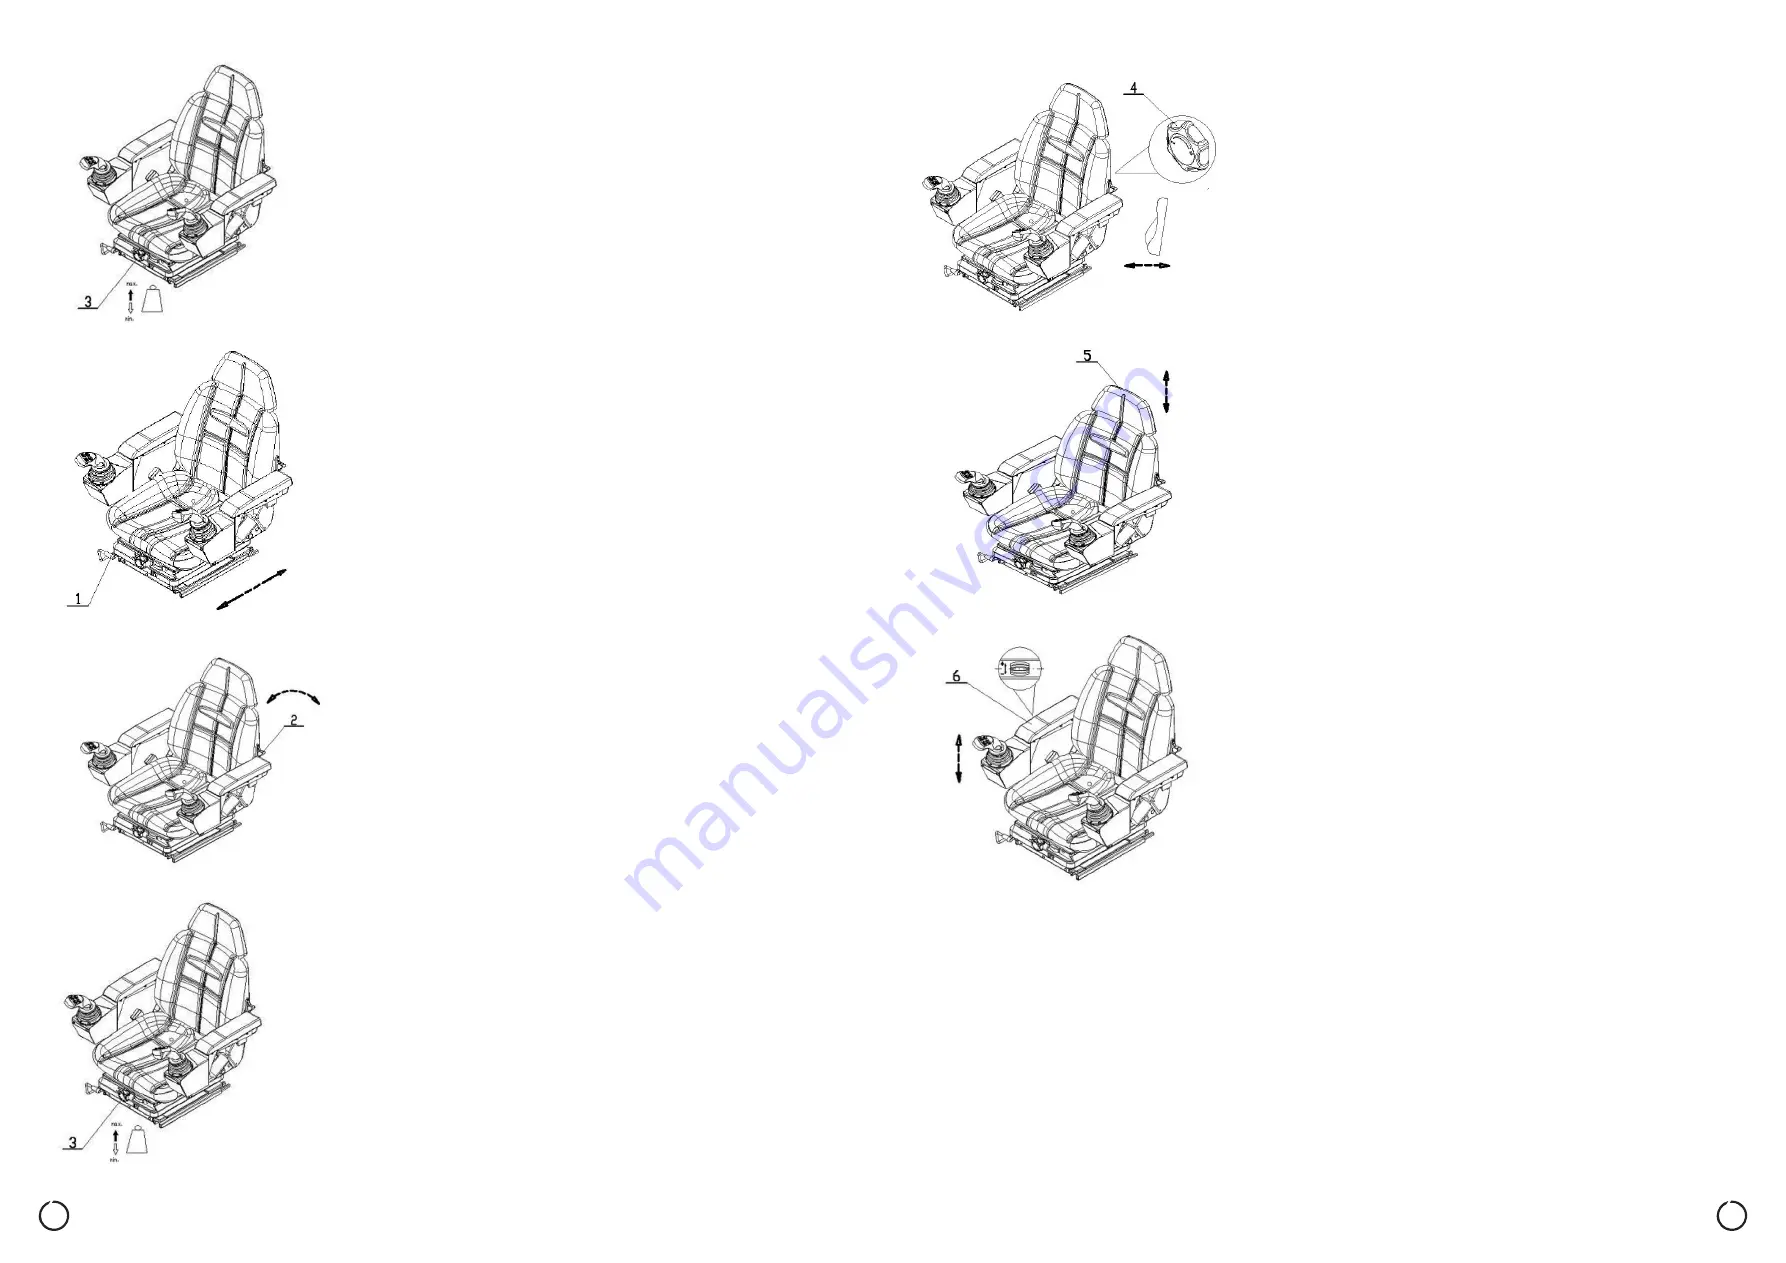
1. Lift and hold lever (1).
2. Push the driver’s seat into the desired position.
3. Release the lever.
4. Check that the driver’s seat is securely adjusted.
10.6.2 ADJUSTING THE SEAT BACK
1. Lift and hold lever (2).
2. Adjust the seat back to the desired position.
3. Release the lever.
4. Check that the seat back is securely adjusted.
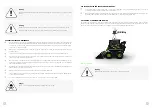
Do not push on the seat back when adjusting it!
10.6.3 ADJUSTING SEAT SUSPENSION
The driver’s seat can be adjusted to suit the weight of a particular
driver. The best seat suspension setting is achieved by adjusting
while the driver is sitting on the seat.
In order for the seat upholstery to optimally dampen shocks
and vibrations, the driver’s seat suspension needs to be adjusted
to the weight of your body. It will have a positive effect on your
back and help protect your health.
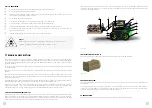
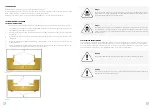
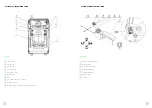
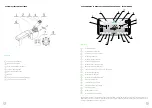
The seat suspension is adjusted with lever 3 (Picture 37).
Picture 37
Picture 38
Picture 39
Picture 40
10.6.4 ADJUSTING THE LUMBAR SUPPORT
The lumbar support can be adjusted to suit the shape of the spe-
cific driver’s spine. When adjusting the lumbar support, you move
the convex support cushion to the top or bottom of the backrest.
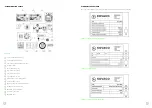
1. Turn the rotary controller (4) up or down until you get the lumbar
support into the desired position.
10.6.5 ADJUSTING THE SEAT HEADREST
1. The seat headrest (5) is adjusted by pulling or pushing into the
desired position.
If you want to remove the headrest, pull it upwards all the way
beyond the last groove.
10.6.6 ADJUSTING THE ARMREST HEIGHT
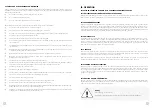
1. Turning the controller (6) counterclockwise lowers the armrest.
2. Turning the controller (6) clockwise raises the armrest.
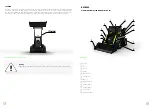
Picture 41
Picture 42
Picture 43


