Solving Problems with Printing Quality
141
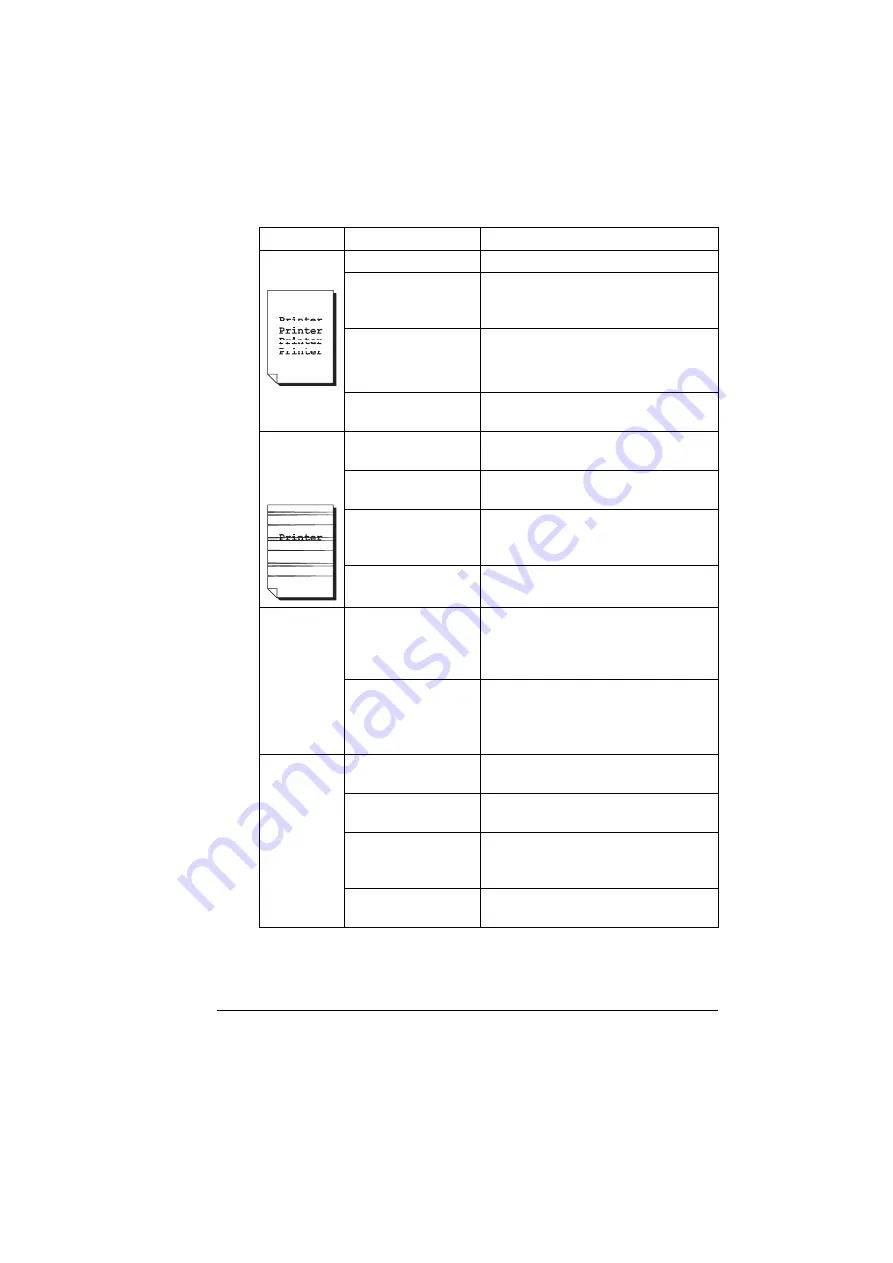
Image
defects.
The laser lens is dirty. Clean the laser lens.
A toner cartridge may
be leaking.
Remove the toner cartridges and
check for damage. If it is damaged,
replace it.
A toner cartridge may
be defective.
Remove the toner cartridge with the
color causing the abnormal image.
Replace it with a new toner cartridge.
The drum cartridge
may be defective.
Remove the drum cartridge and check
for damage. If it is damaged, replace it.
Lateral lines
or bands
appear on
image.
The machine is not
level.
Place the machine on a flat, hard, level
surface.
The media path is
dirty with toner.
Print several sheets and the excess
toner should disappear.
One or more of the
toner cartridges may
be defective.
Remove the toner cartridges and
check for damage. If it is damaged,
replace it.
The drum cartridge is
defective.
Remove the drum cartridge and check
for damage. If it is damaged, replace it.
Colors look
drastically
wrong.
One or more of the
toner cartridges may
be defective.
Remove the toner cartridges and verify
that the toner is distributed evenly on
each cartridge roller, and reinstall the
toner cartridges.
One or more of the
toner cartridges may
be low or empty.
Check the control panel for an
X
TONER LOW
or
X TONER EMPTY
message. If necessary, replace the
specified toner cartridge.
Colors are
not register-
ing properly;
colors are
mixed or
have
page-to-pag
e variation.
The engine cover is
not properly closed.
Make sure that the engine cover is
closed.
The drum cartridge is
not correctly seated.
Remove the drum cartridge and rein-
stall it.
One or more of the
toner cartridges may
be defective.
Remove the toner cartridges and
check for damage. If it is damaged,
replace it.
The media is moist
from humidity.
Remove the moist media and replace it
with new, dry media.
Symptom
Cause
Solution
Summary of Contents for Magicolor 2480 MF
Page 1: ...magicolor 2480 MF User s Guide 4556 9593 01A 1800794 001B ...
Page 6: ......
Page 12: ......
Page 13: ...1 Introduction ...
Page 20: ......
Page 21: ...2 Control Panel and Configuration Menu ...
Page 34: ......
Page 35: ...3 Media Handling ...
Page 57: ...Loading Media 45 4 5 ...
Page 58: ...Loading Media 46 Tray 2 Loading Plain Paper 1 2 ...
Page 60: ...Loading Media 48 6 7 ...
Page 65: ...4 Using the Printer Driver ...
Page 72: ......
Page 73: ...5 Using Direct Print ...
Page 76: ......
Page 77: ...6 Using the Copier ...
Page 84: ......
Page 85: ...7 Using the Scanner ...
Page 89: ...Making Basic Scans 77 Cancel Click to close the WIA driver window ...
Page 90: ......
Page 91: ...8 Replacing Consumables ...
Page 107: ...9 Maintenance ...
Page 115: ...Cleaning the Machine 103 6 7 BOTTOM VIEW Laser lens ...
Page 116: ...Cleaning the Machine 104 8 9 ...
Page 117: ...Cleaning the Machine 105 Cleaning the Duplex Option Feed Rollers 1 2 3 ...
Page 118: ...Cleaning the Machine 106 Cleaning the Media Feed Rollers for Tray 2 1 2 ...
Page 119: ...Cleaning the Machine 107 3 4 ...
Page 120: ...Cleaning the Machine 108 Cleaning the Media Feed Rollers for the ADF 1 2 3 ...
Page 122: ......
Page 123: ...10 10 Troubleshooting ...
Page 133: ...Clearing Media Misfeeds 121 8 9 ...
Page 134: ...Clearing Media Misfeeds 122 10 11 12 ...
Page 136: ...Clearing Media Misfeeds 124 16 17 18 19 ...
Page 137: ...Clearing Media Misfeeds 125 20 ...
Page 139: ...Clearing Media Misfeeds 127 Clearing a Media Misfeed from the ADF 1 2 3 ...
Page 140: ...Clearing Media Misfeeds 128 4 5 6 ...
Page 162: ......
Page 163: ...11 11 Installing Accessories ...
Page 168: ...Duplex Option 156 6 Make sure that both knobs are securely locked 7 ...
Page 170: ...Tray 2 158 2 Be sure to place Tray 2 on a level surface ...
Page 171: ...A Appendix ...
Page 178: ......
Page 182: ......


