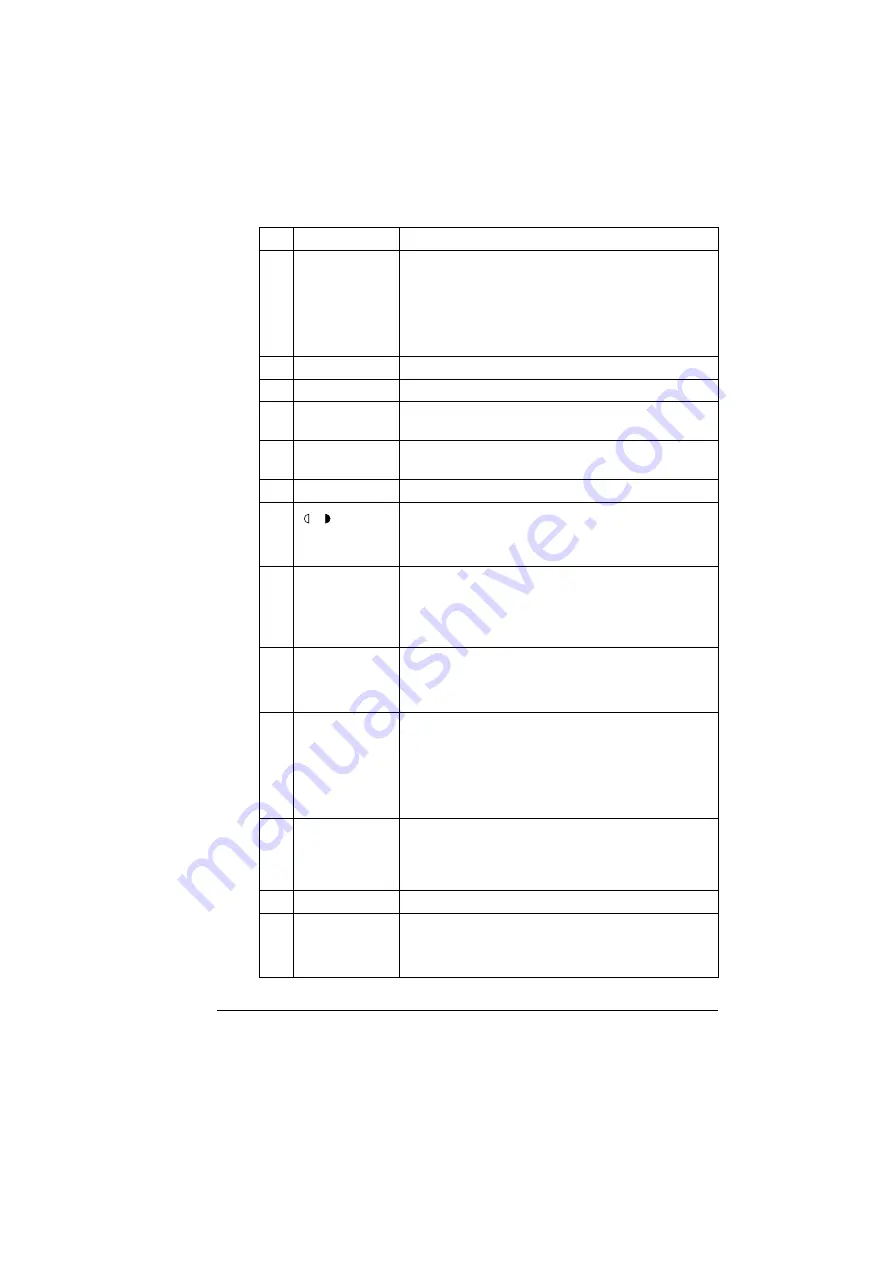
About the Control Panel
11
6
Function
key
Press to specify the tray setting and the duplex
(2-sided) setting for copying.
"
The settings can be specified when the
optional media feed unit and duplex option are
installed.
7
2in1
key
Press to specify 2in1 copying.
8
Collate
key
Press to specify collated copying.
9
Quality
key
Press to specify the document type to be copied and
the resolution.
10
Reduce/
Enlarge
key
Press to specify reduced/enlarged copying with pre-
set zoom ratios.
11
Light/Dark
key Press to select the copy density.
12
/
keys
Press to move left and right through the setting
screens, such as the configuration menu.
Press to select the copy density.
13
+/- keys
Press to move up and down through the setting
screens, such as the configuration menu.
Press to specify the zoom ratio in 0.01 incre-
ments. (Setting range: 0.50 to 2.00)
14
Menu Select
key
Press to display the configuration menu.
Press to select the setting that is currently dis-
played.
15
Cancel/C
key
Press to cancel the setting that is currently dis-
played.
Press to clear the specified number of copies.
Press to return to the main screen from a setting
screen.
16
TC Change
key Press to display the message for replacing the toner
cartridge. For details on replacing the toner car-
tridge, refer to “Replacing the Toner Cartridge” on
page 80.
17
Start-Color
key Press to begin full-color copying.
18
Start
indicator
Lights up in green when copying is possible.
Lights up in orange if copying is not possible, for
example, during warm-up or if an error has occurred.
No. Name
Function
Summary of Contents for Magicolor 2480 MF
Page 1: ...magicolor 2480 MF User s Guide 4556 9593 01A 1800794 001B ...
Page 6: ......
Page 12: ......
Page 13: ...1 Introduction ...
Page 20: ......
Page 21: ...2 Control Panel and Configuration Menu ...
Page 34: ......
Page 35: ...3 Media Handling ...
Page 57: ...Loading Media 45 4 5 ...
Page 58: ...Loading Media 46 Tray 2 Loading Plain Paper 1 2 ...
Page 60: ...Loading Media 48 6 7 ...
Page 65: ...4 Using the Printer Driver ...
Page 72: ......
Page 73: ...5 Using Direct Print ...
Page 76: ......
Page 77: ...6 Using the Copier ...
Page 84: ......
Page 85: ...7 Using the Scanner ...
Page 89: ...Making Basic Scans 77 Cancel Click to close the WIA driver window ...
Page 90: ......
Page 91: ...8 Replacing Consumables ...
Page 107: ...9 Maintenance ...
Page 115: ...Cleaning the Machine 103 6 7 BOTTOM VIEW Laser lens ...
Page 116: ...Cleaning the Machine 104 8 9 ...
Page 117: ...Cleaning the Machine 105 Cleaning the Duplex Option Feed Rollers 1 2 3 ...
Page 118: ...Cleaning the Machine 106 Cleaning the Media Feed Rollers for Tray 2 1 2 ...
Page 119: ...Cleaning the Machine 107 3 4 ...
Page 120: ...Cleaning the Machine 108 Cleaning the Media Feed Rollers for the ADF 1 2 3 ...
Page 122: ......
Page 123: ...10 10 Troubleshooting ...
Page 133: ...Clearing Media Misfeeds 121 8 9 ...
Page 134: ...Clearing Media Misfeeds 122 10 11 12 ...
Page 136: ...Clearing Media Misfeeds 124 16 17 18 19 ...
Page 137: ...Clearing Media Misfeeds 125 20 ...
Page 139: ...Clearing Media Misfeeds 127 Clearing a Media Misfeed from the ADF 1 2 3 ...
Page 140: ...Clearing Media Misfeeds 128 4 5 6 ...
Page 162: ......
Page 163: ...11 11 Installing Accessories ...
Page 168: ...Duplex Option 156 6 Make sure that both knobs are securely locked 7 ...
Page 170: ...Tray 2 158 2 Be sure to place Tray 2 on a level surface ...
Page 171: ...A Appendix ...
Page 178: ......
Page 182: ......


