


bizhub C650/C550/C451 (FE3)
2-127
Copy Operations
2
8
Press the [Start] key.
Scanning begins.
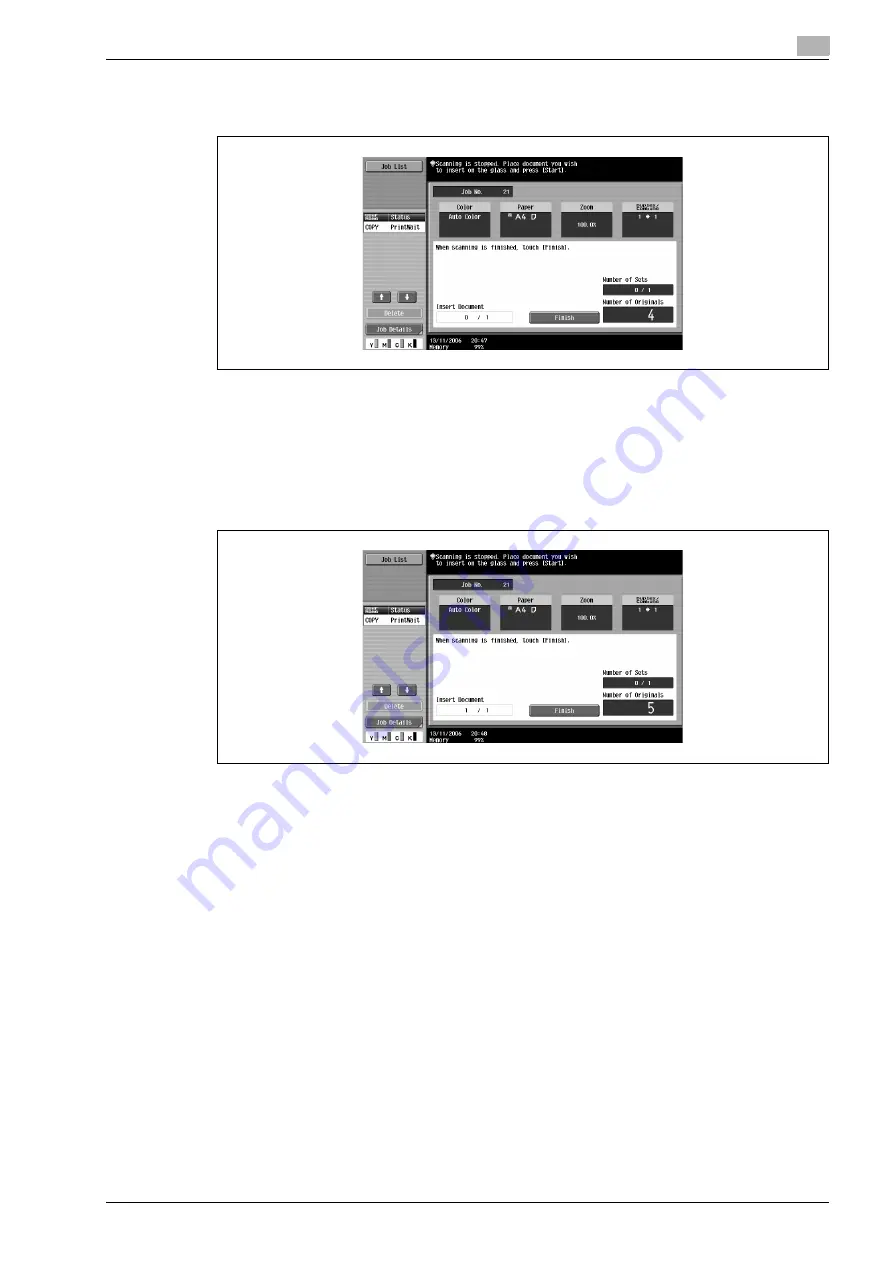
9
Place the document to be inserted on the original glass.
–
For details on positioning the document, refer to "Feeding the document" on page 2-30.
10
Press the [Start] key.
Scanning begins.
11
Touch [Finish].
–
To insert a multi-page document, repeat steps 9 and 10 until all pages of the insertion document
are scanned in the order that they are to be inserted.
12
Press the [Start] key.
Summary of Contents for bizhub C451
Page 1: ...C451 C550 C650 User Manual User Manual User Manual ...
Page 2: ......
Page 13: ...1 Introduction ...
Page 14: ......
Page 39: ...2 Copy Operations ...
Page 40: ......
Page 201: ...3 Print Operations ...
Page 202: ......
Page 297: ...4 Box Operations ...
Page 298: ......
Page 363: ...bizhub C650 C550 C451 FE3 4 67 Box Operations 4 6 Type in the password and then touch OK ...
Page 366: ...4 Box Operations 4 70 bizhub C650 C550 C451 FE3 ...
Page 367: ...5 Network Scanner Operations ...
Page 368: ......
Page 443: ...bizhub C650 C550 C451 FE3 5 77 Network Scanner Operations 5 Text Date Time Other ...
Page 475: ...6 PageScope Web Connection Operations ...
Page 476: ......
Page 511: ...bizhub C650 C550 C451 FE3 6 37 PageScope Web Connection Operations 6 ...
Page 536: ...6 PageScope Web Connection Operations 6 62 bizhub C650 C550 C451 FE3 ...
Page 537: ...7 Fax Operations Option ...
Page 538: ......
Page 573: ...8 Network Fax Operations Option ...
Page 574: ......
Page 608: ...8 Network Fax Operations Option 8 36 bizhub C650 C550 C451 FE3 ...
Page 609: ...9 Appendix ...
Page 610: ......
Page 614: ...9 Appendix 9 6 bizhub C650 C550 C451 FE3 ...
Page 615: ...10 Index ...
Page 616: ......


