3 - 13
Chapter 3. Troubleshooting
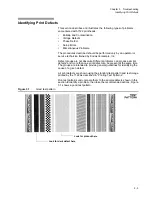
Identifying Print Defects
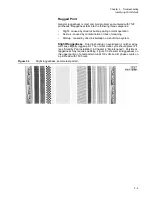
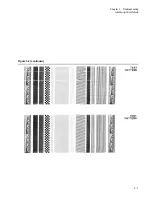
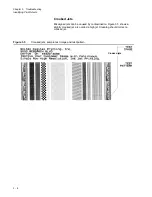
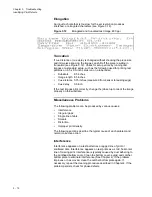
Irregular Gaps
Irregular gaps appearing in the test pattern at powerup usually indicate
that air is trapped within the printhead. Irregular gaps can also be caused
by a concentration of ink. Perform a printhead clean (See Chapter 4).
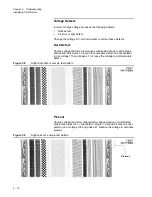
Irregular gaps may also appear when the voltage or phase setting is
incorrect; however, always perform a printhead clean before adjusting
voltage and phase.
Single Line of Dots
A single line of dots indicates ink buildup blocking the array. Cleaning
should restore proper operation (See Chapter 4).
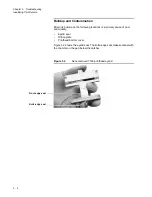
Smears
Smears appear on test prints as areas of smudged ink. Print smears are
caused by outside sources, such as substrate stacking, wet print, and
paper guide malfunctions. Check for these types of problems after the
substrate has passed under the printhead.
Smears can also be caused by improper printhead height (See Chapter
1). If the printhead is too low, it can pick up ink from the printed pieces.
Verify that the software parameter for printhead height matches the actual
physical printhead height; adjust the printhead height parameter to match
the printhead's position as required.
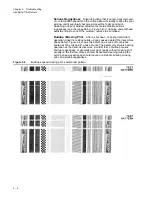
Distortion
Distortion appears on test prints as wavy or irregular characters or
characters of varying width and height. If characters are wavy or irregular,
verify that the current printhead height is between 0.25 and 0.375 inch off
the substrate. Operate the printer with the printhead as low as possible for
optimal print quality.
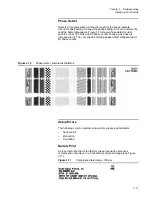
Improper Print Density
The number of drops of ink used to produce one dot of an image is known
as print density. Print quality can be improved by changing print density,
which makes the printed image lighter or darker. Check the setup to make
sure the print density is correct for the ink, substrate and type of image.
Summary of Contents for VERSAMARK DP7122
Page 1: ...Kodak Versamark Inc KODAK VERSAMARK DP7122Printer Operator s Guide ...
Page 2: ......
Page 3: ...KODAK VERSAMARK DP7122 Printer Operator s Guide Block 3 Mod 11 ...
Page 8: ......
Page 24: ......
Page 37: ...3 7 Chapter 3 Troubleshooting Identifying Print Defects Figure 3 4 continued ...
Page 44: ......
Page 56: ......
Page 61: ......

