2 - 4
Chapter 2. Basic Operation
Operating Procedures
Turning On the Printer
To ensure proper communication between the printer and other system
components, always turn on components in the following sequence:
1.
Printer
2.
Tape drive (if installed)
3.
Host controller.
Note: Ensure the printer has electrical power connected before turning on the
printer. (The POWER light is lit.)
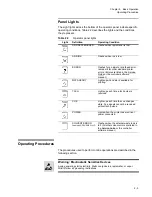
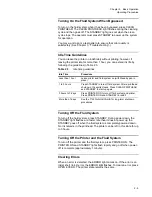
Turn on the printer and the fluid system by pressing PRINTER ON.
During the power-on cycle, various operator panel lights come on or flash.
When the cycle is complete, the PRINTER ON and STANDBY lights
remain lit, indicating the fluid system is on.
Under normal operating conditions, 70
°
F (21
°
C) and 50% relative
humidity, the power-on cycle takes about 4-5 minutes to complete.
Note: If the printer power-on cycle is not successful, repeat the power-on
procedure a minimum of three times before requesting assistance from
service personnel.
Bypassing the POC Test and Fluid System
The printer can be turned on with the fluid system bypassed. Use this
method when the printer is to remain idle for more than 1 hour or during
troubleshooting.
To turn the printer on with the fluid system and POC test bypassed, press
and hold OPEN EYELID; press and release PRINTER ON. When all
lights on the operator panel come on, release OPEN EYELID. The
PRINTER ON light remains lit.
Turning On the Fluid System When Idle
To bring the fluid system out of idle, press STANDBY. The STANDBY light
flashes while the fluid system powers up and remains lit when the fluid
system is completely powered up. (See “Idle Time Guidelines” on page 2-
5.)
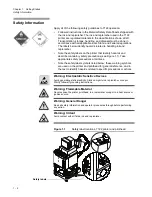
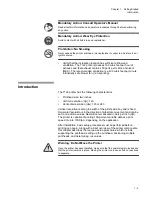
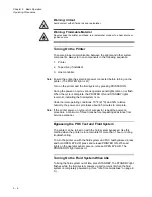
Warning: Irritant
Avoid contact with all fluids, ink and replenisher.
Warning: Flammable Material
Never expose the printer, printhead, ink, replenisher or vapor to a heat source or
ignition source.
Summary of Contents for VERSAMARK DP7122
Page 1: ...Kodak Versamark Inc KODAK VERSAMARK DP7122Printer Operator s Guide ...
Page 2: ......
Page 3: ...KODAK VERSAMARK DP7122 Printer Operator s Guide Block 3 Mod 11 ...
Page 8: ......
Page 24: ......
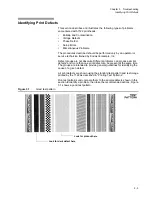
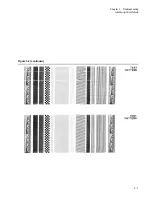
Page 37: ...3 7 Chapter 3 Troubleshooting Identifying Print Defects Figure 3 4 continued ...
Page 44: ......
Page 56: ......
Page 61: ......

