1 - 3
Chapter 1. Getting Started
Introduction
•
Verify that the installation location has sufficient airflow and
ventilation. The 7122 printer produces 160 cubic feet per hour of
exhaust, and that exhaust contains 50 parts per million of solvent
(MEK). The recommended ventilation is a 400 cubic feet per minute
intrinsically safe blower fan (non-sparking).
Introduction
The 7122 printer has the following characteristics:
•
Printhead size: two inches
•
Vertical resolution (dpi): 120
•
Horizontal resolution (dpi): 120 or 240
Vertical resolution is along the width of the printhead array and is fixed.
Horizontal resolution is in the direction of substrate movement and can be
set to one of two values. Resolution is measured in dots per inch (dpi).
The printer is capable of printing 100-percent variable data at a print
speed of up to 1000 fpm, depending on the application.
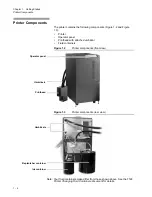
After installation, basic setup procedures must be performed before
printing can begin. Along with a brief overview of the printer components,
this chapter describes the required setup procedures, which include
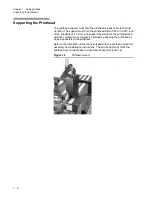
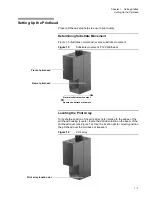
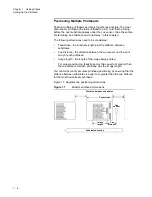
supporting the printhead, setting up the printhead, positioning multiple
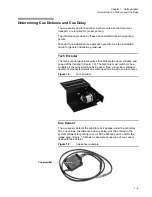
printheads, and determining cue values.
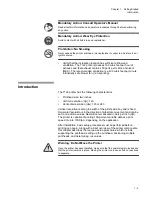
Mandatory Action: Consult Operator’s Manual
Read all safety information and operator procedures through before performing
any action.
Mandatory Action: Wear Eye Protection
Avoid contact with all fluids, ink and replenisher.
Prohibition: No Smoking
Never expose the printer, printhead, ink, replenisher or vapor to a heat source or
ignition source.
Warning: Do Not Move the Printer
Once the printer has been installed, make sure that the casters remain locked and
that the printer remains in place. Moving the printer could cause fluid connections
to separate.
Summary of Contents for VERSAMARK DP7122
Page 1: ...Kodak Versamark Inc KODAK VERSAMARK DP7122Printer Operator s Guide ...
Page 2: ......
Page 3: ...KODAK VERSAMARK DP7122 Printer Operator s Guide Block 3 Mod 11 ...
Page 8: ......
Page 24: ......
Page 37: ...3 7 Chapter 3 Troubleshooting Identifying Print Defects Figure 3 4 continued ...
Page 44: ......
Page 56: ......
Page 61: ......


