


86
A regular mat is not needed. Instead, the punch tool comes with a rubber strip which can be applied on top
of the existing white strip on the cutter. This provides a better surface for the punch tool to penetrate the
material. Just remember to peel off the rubber strip when not in use and store with the protective backing.
Typically, quite a bit of pre
ssure is required to get the results you’ll want. So be prepa
red to set the cutter at
a high setting, even as much as the full 160.
The
Punch
tool can be selected from the
Tool
drop-down menu and the punch tool will then drop at every
node in an image to puncture the material.
You may wish to turn on
Multi-Cut
if a single pass does not provide the results you want. Go to
Cut>Plotting Defaults
, check
Multi-Cut
and set the passes to 2. At the time of this writing, however, the
Multi-Cut
function does not work for the
Punch
tool, thus just repeat the “cut” a second time.
To space out the holes, check the
Pounce
box under
Punch
in
Cut>Plotting Defaults
. Set the
Dash
to
0.0 and set the
Space
to whatever you wish. Alternatively, the
Pounce
feature under
Pen
can also be
used. In this case, set the
Dash
to 0.02
” (0.5 mm)
and then select whatever spacing you desire.
At the time of this writing, the punch tool often skips nodes or includes more nodes than shown on the
screen. Also, using
Pounce
may not be an option because you only want certain nodes to be punched,
based on a particular pattern. So, another option is to place tiny 0.02” circles in the locations of nodes
and
then remove (or turn off) the original image so that only the circles are punched. In this case, you can try
either using
Pen
(at a lower pressure) or
Punch
(at a higher pressure) to create the holes. Also, when
positioning these tiny circles, you may wish to use
Transform>Fit Object to Path.
9.7 Using Instant Replay and the Storage Bin
At any time, one can select
View>Instant Replay
to open the
Instant Replay
window. All objects on the
screen will be displayed. Selecting an object will then display a list of the basic settings for that object
(such as color and line style), followed by any changes that have been made to the object (such as
resizing, moving, rotating).
If you wish to apply the exact same changes from one object to another, you can highlight those changes,
click on the first icon on the left at the top (
Copy to Clipboard
), select the other object and click on the
second icon (
Paste from Clipboard
).
The third icon (
Show Clipboard
) is also called the
Storage Bin
and opening this window will show all the
steps that are waiting to be pasted. These steps can also be saved in a separate file if needed later.
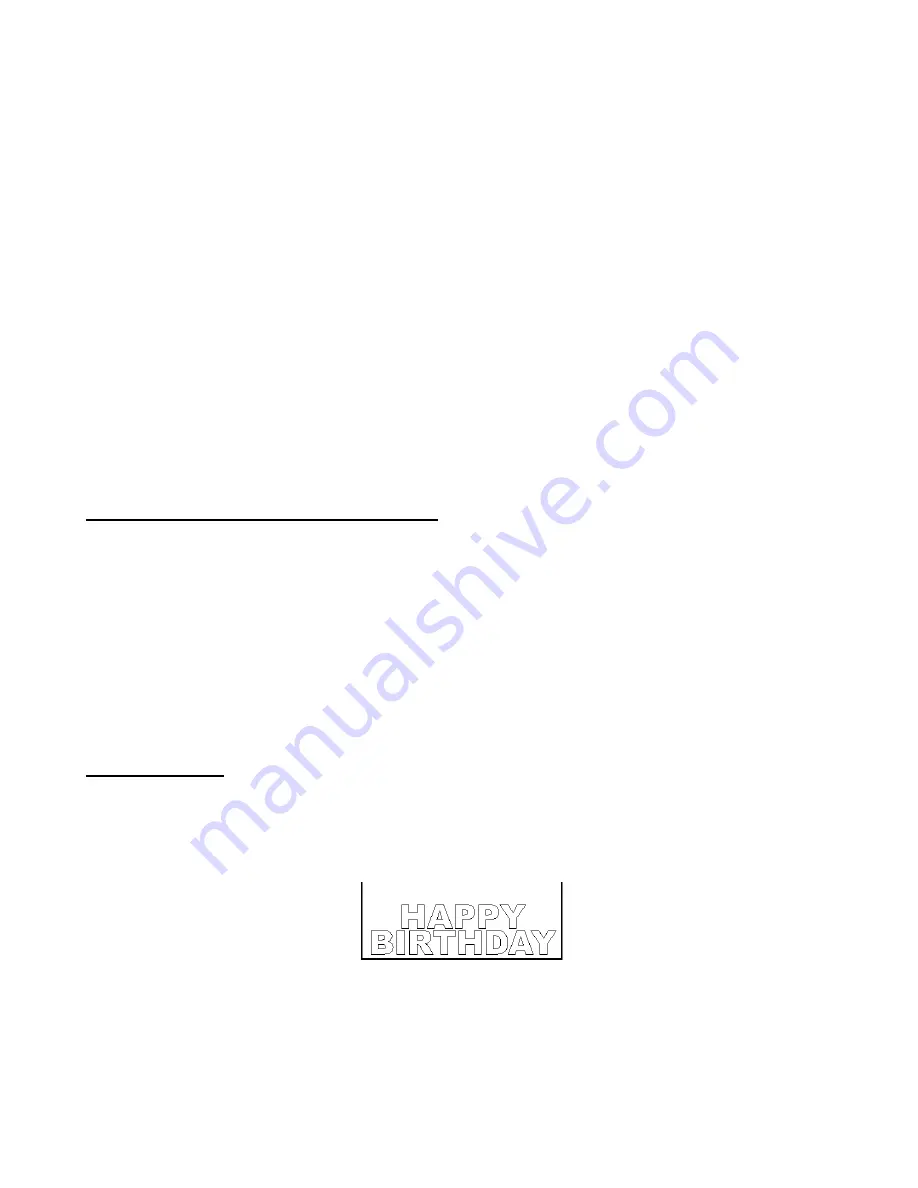
9.8 Block Nesting
Block Nesting can be used with any objects but the text mode is chosen for this example in which the individual
letters
for “HAPPY BIRTHDAY” are to be cut.
(1) Using the steps in
Section 5.2 Text Basics,
create the title in Arial font:
(2) Select the title and go to
Arrange>Text to Graphics
. The letters can now be individually selected and
moved.
(3) Use
Ctrl-A
to select all the letters and go to
Arrange>Block Nesting
.
(4) Initially accept the default values in the Smart Bar and click on
Apply
. All the letters will be re-arranged to
take up the least amount of space on the screen and, subsequently, on the material you are cutting.
Alternative settings on the Smart Bar will move the letters in different positions on the screen. There is also
an option to allowing mirroring, in cases where the images are not letters and a mirrored version of the
objects is acceptable.


