

Keysight M9018A PXIe 18-Slot Chassis Startup Guide
2
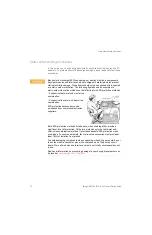
3
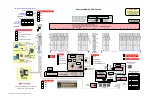
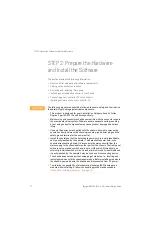
STEP 3: Turn On and Verify Operation of the Chassis System
STEP 3: Turn On and Verify
Operation of the Chassis System
This section provides the following information:
-
Powering up the chassis
-
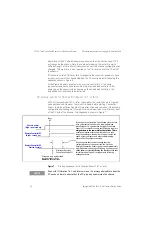
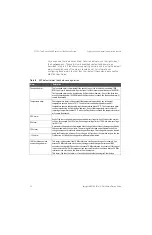
Operation of the three LEDs mounted on the front of the chassis
-
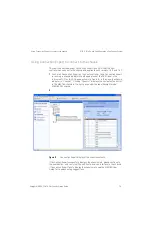
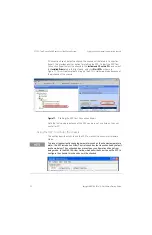
Using Connection Expert to connect to the M9018A chassis
-
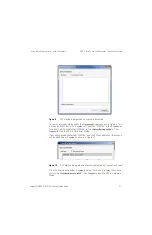
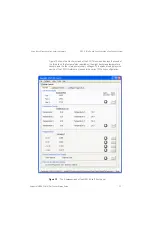
Using the chassis soft front panel (SFP) to verify operation of the chassis
-
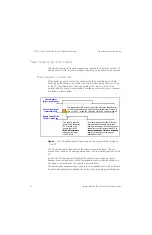
Please do not install modules in the peripheral slots yet—this is done in STEP 4.
The only module that should be installed in the chassis at this time is either an
embedded controller or a PCIe cable interface module in slot 1 as described in
STEP 2.
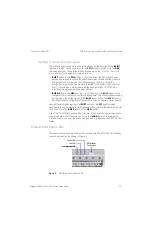
-
This guide assumes that chassis preparation, turn-on and verification are
performed on the bench prior to installing the chassis in a rack. If you prefer to
install the chassis in a rack first, please see the M9018A User Guide on the
Software and Product Information CD for rack mounting information.
-
If you encounter difficulty in turning on the chassis system, please see the
troubleshooting information in the M9018A User Guide.
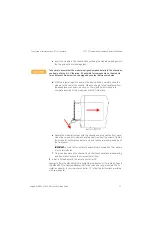
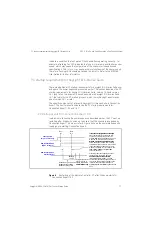
This instrument has auto-ranging power supplies, meaning that the chassis does
not have a voltage selector switch. Ensure that the AC supply line voltage is
within the range of 100-120 VAC or 220-240 VAC, and 50/60 Hz frequency.
If this product is not used as specified, the protection provided by the
equipment could be impaired. This product must be used in a normal
condition (in which all means for protection are intact) only.
When you press the chassis power-on button, if the chassis does not power up
and the front panel LEDs do not light, it is possible for the chassis to be in a
safety shutdown state. Remove the chassis AC power cord from the chassis for
one minute. Reconnect the power cord and turn on the chassis again. If it still
does not power on, refer to the troubleshooting information in the M9018A User
Guide.