Program operations
P
rogram name
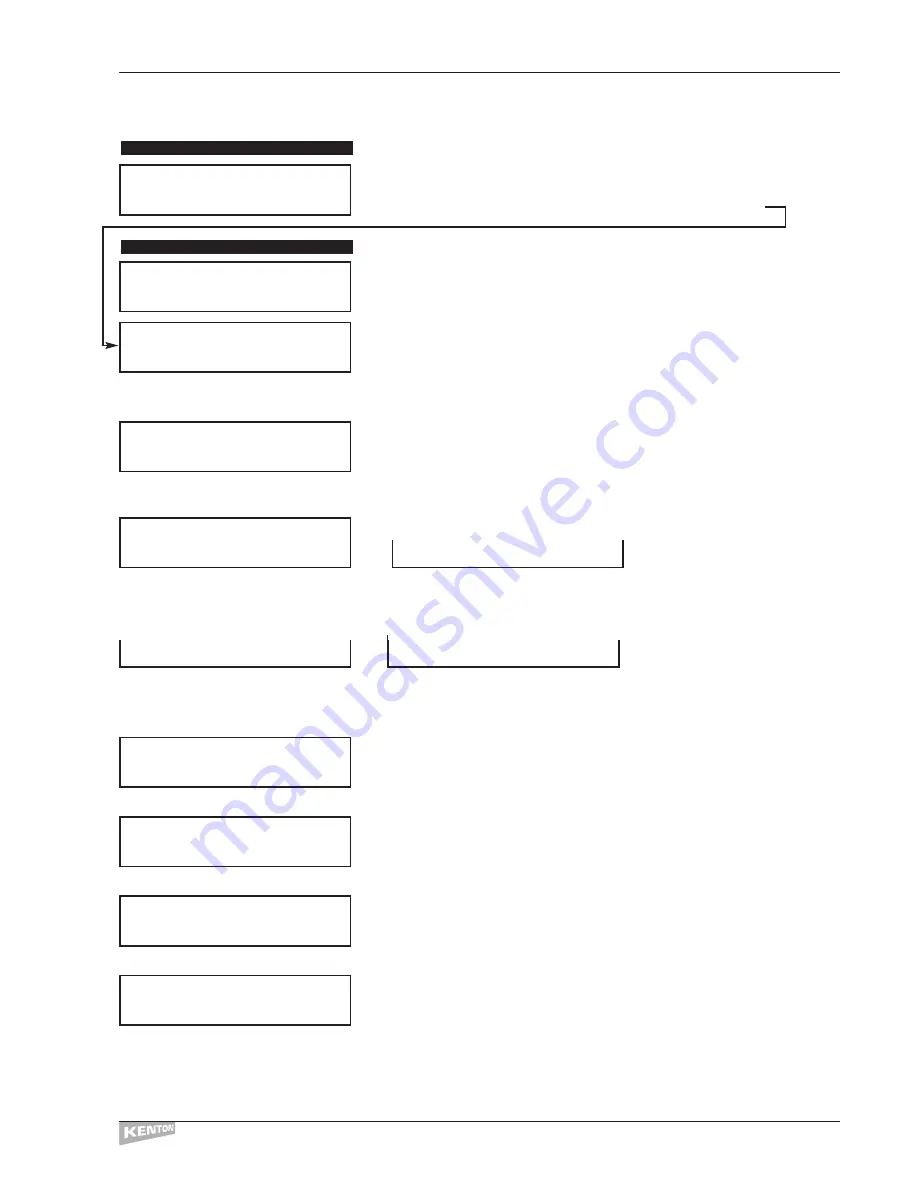
This allows you to enter a name of up to 16 characters for each individual
program. Program names are edited in the same way as slider names.
Press
[STORE]
then
[EXIT]
or use [
SHIFT]/[STORE]
to jump to
Program data
Pressing the
[––>]
button will take you into the program edit pages:
This allows the user to define a MIDI channel for this program.Any data which
would have used the Global MIDI channel will use this channel instead.See
page 8 for a detailed look at channel assignments.
Pressing the
[––>]
button will move to the next screen:
This allows you to assign Ext #1 input signals received at the
1
⁄
4
" jack socket to
control any slider, button or F key. Use the Data Wheel to select a slider, button
or F key destination for the signal from the Ext #1 input.
Press the
[––>]
key to move to the next screen.
If a slider was selected at the previous screen, you now have the choice of:
or
Alternatively, if a button or F key was selected at the previous screen, you now
have the choice of:
or
For a fuller explanation of using the external inputs see page 34.
This screen and the following one are identical in use to the Ext control In #1
section above but are for Ext contrl In #2
Press the
[––>]
key to move to the next screen.
This allows the user to define a minimum value for real-time byte #1.When in
real-time edit mode the data wheel will not let you select a value less than this.
Press the
[––>]
key to move to the next screen.
This allows the user to define a maximum value for real-time byte #1.When in
real-time edit mode the data wheel won’t let you select a value greater than this.
Press the
[––>]
key to move to the next screen.
This allows the user to define a default value for real-time byte #1.This is the
value that real-time byte #1 will take up every time you select this program,
however if Off is selected, the byte will just stay at the value it was when you
last adjusted it, or another program set a default value there.
Note: to select Off, use the
[DELETE]
key (top left button).
Press the
[––>]
key to move to the next screen.
EDIT MENU 12
EDIT MENU 11
CONTROL FREAK
EDIT MENUS
15
EDIT`PROGRM`NAME
Push`>`to`Select
EDIT`PROGRM`DATA
Push`>`to`Select
MIDI`Chan`Assign
Use`Global`Chan`
Ext`Contrl`In`#1
```Unassigned```
Ext`Contrl`In`#1
Input`=`Voltage`
Input`=`Pedal```
Sw`On=BREAK`(Hi)
Sw`On=MAKE`(low)
Ext`Contrl`In`#2
```Unassigned```
``R/T`Value`#1``
Minimum`Val=```0
``R/T`Value`#1``
Maximum`Val=`127
``R/T`Value`#1`
Default`Val=`Off


