5
6
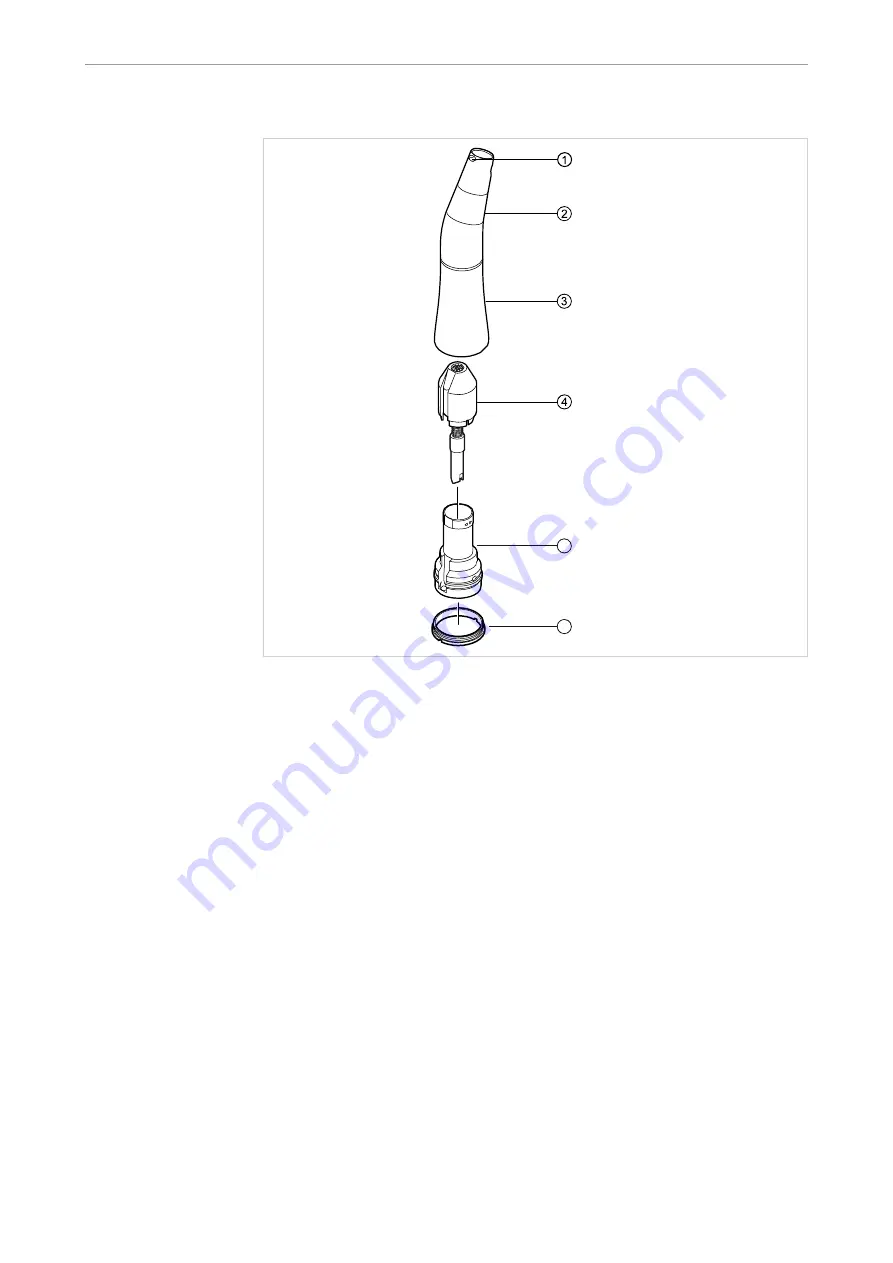
▶ Insert the insert ⑤ into the gear ④ make sure that the fixing noses latch into
place correctly
on the insert ⑤.
▶ Squeeze the tongues on the insert ① together using the assembly pliers.
▶ Push the insert ⑤ and the gear ④ into the elbow sleeve ③.
▶ Take hold of the elbow sleeve ③ with the circlip pliers and turn the threaded
ring ⑥ clockwise to screw into place.
▶ Screw the threaded ring ⑥ tight to 180 Ncm using the wrench, universal bit
holder, and torque handle.
▶ Apply a layer of adhesive to the the fiber-optic conductor and the inside of the
sleeve ①.
▶ Open the tension ring ② and attach the reducing shank to the gluing device.
▶ Place the gluing device in a hot-air furnace and allow the adhesive to set for
30 minutes at 120 °C.
Technician's instructions SURGmatic S201 L - 1.009.0470
3 Assembly | 3.1 Assembly of the SURGmatic S201 L
14/19


