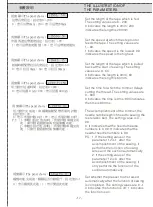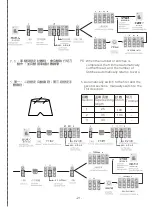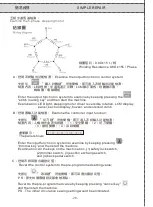
Set the rotation direction of the step
motor after the motor operating key is
pressed. The setting values are 0~1.
0 indicates that the step motor withdraws
the tape; 1 indicates that the step motor
feeds the tape.
8 ET-H Ti 5
9 CCW-CW 1
車縫結束,壓腳停止踩踏後,可設定延遲關閉吸
設定值0~30。
0:表示延遲0秒關閉;30:表示延遲 3.0秒關閉。
按馬達轉動鍵時,步進馬達轉動方向。設定值0~1。
0:表示步進馬達退帶;1:表示步進馬達送帶。
視窗顯示/
The panel shows
:
風集塵的時間。
視窗顯示/
The panel shows
:
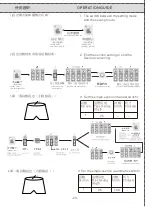
Set the time for which the function of
gathering the lint through suction delays
ending after the sewing is completed and
the pedal is not stepped on. The setting
values are 0~30.
0 indicates the time is 0 second; 30
indicates the time is 3.0 seconds.
切刀動作後,回踩踏板會執行送帶動作。送帶完
成後,回踩踏板是否執行上
/
下吹風動作。
設定值
0
~
1.
0
:表示送帶後,回踩踏板不執行上
/
下吹風
1
:表示送帶後,回踩踏板執行上
/
下吹風
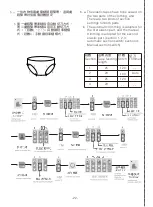
10 AIR - 1
視窗顯示
/The panel shows:
After the trimmer is done with its task, the
back pedal will feed the tape.After
feeding the tape, should the back pedal
execute the top / bottom blow device?
The setting value 0 & 1:
0: It indicates that after feeding tape, the
back pedal would not execute the top /
bottom blow device.
1: It indicates that after feeding tape, the
back pedal would execute the top /
bottom blow device.
-18-
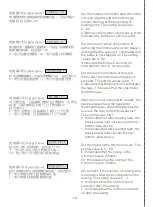
Set the number of stitches after which the
function of gathering the lint through
suction starting at the beginning of
sewing ends. The setting values are
0~99.
0 indicates the number of stitches is 0; 99
indicates the number of stitches is 99.
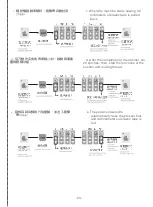
7 OFF St 10
車縫開始時自動啟動吸風集塵功能,可設定幾針
設定值0~99。
視窗顯示/
The panel shows
:
後關閉。
設定切刀閉合的時間。設定值 5~50。
5:表示表示切刀閉合時間為 50ms;
50:表示表示切刀閉合時間為500ms。
視窗顯示
/The panel shows:
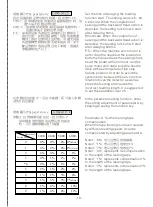
Set the timing of the trimmer closure. The
setting value is 5 ~ 50.
5: It indicates that the timing of the
trimmer closure is 50ms;
50: It indicates that the timing of the
trimmer closure is 50ms.
11 CUT CT 15
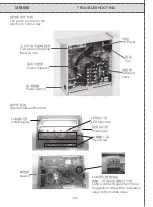
設定車縫結束是否啟動鬆線功能。設定值0~1。
0:表示車縫結束不啟動鬆線功能;
1:表示車縫結束啟動鬆線功能。
視窗顯示
/The panel shows:
Set to check if the function of loosing wire
is turned on after the accomplishment of
sewing. The setting value is 0 ~ 1.
0: It indicates that the function is not
turned on after the sewing.
1: It indicates that the function is turned
on after the sewing.
12 TR ACT 1
Summary of Contents for Siruba LF-D6
Page 1: ...LF D6 使用說明書與零件圖 INSTRUCTION BOOK PARTS LIST ...
Page 2: ......
Page 14: ... 10 接管圖 WIRINGDIAGRAM ...
Page 33: ... 29 ...
Page 34: ... 30 ...
Page 35: ... 31 ...
Page 36: ... 32 ...
Page 37: ... 33 ...
Page 38: ... 34 ...
Page 39: ... 35 桌板圖 TABLE CUT OUT OF 747S T5 ...
Page 40: ......
Page 41: ......


