11
3.
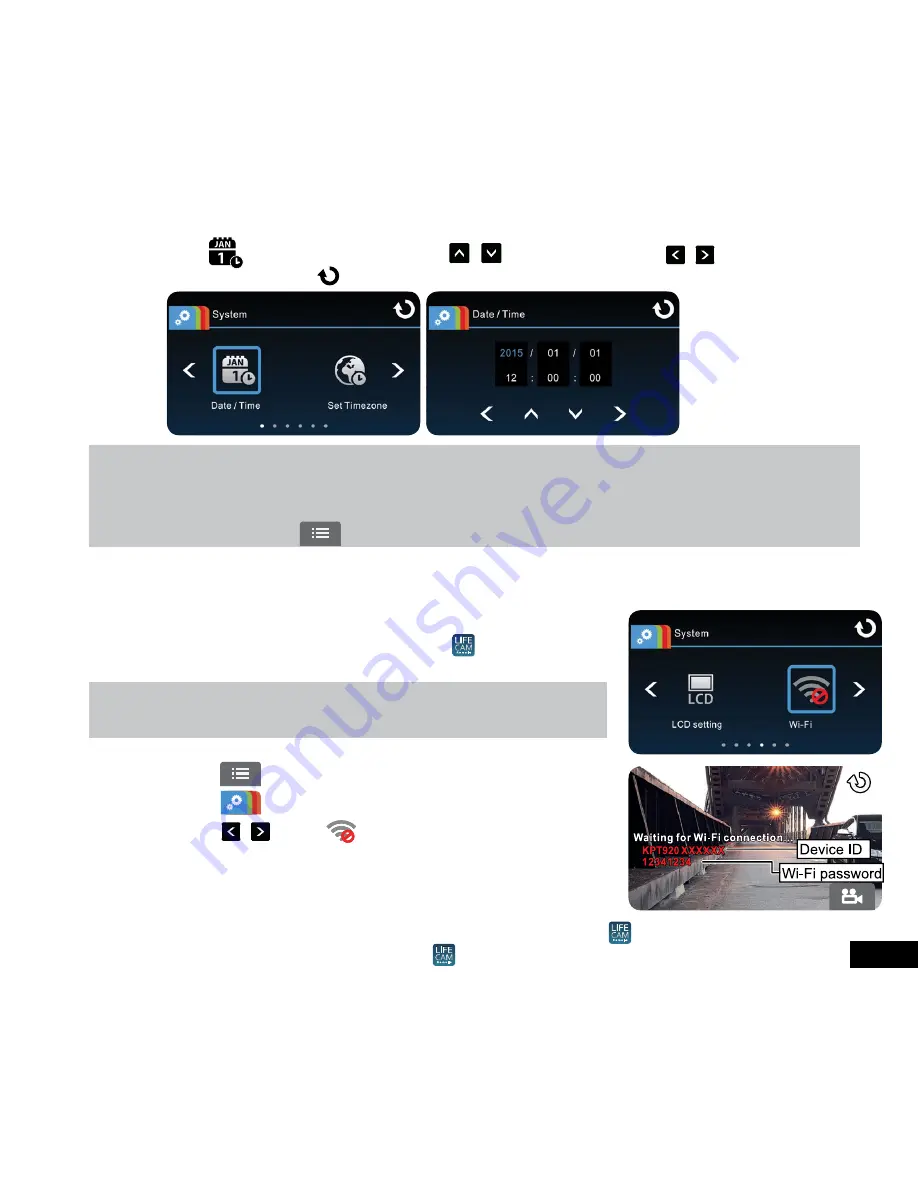
Select to enter
Date / Time
menu. Touch / to select each value; touch / to select previous or next
field; Confirm by touching
to complete setting.
Note:
1.
If GPS is enabled the Car DVR clock will be synchronised with the satellite clock signal based on the time zone specified in the
Set
Timezone
menu.
2.
If satellite positioning is not available, the Car DVR clock will need to be set manually using the
Date/Time
setting.
3.
Please be aware that touching during the recording process will stop the recording and enter the menu.
2.7 Initial Settings
The camera allows you to connect your Car DVR to your smartphone or tablet via Wi-Fi and the Life Cam App to view recorded
files and photos wirelessly or change the Car DVR settings with your smartphone or tablet.
2.7.1 Application Installation
1.
Search Google Play or App Store for Life Cam
application.
2.
Install the App using your phones on screen instructions.
Note:
The App layout and features may be subject to change depending on different software
versions. Please refer to Google Play or App Store for updates.
2.7.2 Creating Wi-Fi Connection
1.
Touch
to enter
Main Menu
2.
Touch to select the
System
main menu
3.
Touch / to select to enter the
Wi-Fi function
menu. Wi-Fi
will activate and the screen will display the Car DVRs connection name
and Wi-Fi password.
4.
Using Wi-Fi settings of your smartphone or tablet, search for the Car
DVR ID in the available Wi-Fi connections list. Select the connection
SP16GWXXX and enter Wi-Fi Password.
5.
Once your smartphone is connected to the Car DVR, open the
Life Cam
App on your smartphone or tablet.
6.
To disconnect Wi-Fi link, exit the
Life Cam
Application on your smartphone or tablet.


