


52
1
2
3
4
5
6
7
?
51
4.5 System Setting
You will be asked to enter your PIN code before you can enter this menu. The PIN code
preset to 0000 from the factory.
If you want to customize the system to suit you better,
you can specify some settings from the submenus in the
“
System Setting
” menu.
Select “System Setting” in the main menu with the
LEFT/RIGHT
buttons and press the
OK
button.
If you move the focus on the main menu, the
contents of the selected menu will be shown.
1
Language
Press the
UP/DOWN
button on the Setup list to
select Language and press the
OK
button.
Press the
UP/DOWN
button to select
Menu
Language
,
Audio Language
or
Subtitle
Language
and then press the
RIGHT
button to
move to the right pop-up menu.
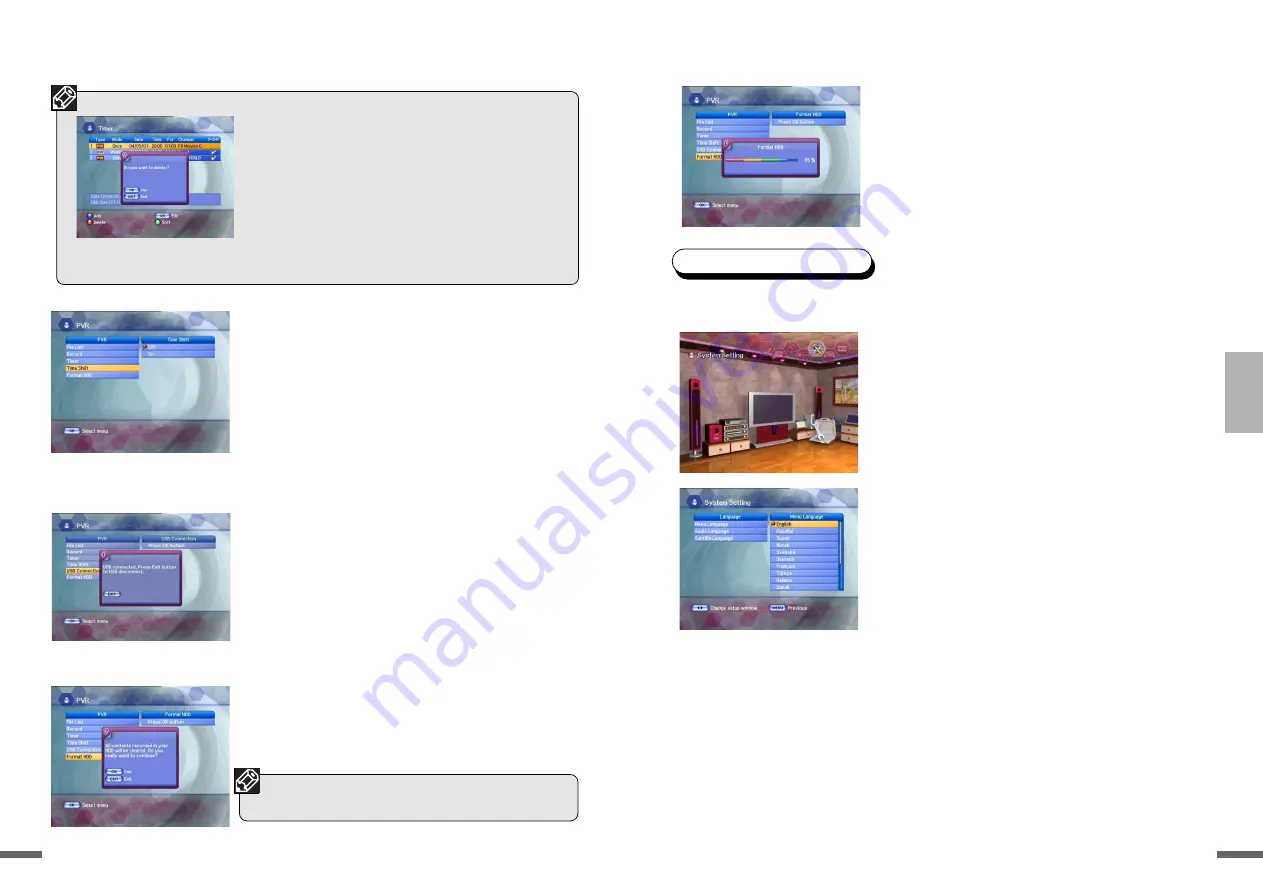
Menu Language
Here you may select in which language the menus
will be shown.
Use the
UP/DOWN
buttons to move to the language
you want and then press the
OK
button. You can
choose the language from a selection of English,
Spanish, Finnish, Norwegian, Swedish, German,
French, Turkish, Italian, Slovenian, Ukrainian,
Russian, Czech, Latvian, Arabic, Farsi, Danish,
Bulgarian, Romanian, Serbian, Dutch, Hungarian,
Albanian, Greek, Indonesian, Portuguese, Lithuanian
and Polish (Option).
4
Time Shift
This function is for setting the Time Shift. If you set to
ON, you can use the Time Shift function.
Press the
UP/DOWN
button on the
PVR
menu to
select
Timeshift
.
Press the
RIGHT
button to move to the right pop-
up menu.
Press the
UP/DOWN
button to select the desired
items and then press the
OK
button.
5
USB Connection
Press the
UP/DOWN
button on the Utility screen
to select
USB Connection
and then press the
OK
button.
The ‘USB connected’ message pop-up window
will appear. Press the
EXIT
button to disconnect
USB.
6
Format HDD
With this function, you can format the HDD. Please
be aware that all data will be deleted if the HDD is
formatted.
• To change the reserved recording, select reserved record-
ing on the
Timer
screen and then press the
OK
button.
When the Edit screen appears, change the reserved
recording in the same way as you did with adding.
• To delete a reserved recording, select it on the
Timer
screen and then press the
RED
button.
• Please be aware that when you change the System’s
Local Time or edit a reserved channel, the Timer might
also change
• If you skip a reserved channel, or Delete it, the reserved
settings are canceled.
• You can check the basic directory created in the
File List.
To format the HDD, press the
UP/DOWN
button
on the PVR menu to select
Format HDD
and
then press the
OK
button.
When the format confirmation pop-up window
appears, press the
OK
button.
Summary of Contents for KVR-1000
Page 35: ...70 1 2 3 4 5 6 7 69 ...


