


49
50
1
2
3
4
5
6
7
?
3
Timer
With this function, you can set reserved recording
functions including adding, changing and deleting
reserved recordings.
You can add a reserved recording.
Press the
UP/DOWN
button on the
PVR
menu to
select the Timer and then press the
OK
button.
If you press the
BLUE
button on the
Timer
screen, the
Add
screen will appear.
Press the
UP/DOWN
button on the Add screen to
select the items for setting. These are as follows;
• Type: To set the type of reserved recording.
There are three kinds of reserved recording:
PVR, DVR and Analog PVR.
• Mode: To set the interval for the reserved
recording. You can choose to record once,
every day or every week.
• Date: To set the date for the reserved
recording.
• Time: To set the time the reserved recording starts.
• For: To set the time the reserved recording is to
be resumed. If the resume time is passed, the
reserved recording will stop.
• Option: appears when you set the Type to
DVR, and you can choose either Normal or
Event. If you choose Normal, you can record for
a designated time. In the case of Event, an
exterior sensor will run for a designated time.
While the exterior sensor is running, if an Event
occurs it records in accordance with the setting
in the
Analog PVR/DVR Option of the System
Setting menu
. Please refer to
[4. Main Menu
Guide - 4.5 System Setting - 8. Analog
PVR/DVR Option]
for more details.
• Channel: appears when you set the Type to
PVR. Press the
OK
button to set the channel
you want to record.
• Power off: If you select “Yes”, the receiver turns
to the Stand by mode automatically after the
recording. If you select “No”, the receiver
doesn’t turn to the Stand by mode.
Press the
RED
button to save. The details of the
setting will be displayed on the Timer screen.
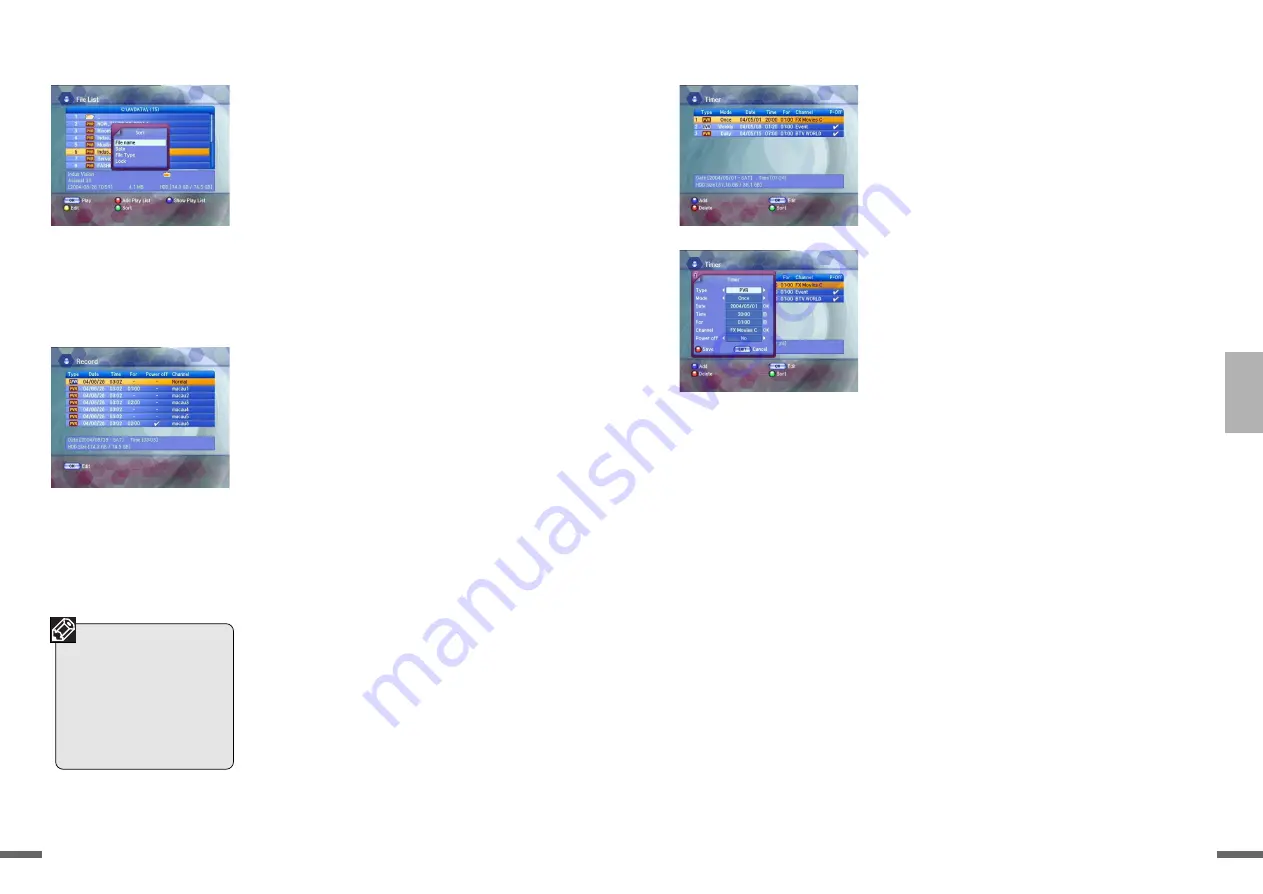
Sort
If you press the
GREEN
button on the File List
screen, the
File Sort
pop-up window will appear.
Press the
UP/DOWN
button to select the
arrangement method and then press the
OK
button. The different methods are as follows:
• File Name: To arrange files in file name order.
• Date: To arrange files in date order.
• File Type: To arrange files in file type order.
• Lock: To arrange files according to whether
locked or not.
Press the
OK
button to arrange files in the way
you selected.
2
Record
With this function, you can check file information
while recording with the PVR. In addition, you can set
the record-end time, and the power to go off after
recording.
Press the
UP/DOWN
button on the PVR menu to
select Record and then press the
OK
button.
When you press the
OK
button on the Record
screen, the Edit screen will appear.
Press the
UP/DOWN
button on the Edit screen to
select the items for setting. These are record-end
time, and power ON/OFF after recording.
When you finish setting, press the
RED
button to
save. The details of the setting will be displayed
on the
Record
screen.
• RECORD display
Analog PVR or DVR
recording will be dis-
played at No.1 and
DVR (EVENT) record-
ing at No.2. PVR
recording will be dis-
played from
No.3~No.8.
Summary of Contents for KVR-1000
Page 35: ...70 1 2 3 4 5 6 7 69 ...


