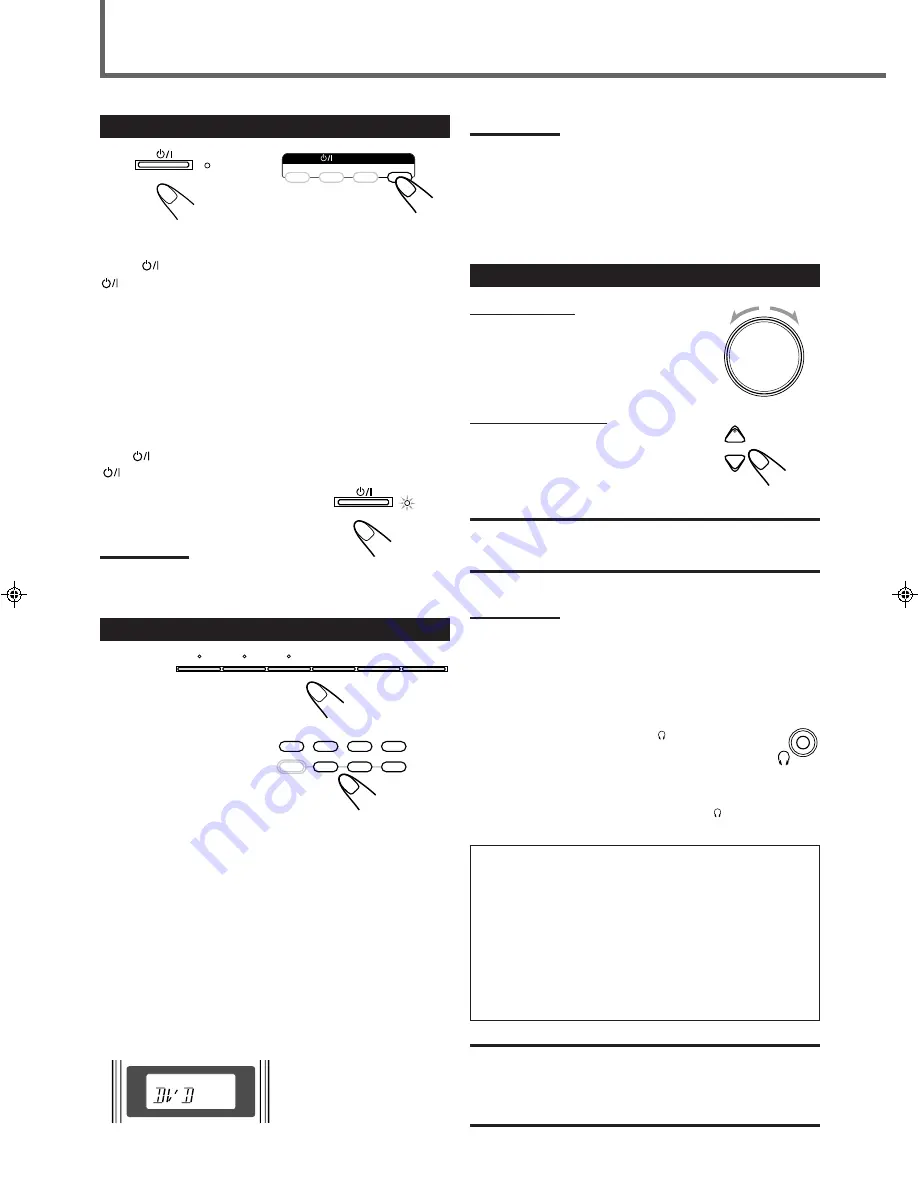
11
1
Turn On the Power
Press
STANDBY/ON on the front panel or
STANDBY/ON AUDIO on the remote control.
The STANDBY lamp goes off and the illumination lamp lights up.
The current source name appears on the display.
• If the built-in DVD player is the current source, “READING”
appears while the unit is detecting the type of the loaded disc
(see page 33).
– Playback starts automatically when you load some DVD
VIDEO.
– “NO DISC” appears on the display when no disc is loaded.
To turn off the power (into standby)
Press
STANDBY/ON on the front panel or
STANDBY/ON AUDIO on the remote control again.
The illumination lamp goes off and the
STANDBY lamp lights up.
Note:
• A small amount of the power is consumed even in standby mode.
To turn off the power completely, unplug the AC power cord.
2
Select the Source to Play
Press one of the source selecting buttons.
DVD
: Select the built-in DVD player.
STB
*
: Select the STB.
VCR
: Select the VCR.
TV
*
: Select the TV tuner.
TAPE/CDR
* : Select the cassette deck or the CD recorder (front
panel ONLY).
TAPE
: Select the cassette deck (remote control ONLY**).
CDR
*
: Select the CD recorder (remote control ONLY**).
FM/AM
: Select an FM or AM broadcast.
When you press one of the buttons listed above, the remote control
operation mode appears on the operation mode display for about 2
hours.
STANDBY
STANDBY/ON
VCR
STB
TV
AUDIO
STANDBY/ON
On the front panel
From the remote control
Basic Operations
STANDBY
STANDBY/ON
On the front panel
From the remote control
FM/AM
TAPE/CDR
SOURCE NAME
TV
VCR
STB
DVD
VCR
STB
DVD
TV DIRECT
TAPE
TV
CDR
FM/AM
Notes:
*
Register the digital input terminal setting (see “Digital input
(DIGITAL IN) terminals” on page 25) and digital input mode setting
correctly (see “Selecting the Analog or Digital Input Mode” on page
13). Source name and “DIGITAL” will be shown on the display when
you select the source.
**
When the source name is not assigned correctly, these buttons
cannot work (see “Changing the Source Name” on page 14).
DVD AUDIO/VIDEO RECEIVER
Ex. : When you press DVD
3
Adjust the Volume
On the front panel:
To increase the volume,
turn MASTER VOLUME clockwise.
To decrease the volume,
turn MASTER VOLUME counterclockwise.
From the remote control:
To increase the volume,
press and hold .
To decrease the volume,
press and hold VOLUME –.
CAUTION:
Always set the volume to the minimum before starting any sources. If
the volume is set at a high level, the sudden blast of sound energy
can permanently damage your hearing and/or ruin your speakers.
Notes:
• The volume level can be adjusted within the range of “0” (minimum)
to “50” (maximum).
• When DVD is selected as the source with your TV turned on, the
volume level indication appears on the TV.
Listening with headphones
Connect a pair of headphones to the (phones) jack on the
front panel
.
This cancels the Surround mode currently
selected, deactivates speakers, and activates the
HEADPHONE mode.
The SPK. indicator goes off from the display.
• Disconnecting a pair of headphones from the
(phones) jack
cancels the HEADPHONE mode and activates speakers.
HEADPHONE mode
When using the headphones, the following signals are output
regardless of your speaker setting:
— For 2-channel sources, the front left and right channel signals
are output directly from the left and right headphones.
— For multichannel sources, the front left and right, center and
rear channel signals are down-mixed and then output from the
headphones without missing bass element.
—
For DVD AUDIO ONLY:
When the multichannel track
cannot be down-mixed, only signals of the front left and right
channel are output.
CAUTION:
Be sure to turn down the volume:
• Before connecting or putting on headphones, as high volume can
damage both the headphones and your hearing.
• Before removing headphones, as high volume may output from the
speakers.
MASTER VOLUME
+
–
VOLUME
EN11-14RX-DV5SL[B]2.pm5
02.8.6, 6:01 PM
11


