IDP 75, 250, 800, and 8200 Installation Guide
32
Adding Your Sensor to NSM
7.
Verify the SSH key fingerprint to prevent man-in-the-middle attacks:
a.
Connect a PC or terminal to the IDP sensor using the console serial port.
b.
Log in as root.
c.
Type
cd /etc/ssh
and press Enter.
d.
Type
ssh-keygen -l -f ssh_host_dsa_key
and press Enter.
You see something similar to this:
1024 f4:91:d0:04:b7:61:00:77:45:c3:cc:bd:af:b3:5b:a2 ssh_host_dsa_key.pub
8.
After you have verified the key, click
Next
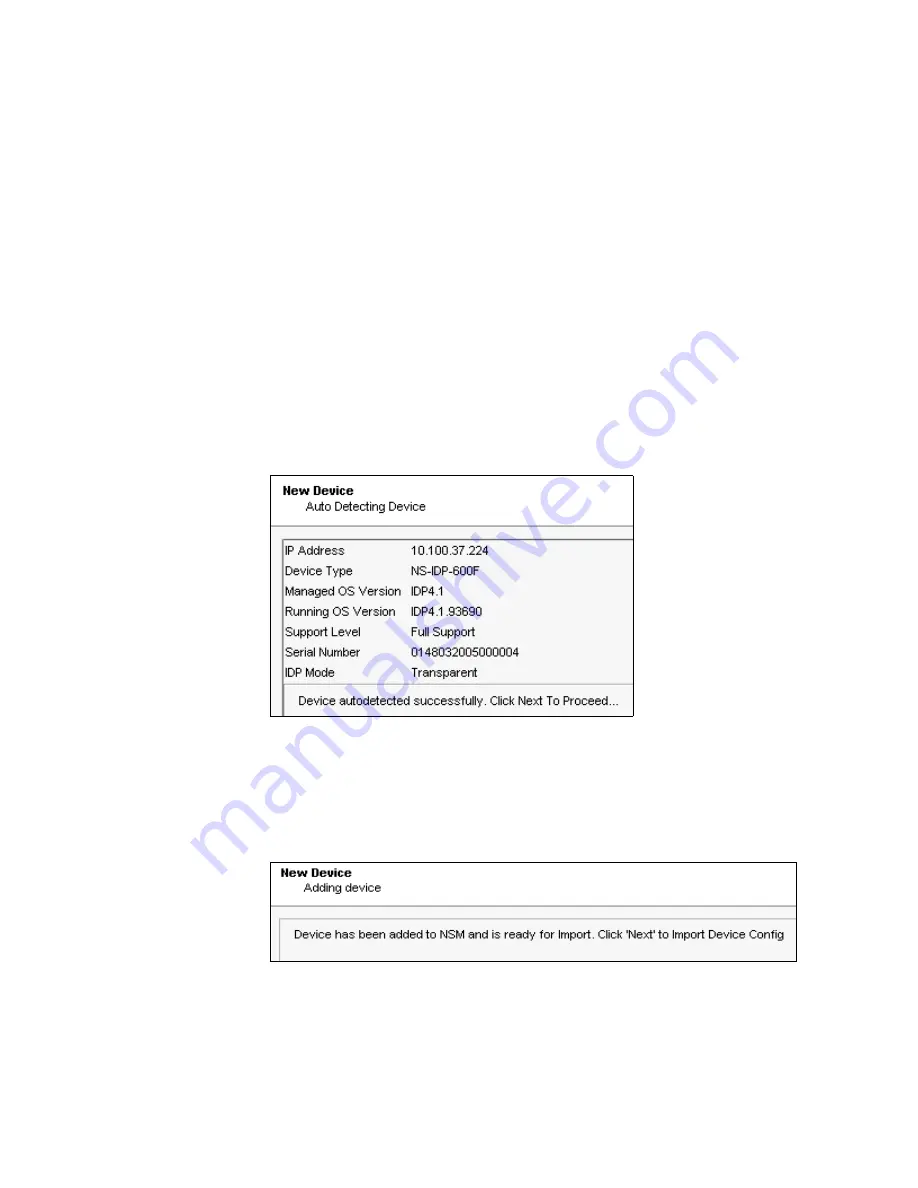
to display device information
retrievable by NSM (Figure 16). This takes a moment.
Figure 16: Add Device Wizard - Retrieved Settings
9.
Verify that the device type, OS version, device serial number, and device mode
are correct.
10. Click
Next
to add the sensor to NSM as a managed device. (See Figure 17.)
Figure 17: Add Device Wizard - Adding the Device
11. Click
Next
to have NSM import settings already present on the sensor. (See
Figure 18.)
Summary of Contents for IDP 250
Page 6: ...vi Table of Contents IDP 75 250 800 and 8200 Installation Guide...
Page 8: ...viii List of Figures IDP 75 250 800 and 8200 Installation Guide...
Page 10: ...x List of Tables IDP 75 250 800 and 8200 Installation Guide...
Page 14: ...IDP 75 250 800 and 8200 Installation Guide xiv Requesting Technical Support...
Page 20: ...IDP 75 250 800 and 8200 Installation Guide 6 IDP Configuration Basics...
Page 48: ...IDP 75 250 800 and 8200 Installation Guide 34 Checking the Status of Your Sensor...
Page 52: ...IDP 75 250 800 and 8200 Installation Guide 38 Reimaging the IDP Sensor...
Page 56: ...IDP 75 250 800 and 8200 Installation Guide 42 Replacing a Hard Drive IDP 800 and 8200 Only...
Page 68: ...IDP 75 250 800 and 8200 Installation Guide 54 Index...


