


VM8013
7
OPERATION
Power
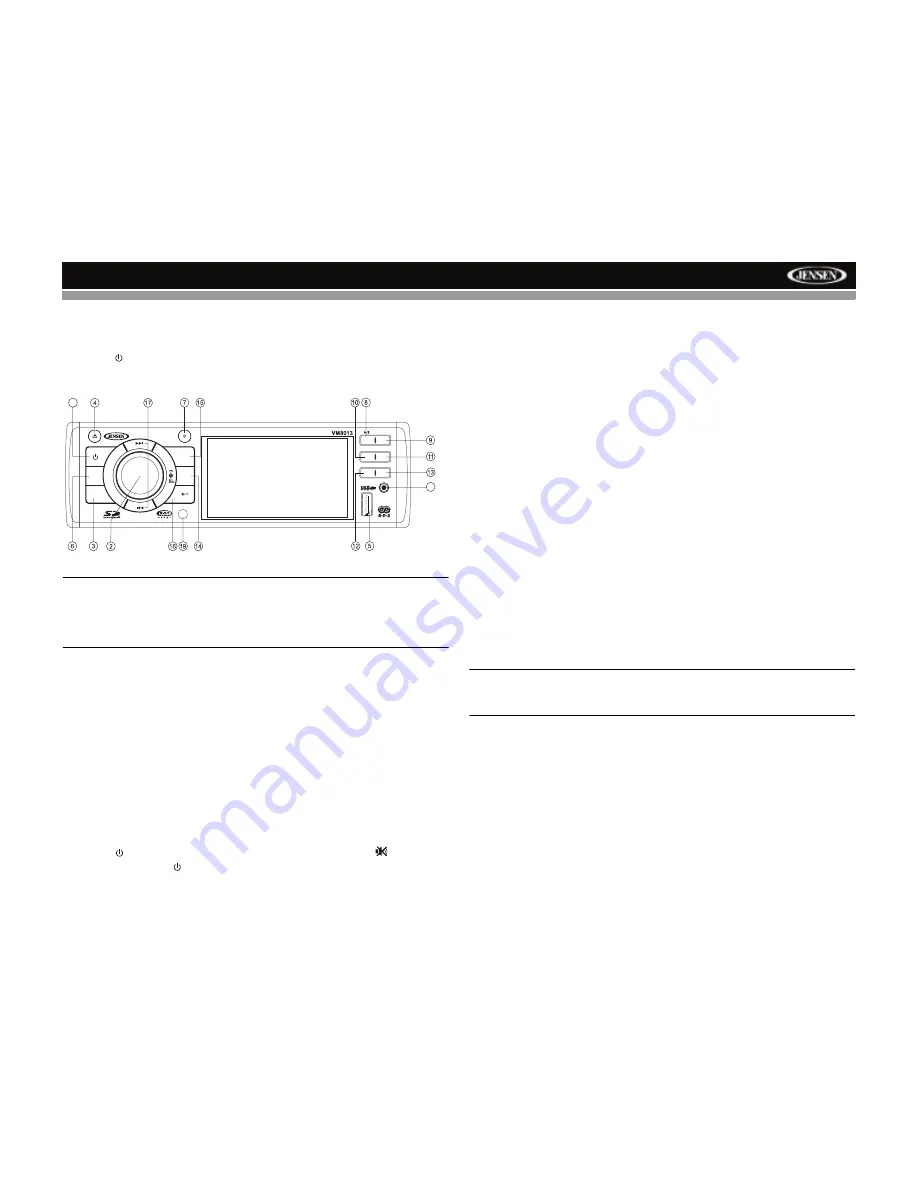
Press the (power) button
(1) to turn the unit on.
Press and hold
the power
button
again to turn the unit off.
NOTE: LCD panels may take longer to respond when subjected to cold
temperatures for an extended period of time. In addition, the visibility
of the numbers on the LCD may decrease slightly. The LCD display
will return to normal when the temperature increases to a normal
range.
Source
Press the
SRC
button (6) repeatedly to scan the various sources. A source
is only displayed when accessible (optional equipment required for some
sources). Available modes include Radio (FM1, FM2, FM3, AM1, AM2),
SAT, DISC, SD, USB, and auxiliary (AUX IN).
External Devices
External peripheral devices, including a game console, camcorder,
navigation unit, iPod, Zune, etc. can be connected to the
AUX IN
connector
(18) on the front of this unit using the 3.5mm A/V Media Cable (included).
Select “SOURCE >> AUX IN” to access auxiliary devices. You cannot
directly control external devices connected to the AUX IN input.
Audio Mute
Press the (power) button (1) to silence the audio volume. “
” appears
on the display. Press (power) again to restore volume to the previous
setting.
Volume Control
To increase the volume, turn the
VOL/SEL/MENU
(rotary encoder) (2)
clockwise. To decrease the volume, turn the rotary encoder counter-
clockwise. When volume is adjusted, the volume level will be shown on the
display panel as a number ranging from “0” (lowest) to “40” (highest).
SWC Interface (Optional)
The VM8013 is compatible with PAC (Pacific Accessory Corporation)
adapter SWI-PS steering wheel control interface. A 3.5mm female
connector (labeled SWC Interface) on the back of the head unit is used to
connect to the SWI-PS adapter. When the SWI-PS is installed, the following
functions are available:
1.
Vol +
2.
Vol -
3.
Mute
4.
Seek +
5.
Seek -
6.
SRC (Source)
7.
Band
Audio Menu
Press the
VOL/SEL/MENU
button (2) to access the audio menu. Press the
VOL/SEL/MENU
button repeatedly to move through the list of menu
options.
NOTE: Audio settings only apply to the current source (Source Tone
Memory). You must make audio adjustments for another source when that
source is active.
•
Sub_w: When the Low Pass Filter is activated (see “Menu Operation”
on page 8), you can use the
VOL/SEL/MENU
rotary encoder to adjust
the subwoofer volume from “-14” to “0”.
•
BASS: Turn the
VOL/SEL/MENU
rotary encoder (2) to adjust the bass
level from “+7” to “-7”.
•
TREBLE: Turn the
VOL/SEL/MENU
rotary encoder to adjust the treble
level from “+7” to “-7”.
•
BALANCE: Turn the
VOL/SEL/MENU
rotary encoder to adjust the
balance from “R7” (full right) to “L7” (full left).
•
FADER: Turn the
VOL/SEL/MENU
rotary encoder to adjust the fader
from “F7” (full front) to “R7” (full rear).
1
SRC
DIM
PTY
1
2
3
4
5
6
BAND
A/V IN
UP
RDM
INT
CH/
CAT
DISP
iPod Menu
DN
RPT
18
Summary of Contents for VM8013
Page 2: ......
Page 4: ...ii VM8013...


