64
IN CASE OF EMERGENCY
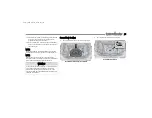
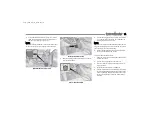
5. Raise the vehicle by turning the jack screw clockwise.
Raise the vehicle only until the tire just clears the
surface and enough clearance is obtained to install
the spare tire. Minimum tire lift provides maximum
stability.
6. Remove the lug nuts and wheel.
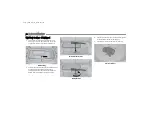
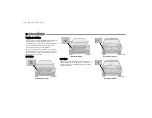
7. Position the spare wheel/tire on the vehicle and
install the lug nuts with the cone-shaped end toward
the wheel. Lightly tighten the nuts.
Mounting Spare Tire
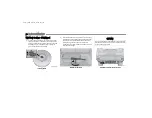
8. Lower the vehicle by turning the jack screw counter
-
clockwise, and remove the jack and wheel blocks.
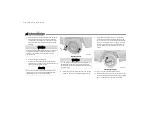
9. Finish tightening the lug nuts. Push on the end of the
wrench handle for increased leverage. Tighten the lug
nuts in a star pattern until each nut has been tightened
twice. For correct lug nut torque
page 91. If in doubt
about the correct tightness, have them checked with a
torque wrench by an authorized dealer or at a service
station.
Tightening The Lug Nuts
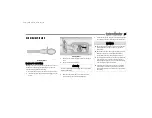
10. Lower the jack to the fully closed position.
11. Return the Jack and tools back into the jack storage
bin. Reinstall the jack storage cover by firmly pushing
down until the two side clips lock into position.
WARNING!
Raising the vehicle higher than necessary can make the
vehicle less stable. It could slip off the jack and hurt
someone near it. Raise the vehicle only enough to
remove the tire.
CAUTION!
Be sure to mount the spare tire with the valve stem
facing outward. The vehicle could be damaged if the
inflatable spare tire is mounted incorrectly.
WARNING!
To avoid the risk of forcing the vehicle off the jack, do
not tighten the wheel nuts fully until the vehicle has
been lowered. Failure to follow this warning may result
in serious injury.
23_W7_EIG_EN_IN_t.book Page 64


