background image

6

setting the alarms

1.  Press the 

ALARM/SNOOZE/SLEEP

 button on the unit to set ALARM 1.

2.  The alarm 

ON

 or 

OFF

 will flash. Press the     buttons to set alarm 

ON

 or 

OFF

, then 

press the 

ENTER/

   button to confirm.

3.  If the alarm is turned on, the hour digits will flash. Press the     buttons to adjust 

the hour digits, then press the 

ENTER/

   button to confirm.

4.  The minute digits will flash. Press the     buttons to adjust the minute digits, then 

press the 

ENTER/

   button to confirm.

5.  The alarm type will flash. Press the     buttons to select the alarm type. (

BEEP Tone 

1, BEEP Tone 2, DAB, FM or iPod

). Press the 

ENTER/

   button to confirm.

6.  To set ALARM 2, press the 

ALARM/SNOOZE/SLEEP

 button twice on the unit, then 

repeat the above steps 2-5.

7.  When alarms are set, the “   ” or “ 

 ” indicators will display on the screen in 

Standby


mode (depending on what you have set).

snooze function

1.  Press the 

ALARM/SNOOZE/SLEEP

 button when the alarm sounds. The snooze 

indicator “ 

Zz

 ” will illuminate in the display. The alarm will go off and will then sound 

again in approximately 5 minutes.

2.  To turn off the alarm, press the 

STANDBY

 button when the alarm sounds. The “   ” 

and / or “ 

 ” indicator will still illuminate in the display and the alarm function will 

still be active the next day.

sleep timer function

This function automatically switches the unit to Standby mode after the preset time has 

elapsed.
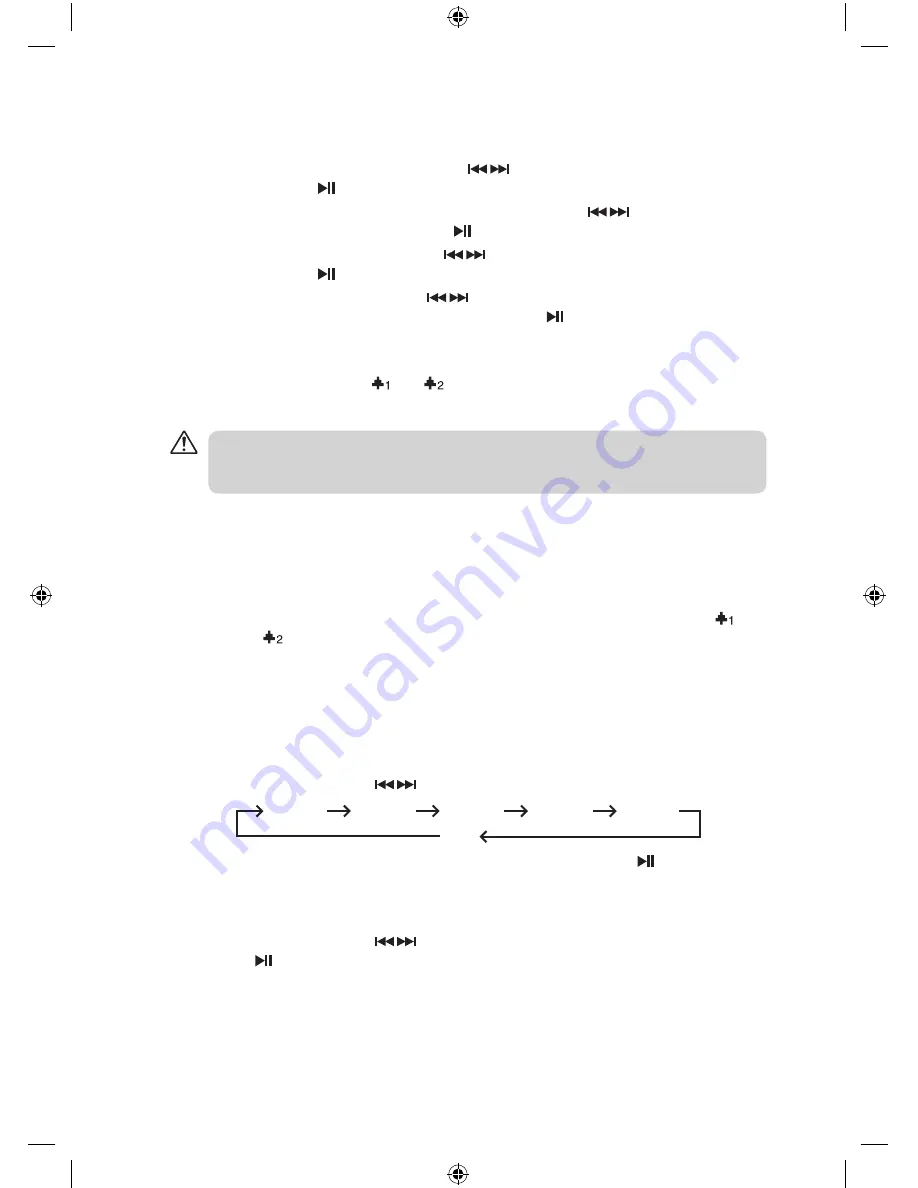
1.  To activate the sleep timer function, press and hold the 

ALARM/SNOOZE/SLEEP


button and then press the     buttons to select the sleep time (in minutes):

15 mins

30 mins

45 mins

60 mins

90 mins

OFF

2.  When the display shows your desired sleep time, press the 

ENTER/

   button to 

confirm. “

S #

” will show on the display to indicate that the sleep timer function has 

been activated. The sleep timer counts down from the number of minutes selected.

3.  To cancel the sleep timer function, press and hold the 

ALARM/SNOOZE/SLEEP


button and then press the     buttons until “

OFF

” is shown on the display. Press the 

ENTER/ 

 button to confirm. The selected timer will turn off in the display window.

If 

DAB/FM/iPod

 mode is selected as the 

Alarm

 mode, make sure that the volume is set to a 

level that can wake you up. The alarm volume remains at the level set the last time the unit 

was used.

iPHDKDB10_IB_110920_Zell.indd   6

20/09/2011   11:05 AM

Summary of Contents for iPHDKDB10

Page 1: ...DAB clock radio with docking for iPhone and iPod iPHDKDB10 instruction manual iPod and iPhone not included iPHDKDB10_IB_110920_Zell indd 1 20 09 2011 11 05 AM...

Page 2: ...auto scan modes 8 manual tuning 8 secondary services 8 storing stations 9 recalling a stored station 9 display modes 10 FM operation 11 selecting FM mode 11 auto scan 11 manual scan 11 storing station...

Page 3: ...r purchasing your new iWantit DAB Clock Radio with Docking for iPhone and iPod We recommend that you spend some time reading this instruction manual in order that you fully understand all the operatio...

Page 4: ...3 9 11 12 ON OFF DC AUX IN 14 15 17 16 2 iPod iPhone Dock 3 MODE Button 4 STANDBY Button 5 INFO Button 6 PRESET Button 7 Button 8 ALARM SNOOZE SLEEP Button 9 SCAN Button 10 ENTER Button 11 VOL Button...

Page 5: ...een found so far Once the scan has finished the unit will select the first alphanumeric station The broadcaster Radio station provides clock and date information automatically You cannot manually set...

Page 6: ...minutes 2 To turn off the alarm press the STANDBY button when the alarm sounds The and or indicator will still illuminate in the display and the alarm function will still be active the next day sleep...

Page 7: ...onds and then release it to view the software version of this unit 2 The software version will automatically disappear after 5 seconds In FM mode press the INFO button again within 5 seconds to displa...

Page 8: ...were missed while auto tuning 1 Press and hold the ENTER button the display will now show Manual tune 2 Press the buttons to cycle through the DAB channels which are numbered from 5A to 13F 3 After y...

Page 9: ...tion number 3 Press the ENTER button to confirm the selection 4 The station will be stored and the display will show Preset stored recalling a stored station 1 Once you have saved a station to one of...

Page 10: ...the signal is the stronger the signal the longer the bar will be time date The broadcaster Radio station provides clock and date information automatically You cannot manually set this information on t...

Page 11: ...uttons repeatedly until your desired frequency is reached storing stations You can store up to 10 of your favourite stations to the preset stations This will enable you to access your favourite statio...

Page 12: ...of the current station e g 89 80MHz audio mode When in FM mode the display will show if the station being received is in mono or stereo The receiver will automatically switch between Stereo and Mono m...

Page 13: ...the mains socket and the unit Switch the ON OFF switch to the ON position The unit will enter Standby mode 3 Press the STANDBY button on the unit to switch the unit on 4 To select AUX mode press the M...

Page 14: ...e in your area or poor reception due to bad weather Adjust the position of the aerial Use full scan function to search for new stations The display is blank This may occur if the broadcaster changes t...

Page 15: ...mains supply before connecting disconnecting other devices or moving the unit Unplug the unit from the mains socket during a lightning storm In the interests of safety and to avoid unnecessary energy...

Page 16: ...oday for the easiest way to buy electrical spares and accessories With over 1 million spares and accessories available we can deliver direct to your door the very next day Visit www partmaster co uk o...

Reviews: