PAGE 15
IRONKEY ENTERPRISE USER GUIDE
# Step
Description
3
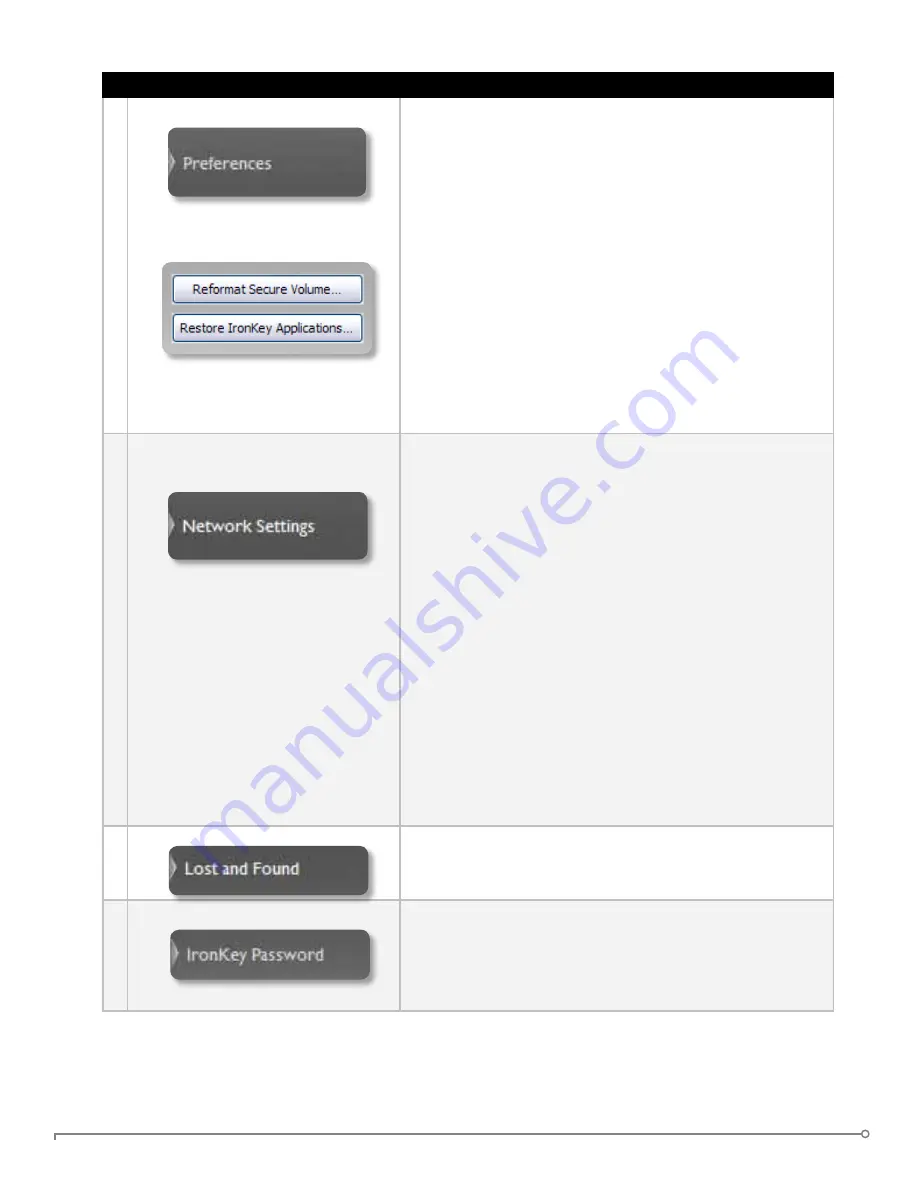
Configuring your preferences
Click “Settings” to configure your preferences.
»
You can enable the Identity Manager.
»
You can enable Secure Sessions.
»
Select the default web browser for your IronKey.
»
You can set a device time-out to automatically lock
your IronKey after a specified period of inactivity.
»
You can install the IronKey Auto-Launch Assistant,
which automatically opens the IronKey Unlocker
when you plug in an IronKey. (Mac only)
Important drive maintenance features:
»
You can reformat your secure volume.
»
You can restore your IronKey applications if they are
ever erased or corrupted. (Windows only)
4
Configure your IronKey’s network
and proxy settings
Click “Network Settings” (Windows) or “Network”
(Mac) to configure how your IronKey connects to the
Internet:
»
Direct Connection
: Does not use a proxy.
»
Use System Settings
(default): Uses the proxy settings
of your computer from the following locations.
Windows: Control Panel > Internet Options
Mac: System Preferences > Network > Proxy
IMPORTAnT:
Firefox proxy settings must be the same
as System Preferences and IronKey Control Panel. Firefox
does not use System Preference data.
»
Configuration Script
: Enter the URL or path to where
your Web Proxy Auto-Detect file is located.
»
Manual Proxy
: Enter the URL and port number for
your proxy server.
If proxy authentication is required, you can enter your
username and password in the appropriate fields.
5 Creating a Lost and Found Message You can show your contact information on the IronKey
Unlocker window. If you lose your IronKey, someone can
return it to you.
6 Changing your device password
You can change your device password, and, if enabled,
optionally back it up online to your Online Security Vault
at
my.ironkey.com
. Changing your password on a regular
basis is a good security practice. However, be especially
careful to remember your IronKey password.


