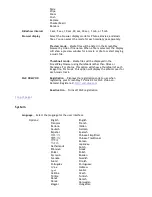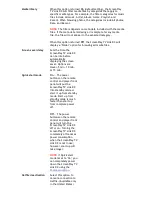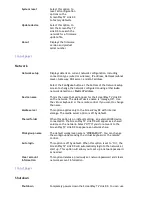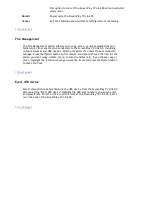
Installation and Setup
Connecting to a TV
The ScreenPlay TV Link DX supports several options for connecting to video and audio on your TV
or home entertainment center. Choose the option that provides the best quality video and audio
supported by your TV.
z
HDMI
— This is the best connection to use with an HDTV. It uses a single cable for both
video and audio.
z
Composite video with L/R audio
— This connection type is compatible with most standard
TVs. It uses a single cable for video and audio.
z
Optical audio
— This option provides better audio quality than L/R audio.
NOTE:
Do not connect the ScreenPlay TV Link DX through a VCR. Video signals fed through a VCR
may be affected by copyright protection systems and the picture will be distorted on the
television.
HDMI Connection
HDMI (high-definition media interface) supports standard, enhanced, or high-definition video, plus
multi-channel digital audio, on a single cable connection. This connection option is supported only
on high-definition (HD) TVs.
1. Connect the HDMI cable to the
back
of the ScreenPlay TV Link DX.
2. Connect the other end of the HDMI cable to the HDMI input connection on the TV set.
|
top of page
|
Composite Video Connection
Composite video is compatible with most TV sets. The following instructions use the composite
video connector on the ScreenPlay TV Link DX and the L/R audio connectors. If desired, you can
use the optical audio option rather than L/R audio.
1. Connect the composite AV cable to the composite video output connector (yellow) and the
L/R audio output connectors (red and white) on the
back
of the ScreenPlay TV Link DX,
matching the colors.
z
Installation Overview
z
Package Contents
z
Safety Information
z
Connectors and Indicators
z
Connecting to a TV
z
Connecting to a Network
z
First Time Startup
z
Power Down/Disconnect
z
Settings
Seite 11 von 65
27.06.2011
file:///C:/975415%20tvlinkdx-html-en/tvlinkdx-html-en/consolidated/printall.html


