71
To replace the power switch and system LEDs:
WARNING
The system is always on when connected to AC power. Before performing this
task, disconnect the system’s power cord from its AC power outlet.
1.
From inside the chassis, gently push each LED into the tabs that hold it to the chassis until it
clicks into place. Ensure the green LED is on the bottom.
2.
From inside the chassis, turn the power switch until its key matches the keyhole in the chassis,
and then push the power switch into the hole.
3.
Turn the power switch until the screw hole in the switch matches the keyhole in the chassis,
and then secure the switch to the chassis with the screw removed previously.
4.
Connect the power switch/system LED cable to its connector on the system board.
5.
Replace the internal-access device cage.
6.
Replace the faceplate.
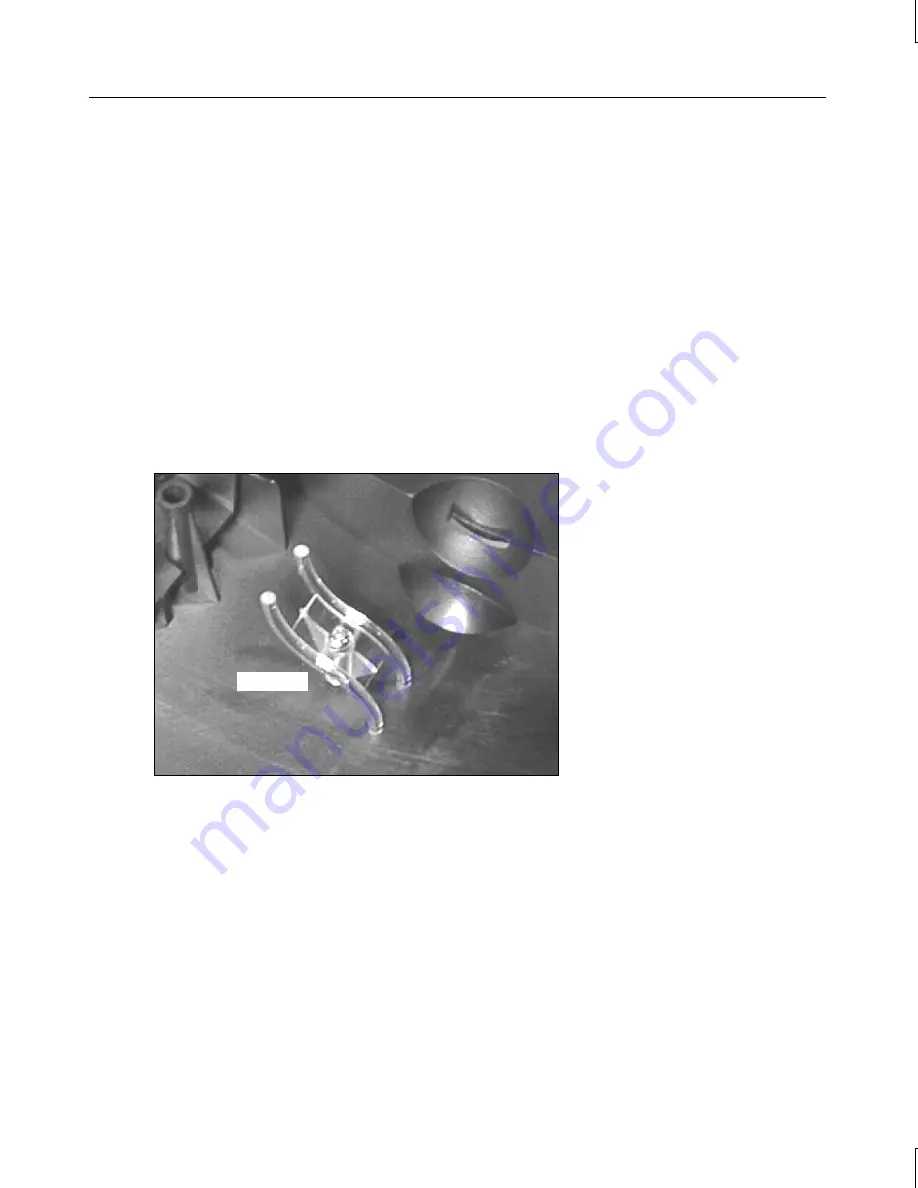
To replace the light pipe:
WARNING
The system is always on when connected to AC power. Before performing this
task, disconnect the system’s power cord from its AC power outlet.
1.
Remove the faceplate. See Chapter 7, “Gaining Access to System Components.”
2.
Remove and retain the screw securing the light pipe to its mount on the back of the faceplate.
3.
Remove the light pipe.
4.
Secure the new light pipe to the mount on the back of the faceplate with the screw removed
previously.
5.
Replace the faceplate.
Light Pipe
Summary of Contents for Zx10 Ultra-Tower
Page 1: ...Zx10 Ultra Tower System Guide May 2000 D1AA0033A...
Page 4: ......
Page 8: ...viii...
Page 12: ...xii...
Page 52: ...40...
Page 66: ...54...
Page 84: ...72...
Page 96: ...84...
Page 100: ......


