e.
su
Bw
OO
fer
19
64. repeat fOr the right side
Repeat all of this section for the other side of the vehicle. Obvi-
ously, you can omit the steps relating to the mirror switch!
65. suBwOOfer installatiOn
This entire section applies only to the subwoofer installation. If
you are not installing the subwoofer system please proceed to the
next section.
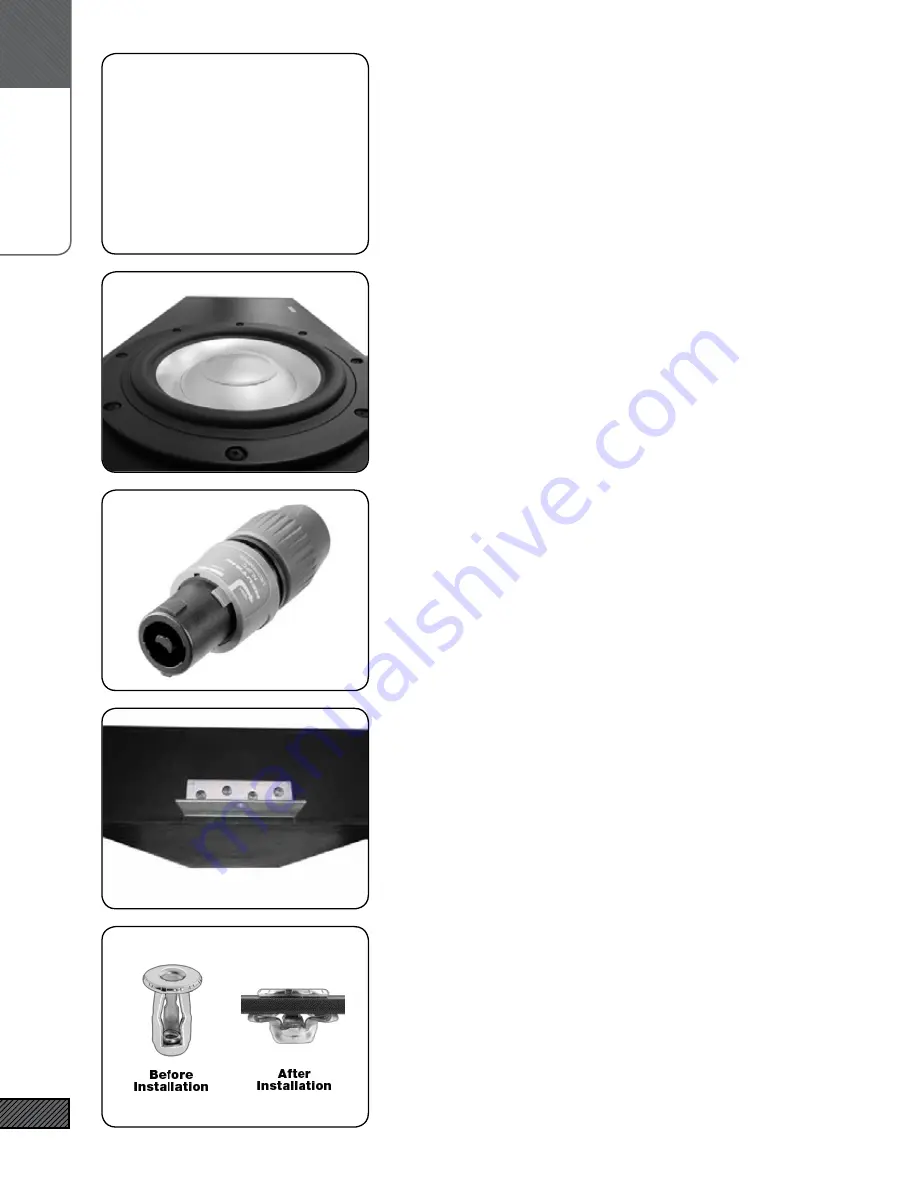
66. install neutriK speaK-On plug
Split and strip the other end of the 10ft length of Subwoofer
Speaker wire. Identify the cable-mount portion of the Neutrik
connector. Remove the blue portion and strain relief, and insert
the speaker wire through both. Loosen the terminal clamping
screws, insert each wire (observing the polarity markings on the
connector), and tighten the screw. Screw the blue portion onto
the housing.
67. attach the MOunting BracKets
Align the Mounting Brackets over the pre-drilled pilot holes and
attach using the (8) #10 screws.
68. threaded inserts (Overview)
Self-Sealing Threaded Inserts are used to secure the enclosure
to the vehicle. It is important that you follow these installation
steps carefully and completely. An extra Insert is provided in
case you run into trouble.
see previOus iMages


