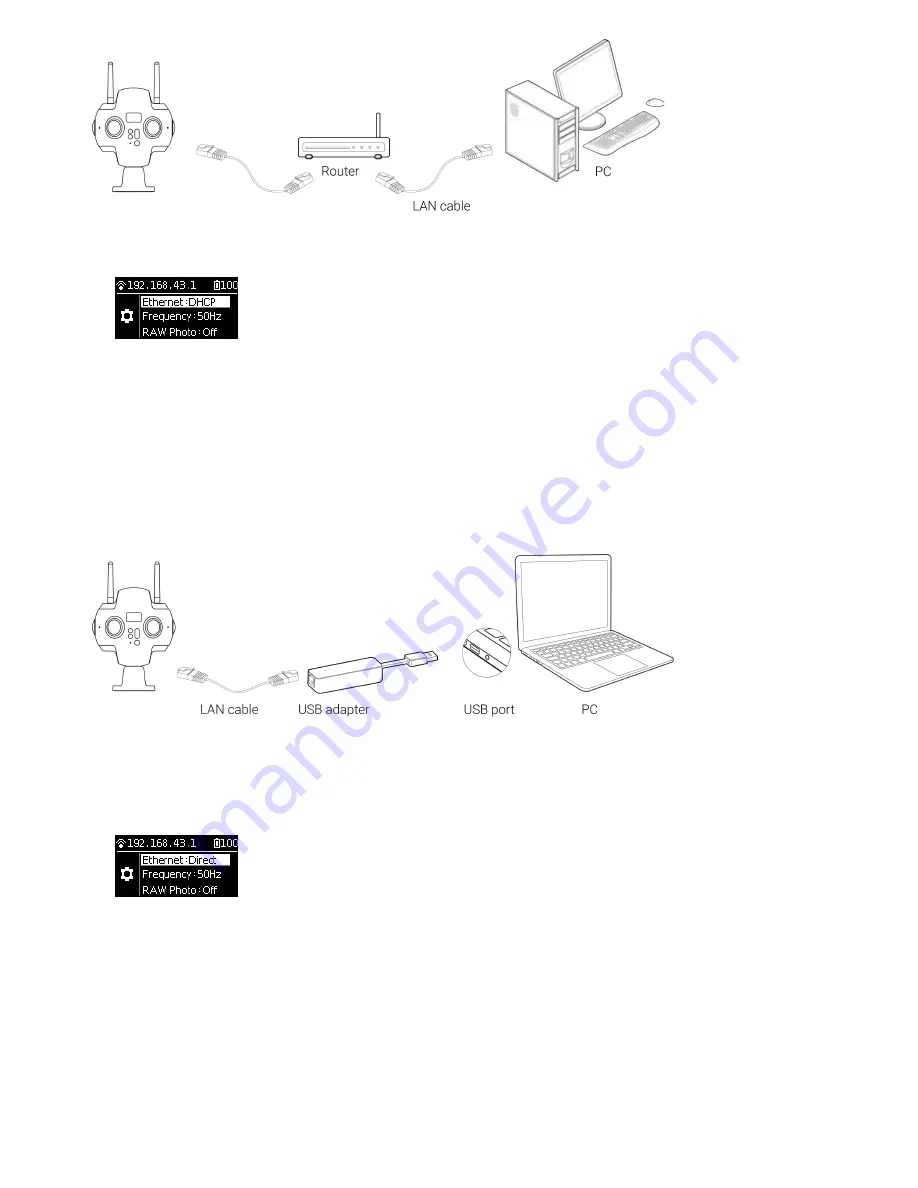
1. Enter the settings menu of Pro 2, set Ethernet to DHCP mode.
2. Connect Pro 2 to router through network cable, and the router's allocation mode needs to be DHCP, and the
computer connects to router’s LAN.
3. Ensure camera and computer are inside the same LAN, open the controlling client so ware on the computer, and
input IP address displayed on top of the camera screen.
Wired connection -- Direct connection mode
1. Enter the camera settings menu of Pro 2, set Ethernet to DHCP mode.
2. Connect Pro 2 to computer with network cable. If you want to connect some computer without Internet access, then
you need to switch to USB port by using the transverter. In this mode, the IP address of Pro 2 is fixed as
192.168.1.188, which requires to set up static IP for the PC network segment of 192.168.1. And it is recommended to
set as 192.168.1.100, with the subnet mask of 255.255.255.0.
Summary of Contents for Pro2
Page 1: ...Pro2 User Manual English ...
Page 11: ...Specification parameter Specification Parameter ...
Page 58: ......
Page 59: ......
Page 73: ...Methods for creating HDR images by using Photoshop ...
Page 74: ......
Page 93: ...Open camera raw filter for color grading ...
Page 94: ...Once again we apply polar coordinate e ect to return to the rectangular of 2 1 ...
Page 122: ...Distort Polar Coordinates Polar to Rectangular Image Rotation 180 ...
Page 166: ...2 AutoPano Video stitching Open AutoPano Video import videos ...
Page 191: ...Modify minimum Trakers Frame to be around 50 Maximum tracker Count to be around 500 ...
Page 201: ...Windows can also use PotPlayer to play ...
Page 215: ... 2 Click Start ...
Page 216: ......
Page 217: ... 3 A er stitching calibration select the option you need If there s no problem click Done ...


