7
4.2 Meter Modes
Once power is turned on to the meter the user has the option to scroll
through and select 4-5 operating modes. (Review Mode does not
show if Data Logging is turned off) Use the MODE button to cycle
through the meter’s modes. The meter will automatically shut off after
2.5 minutes if no buttons are pressed.
Probe Mode
– Use this mode to make readings. The meter
defaults to this mode when turned on.
Calibrate Mode
– Use this mode to calibrate the meter.
Calibration is required when changing tips or shaft
configurations and recommended at the start of each day for
best accuracy.
Setup Mode
– Use this mode to change meter settings for
units of measure or to turn data logging on or off.
Raw Mode
– Use this mode to see raw sensor data. This
mode is primarily used for trouble shooting and not needed
for normal operation.
Review Mode
– Use this mode to review a previous probing.
This mode only shows and works when data logging is turned
ON.
4.2.1 PROBE MODE
Probe mode is for taking readings with the meter and is
detailed below in section 4.3. The meter can operate
with or without saving readings to a data file. This
logging function is set as described in Setup Mode
section 4.2.3. If the logging is turned OFF then the meter
can still take readings and calculate multi-probe averages
but none of the data is stored for later download or for
review in Review Mode. When logging is turned ON the
meter tracks probings in its data file with an “N” number.
This number is consecutively assigned to each probing
while the logging function is on and is reported on the
meters LCD and later in the data file so the user can
track where the probing came from with his/her notes.
When the logging function is off, the “N” number will only
show as “- -“. It is possible to turn the logging function on
and off as many times as desired during a days work but
only readings taken while logging is on will be in the data
file. Turning off the logging function does not delete
previously recorded data.
8
Step 2
4.2.2 CALIBRATE
MODE
This mode is used to calibrate the meter’s internal load
cell for drift which can occur due to temperature changes
or impact to the meter’s shaft. It is required that
calibration be done when ever a probe tip is changed or
shaft extensions are added or removed since the weight
of the shaft assembly is determined during calibration. It
is recommended that calibration be done at the start of
each day for best meter accuracy.
Select the CALIBRATE Mode and then press the START
button to begin calibration.
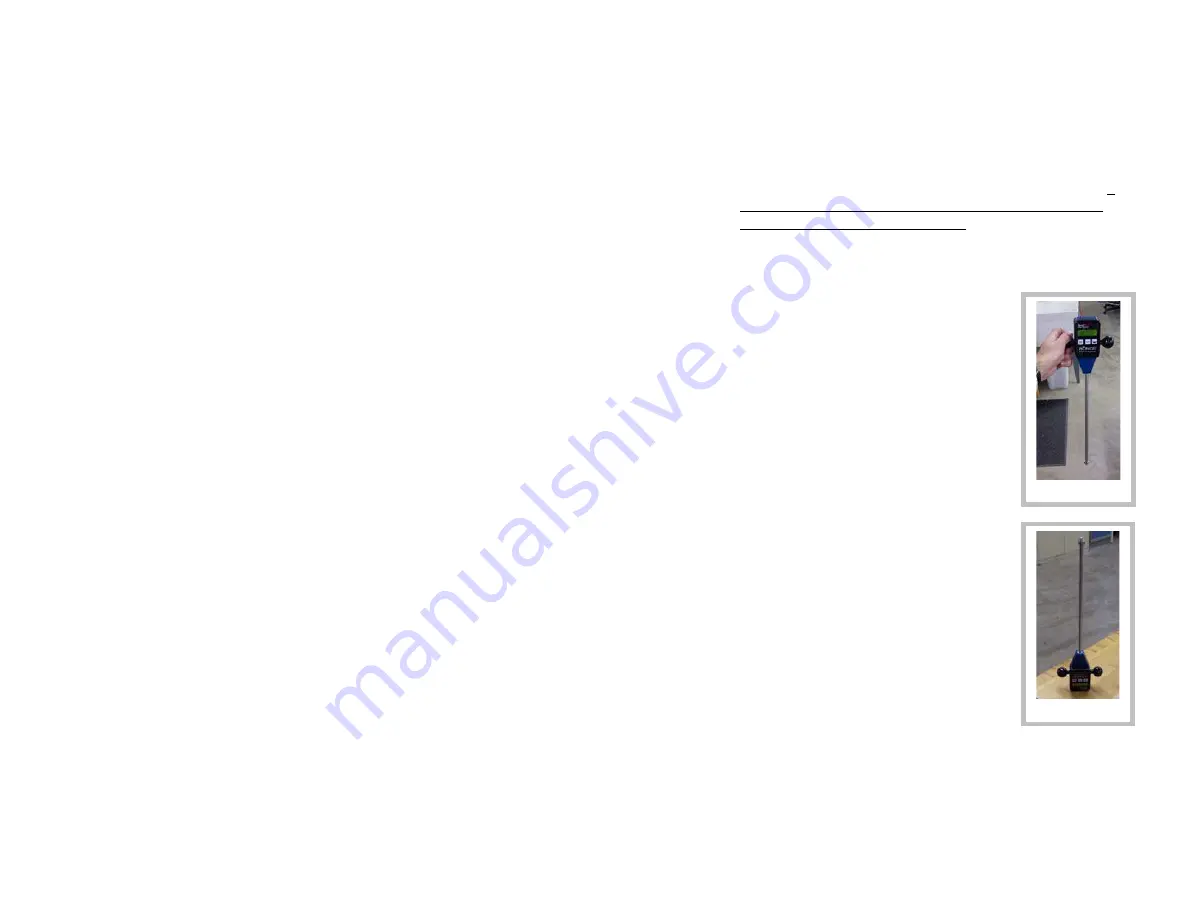
The meter goes through a 2 step
process to calibrate the load cell and
measure the weight of the shaft and tip
currently installed. First the meter asks
for the user to “Hang Shaft” this means
to hold the meter up by the handles and
allow the shaft to hang freely down
without touching anything (see Step 1
photo). Press the START button and
wait for the meter to finish. The meter
then asks for “Shaft Up Now” this
means that the meter must be place up-
side-down on a flat stable surface so
that the shaft is pointing straight up in
the air (see Step 2 photo). This will
allow the meter to measure only the
weight of the shaft and tip as
configured. With the meter sitting on it’s
“head” press and release the start
button and wait for the meter to finish
calibration. Note that the meter will
automatically ask for a calibration if it
detects a change in the shaft length
being used.
Step 1


