


User’s manual
Using the system
45
Note
In all methods of access (A, B or C), the
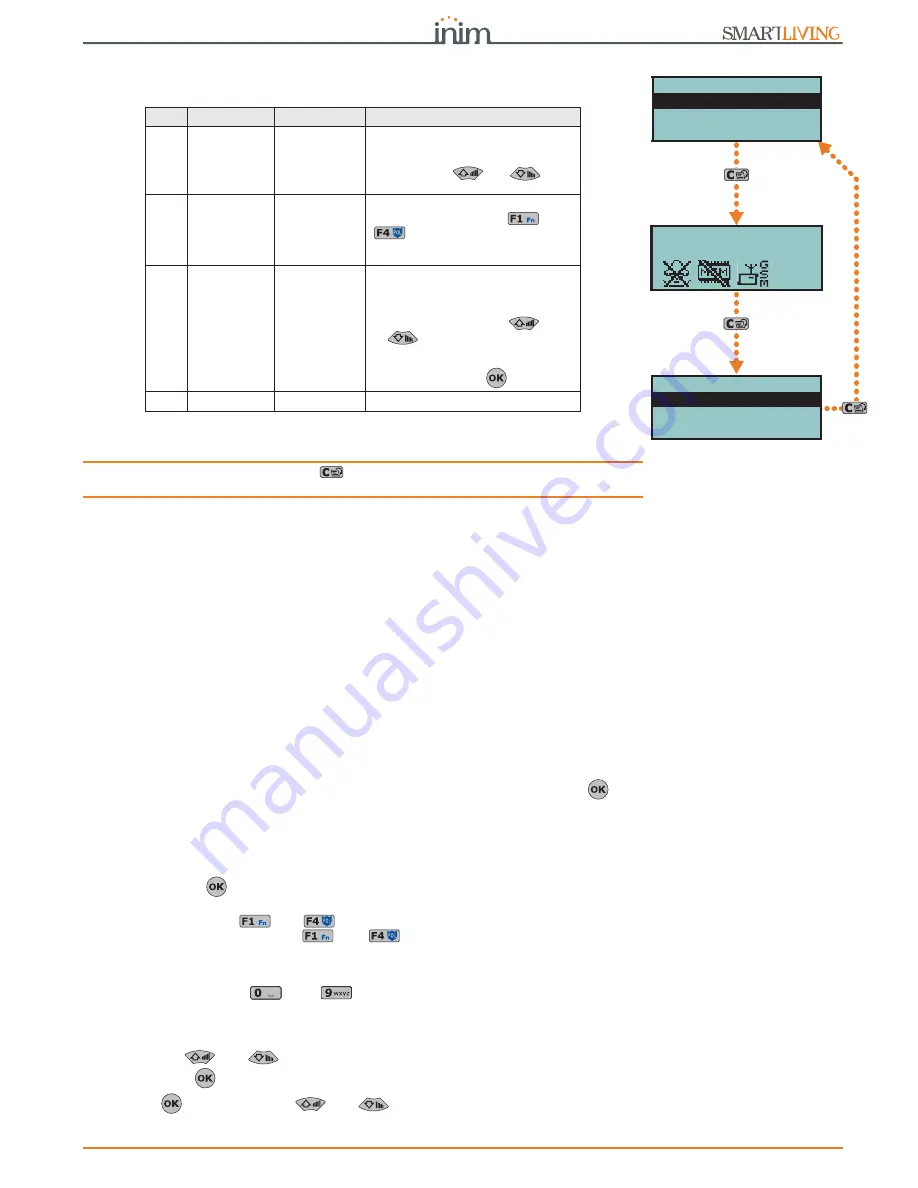
key allows you to access/view the successive cases
in the buffer, see figure.
•• AnnounceShortcut - if enabled on a voice capable keypad, the descriptions of
all the shortcuts assigned to the code and associated with the number keys will
be announced after acceptance of the entered PIN.
•• Remote access - if enabled, the code PIN can be used to operate the system
from any remote telephone.
If the code PIN is entered on a remote telephone keypad, only the shortcuts
associated with keys 0 to 9 can be used to:
-
Arm/Disarm
-
Stop alarms
-
Clear call queue
-
Delete memory
-
Activate Output
-
Deactiv. Output
-
Listen-in
-
Arming status
Any other type of command will have no effect.
•• Patrol - if enabled, the code will be able to disable the system for the pre-set
“Patrol time”.
•• Fixed length - if enabled, after typing in a PIN and without pressing the
key,
the user will be able to activate the shortcut associated with function key “F12”,
programmed via the “F1/4KeyShortcuts”, described later.
If this shortcut is number 1 (“Arm/disarm”) and all the partitions assigned to the
user code in question are disarmed, the command will arm them, otherwise it will
disarm them.
A user code with this option enabled has access to its own menu only after
pressing the
key and PIN entry.
• F1/4KeyShortcuts - this section allows you to configure up to 12 shortcuts
associated with keys
, ...,
. .After valid PIN entry the keypad will show the
icons that correspond to keys
, ...,
and which are associated with these
shortcuts. The respective shortcut will activate when the corresponding key is
pressed.
• 0/9 Key shortcuts - this section allows you to configure up to 10 shortcuts
associated with keys
, ...,
. After PIN acceptance, the code user can
activate the shortcut by pressing the respective number key.
To assign the shortcuts to the function keys, work through the following steps.
1. Use keys
and
to select the key you wish to associate with the shortcut
then press
.
2. Press
then, using keys
and
, select from the “Type” list the shortcut
you wish to associate with the function key.
Table 5-2: Combinations “text menu” and “user menu”
Case
Text menu
User menu
Description
A
Disabled
Enabled
Accesses the user-menu (shown as a list
of operations the user is enabled to per-
form); at this point the user can scroll
the list using
and
and
select the required option.
B
Disabled
Disabled
Visualization of the user-icons associ-
ated with function keys
, ...,
; at this point the user can press
the required function key and activate
the associated shortcut.
C
Enabled
Disabled
Shows the descriptions of the personal-
ized user-icons associated with function
keys. The descriptions of the shortcuts
are shown in place of their associated
icons. The user can use
and
to scroll the list of shortcut
descriptions and select the desired
shortcut, which can be activated by
means of the
key.
D
Enabled
Enabled
The same as “C”
User Code
User Code
Manage alarms
Arm/Disarm ops.
Voice functions
User Code
Stop alarms
Delete memory
Nexus status
(A)
(B)
(C)


