11
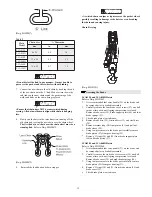
(Dwg. MHP0111)
3.
HOOK LATCH. Make sure hook latch is present and
operating. Replace if necessary.
CAUTION
• Do not use hoist if hook latch is missing or damaged.
4.
CONTROLS. During operation of the hoist, verify that
response to pendant is quick and smooth. Ensure
controls return to neutral when released. If hoist responds
slowly or movement is unsatisfactory, do not operate the
hoist until all problems have been corrected.
5.
AIR SYSTEM. Visually inspect all connections, fittings,
hoses and components for indication of air leaks. Repair
any air leaks found. Check and clean the filter.
6.
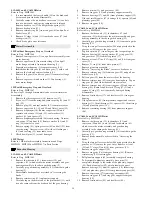
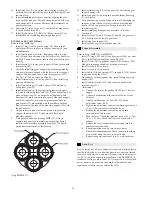
LOAD CHAIN. Examine each of the links for bending,
cracks in weld areas or shoulders, traverse nicks and
gouges, weld splatter, corrosion pits, striation (minute
parallel lines) and chain wear, including bearing surfaces
between chain links. Refer to Dwg. MHP0102. Replace a
chain that fails any of the inspections. Check chain
lubrication and lubricate if necessary. Refer to "Load
Chain" in the "LUBRICATION" section.
NOTICE
• The full extent of load chain wear cannot be determined by
visual inspection. At any indication of load chain wear,
inspect the chain and chain wheel in accordance with
instructions in "Periodic Inspection."
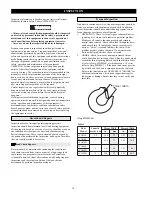
(Dwg. MHP0102)
7.
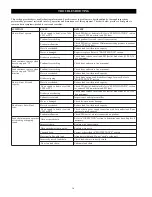
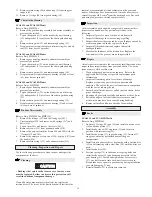
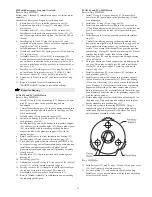
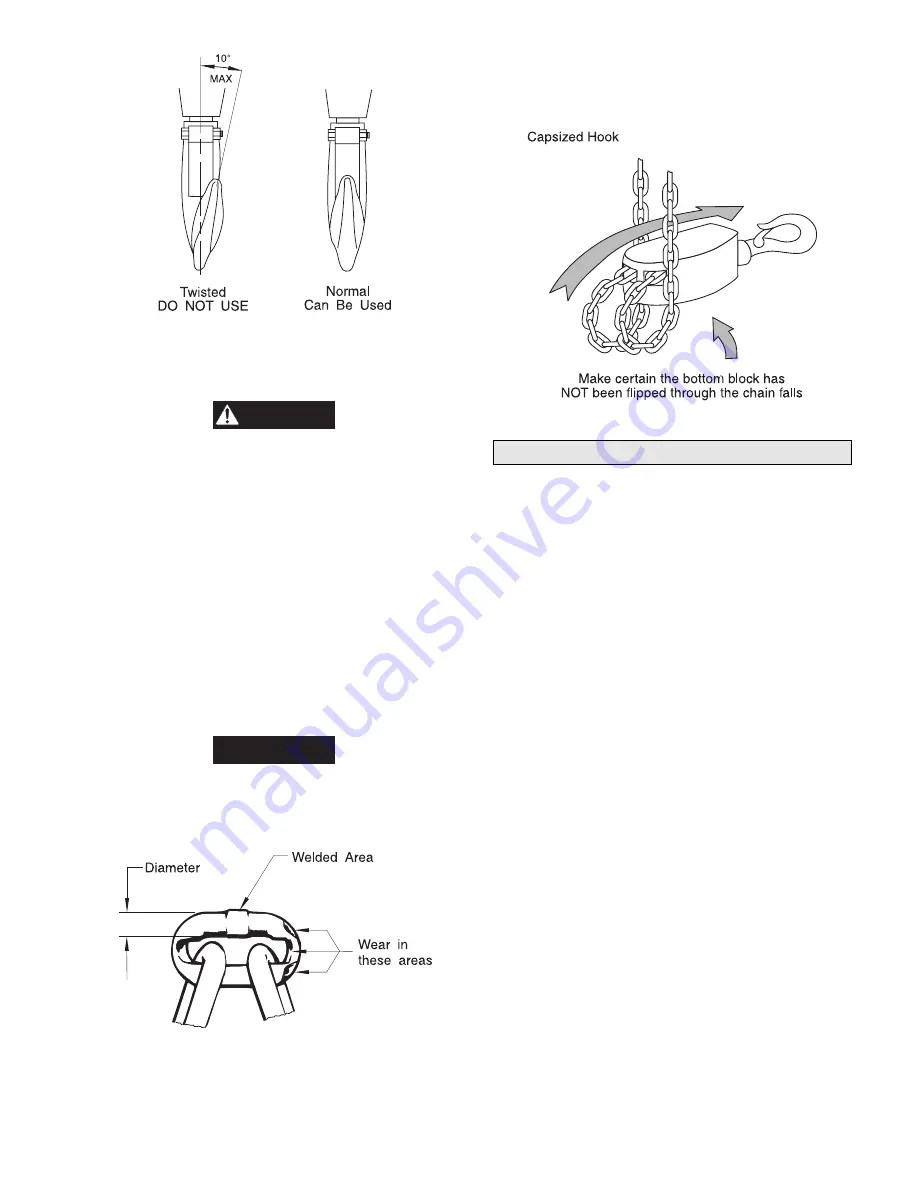
LOAD CHAIN REEVING. Ensure welds on standing links
are away from load sheave. Reinstall chain if necessary.
Make sure chain is not capsized, twisted or kinked. Adjust
as required. Refer to Dwg. MHP0043.
(Dwg. MHP0043)
Periodic Inspection
According to ASME B30.16, frequency of periodic inspection
depends on severity of usage:
NORMAL
HEAVY
SEVERE
yearly
semiannually
quarterly
Disassembly may be required for HEAVY or SEVERE usage.
Keep accumulative written records of periodic inspections to
provide a basis for continuing evaluation. Inspect all the items in
"Frequent Inspection." Also inspect the following:
1.
FASTENERS. Check all rivets, split pins, capscrews and
nuts. Replace if missing or tighten if loose.
2.
ALL COMPONENTS. Inspect for wear, damage,
distortion, deformations and cleanliness. If external
evidence indicates the need, disassemble. Check gears,
shafts, bearings, sheaves, chain guides, springs and covers.
Replace worn or damaged parts. Clean, lubricate and
reassemble.
3.
HOOKS. Inspect hooks carefully for cracks using magnetic
particle or other suitable non-destructive method. Inspect
hook retaining parts. Tighten or repair if necessary.
4.
LOAD CHAIN SPROCKET. Check for damage or
excessive wear. Replace if necessary. Observe the action of
the load chain feeding through the hoist. Do not operate a
hoist unless the load chain feeds through the hoist and hook
block smoothly and without audible clicking or other
evidence of binding or malfunctioning.
5.
MOTOR. If performance is poor, disassemble the motor
and check for wear or damage to bearings and shafts. The
parts should be cleaned, lubricated and reassembled.
Replace worn or damaged parts.
6.
BRAKE. Raise a load equal to the rated capacity of the
hoist a few inches (cms) off the floor. Verify hoist holds the
load without drift. If drift occurs, disassemble. Remove the
brake discs as described in the "MAINTENANCE" section.
Check and clean the brake parts each time the hoist is
disassembled. Replace the brake discs if the grooves are no
longer visible.
7.
SUPPORTING STRUCTURE. Check for distortion, wear
and continued ability to support a load.
Summary of Contents for LCA015
Page 26: ...25 SERVICE NOTES ...
Page 27: ...26 SERVICE NOTES ...
Page 31: ...30 LCA030S AND LCA060D HOIST ASSEMBLY PARTS DRAWING 3 and 6 ton Hoist Capacities Dwg MHP1464 ...
Page 33: ...32 LCA060S AND LCA120D HOIST ASSEMBLY PARTS DRAWING 6 and 12 ton Hoist Capacities Dwg MHP1465 ...
Page 50: ...49 SERVICE NOTES ...


