24
Setting Accessories ID with Main unit
QQ5 Plus
25
Setting Accessories ID with Main unit
QQ5 Plus
CleanMate QQ5 unit can work with up to 3 Sonic Walls, 2 Charging Bases,
and 1 Remote Control. All the parts included in the QQ5 retail package are
ready for use out of box, so you can skip this section. .
Any extra (or replacement) Sonic Wall, Charging Base & Remote Control must
be properly configured in order to use it with the QQ5 unit. Please follow the
easy Study steps below to check set up a new accessory device.
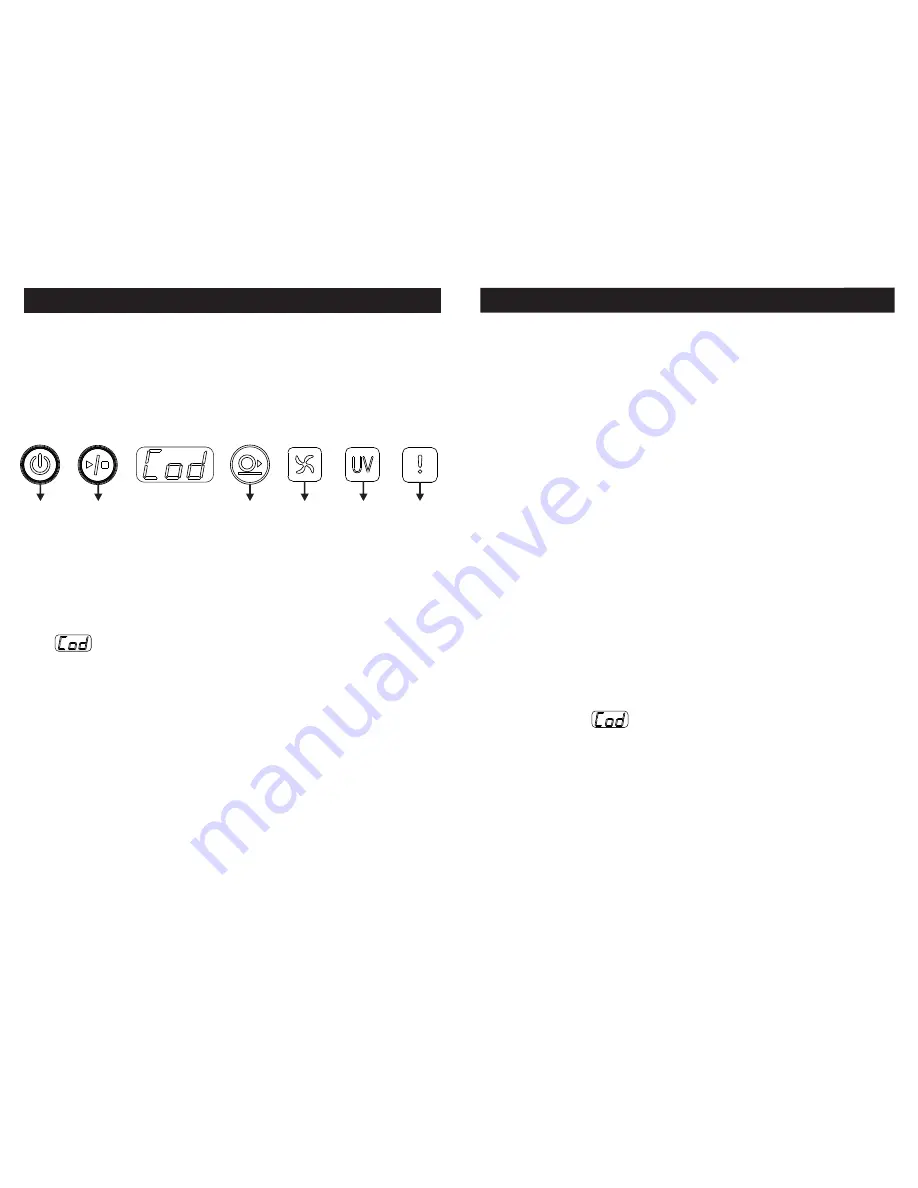
LED On -- device ID has been used
LED Off -- device ID not in use
Remote
Control
Charging
Base 1
Charging
Base 2
Sonic
Wall 1
Sonic
Wall 2
Sonic
Wall 3
Entering Study mode:
Press Power button on QQ5 main unit to turn it on, then press and hold
Start/Stop button till you hear 2 beeping sounds. The QQ5 display will
show , which means that it has entered Study mode.
Setting up an extra Charging Base:
If one of the Charging Base icons is does not light up (OFF) on the QQ5
main unit, you can add an extra Charging Base.
Step 1: Power on the extra Charging Base.
Step 2: Press and hold the Time Setting button until you hear 2 beeping
sounds. Now, the corresponding Charging Base icon will become ON, which
means that the new (or replacement) Charging Base has been properly
configured to be used with your QQ5 unit.
NOTE:
If both Charging Base indicators are ON, then you need to clear
previous ID saved on QQ5 main unit in order to add an extra Charging Base.
Setting up an extra Sonic Wall:
Step 1. Power on the Sonic Wall.
Step 2. Insert a toothpick into the hole on the back on Sonic Wall, pressing
down and hold it untill you hear beeping sounds. One of the Sonic Wall icon
that was OFF before should become ON now, which means that the new (or
replacement) Sonic Wall has been properly configured to be used with your
QQ5 unit.
NOTE:
If all 3 Sonic Wall indicators are ON, then you need to clear previous
ID saved on QQ5 main unit first in order to add an extra Sonic Wall.
Setting up a new Remote Control:
Step 1. Remove the battery from Remote Control.
Step 2. Press the Left and Right buttons at the same time. (Do not press any
other buttons).
Step 3. Re-install the battery to remote control while holding down the Left
and Right buttons.
Step 4. After you hear the beeping sounds and Remote Control indicator is
ON. It means that it means new Remote Control has been properly
configured to be used with your QQ5 unit.
Exiting Study mode:
Press the Power button on QQ5 main unit to exit Study mode, and save the
new device ID(s) to the QQ5 unit.
Clearing previously saved device ID:
In Study mode with displayed on QQ5, press and hold Start/Stop
button on QQ5 main unit until you hear beeping sounds. All the 6 devices
indicators will be OFF, and previously saved ID’s are all cleared now.
Once old devices ID’s are cleared, you must reset device ID (see steps above)
in order to use them with the QQ5 again.


