


AREA NO : 005
Gate 10
1
SHOT
3.
Move the camera to the right until the ending boundary of the
area is displayed.
4.
Enter code commands "2, SHOT" to set the current position as
the ending boundary for this area. This position is also the
starting boundary for the next area.
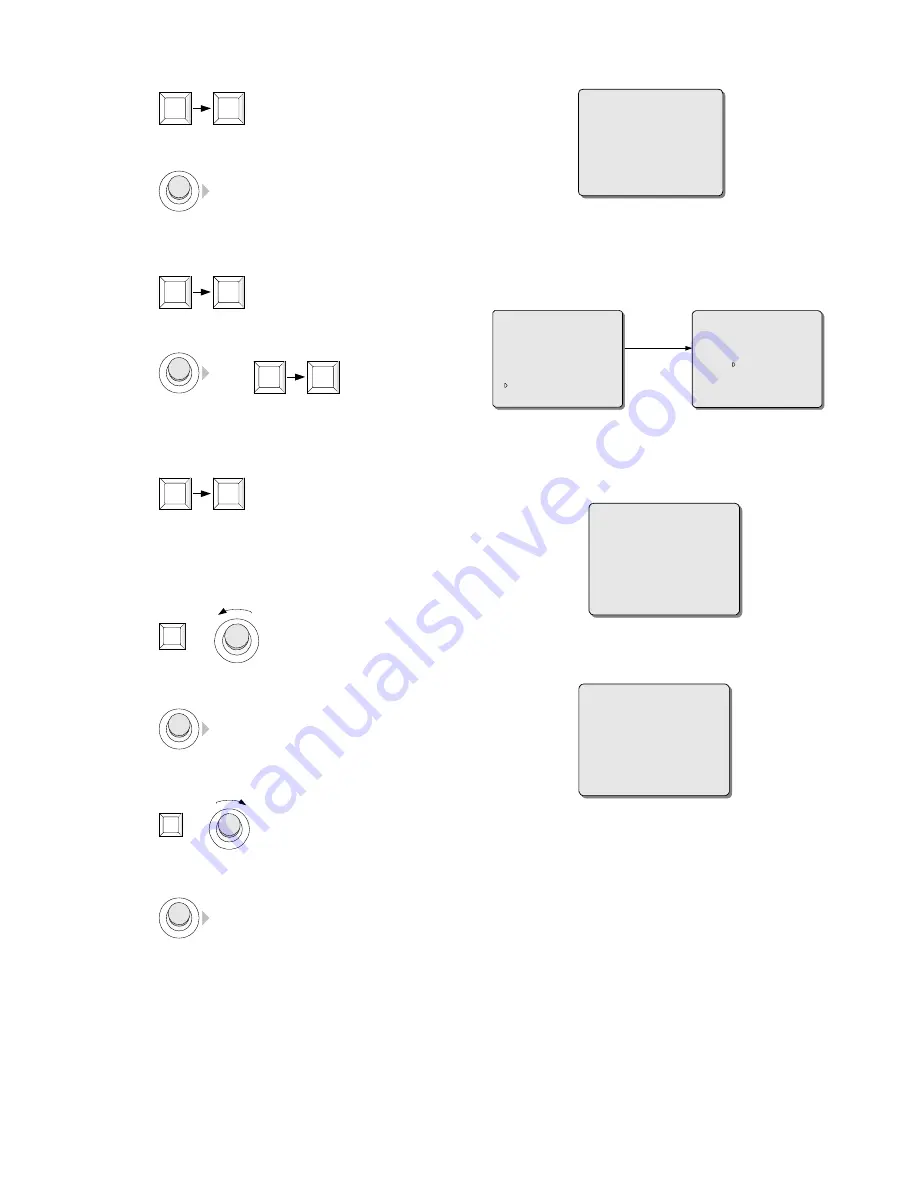
4.12 Default Set
The DEFAULT SET item in the main menu is generally used to
clear most
user-programmed data in the domes, and reset the dome
system to factory default.
2
SHOT
SET CAMERA ID
CAMERA SETUP
SET AE MODE
OSD SETUP
CONFIG HOME POSITION
ALARM ACTION AND STATE
AUTOPAN SET
PATTERN SET
AREA SET
DEFAULT SET
EXIT
DEFAULT DOME
RESET CAMERA
RETURN
5.
Repeat Steps 3 through 4 until the starting boundary of the last
area has been defined.
,
2
SHOT
Note:
The starting boundary of the first area is the ending boundary
of the last one.
DEFAULT DOME:
6.
Enter code commands "3, SHOT" to finish the setting operation.
Clear most user-programmed data in the domes, and reset the dome
system to factory default
3
SHOT
DEFAULT DOME
ARE YOU SURE ? NO
To locate a boundary point precisely:
If an area boundary needs to be precisely located,
1.
Zoom out the image to get a wide view (making the area appear
large);
WIDE
or
RESET CAMERA:
R
eset the camera and resume the status as powered on
2.
Move the camera until the desired boundary point is displayed
somewhere near the center of the screen;
RESET CAMERA
ARE YOU SURE ? NO
3.
Zoom in the image to get a close view (making the area appear
small but the objects appear large);
TELE
or
WARNING:
This procedure will erase
MOST
user-programmed
data.
4.
Move the camera until the enlarged image of the boundary point
is displayed in the screen center;
Note:
“LINE LOCK” and “PHASE ADJUST” in “OSD SETUP”
menu could not resume default.
5.
Enter appropriate code commands to set the boundary.
If the DISPLAY option has been set "ON" in the AREA SET menu,
overlay texts indicating area number and title description will be
displayed as long as the camera view stays in the area.
20


