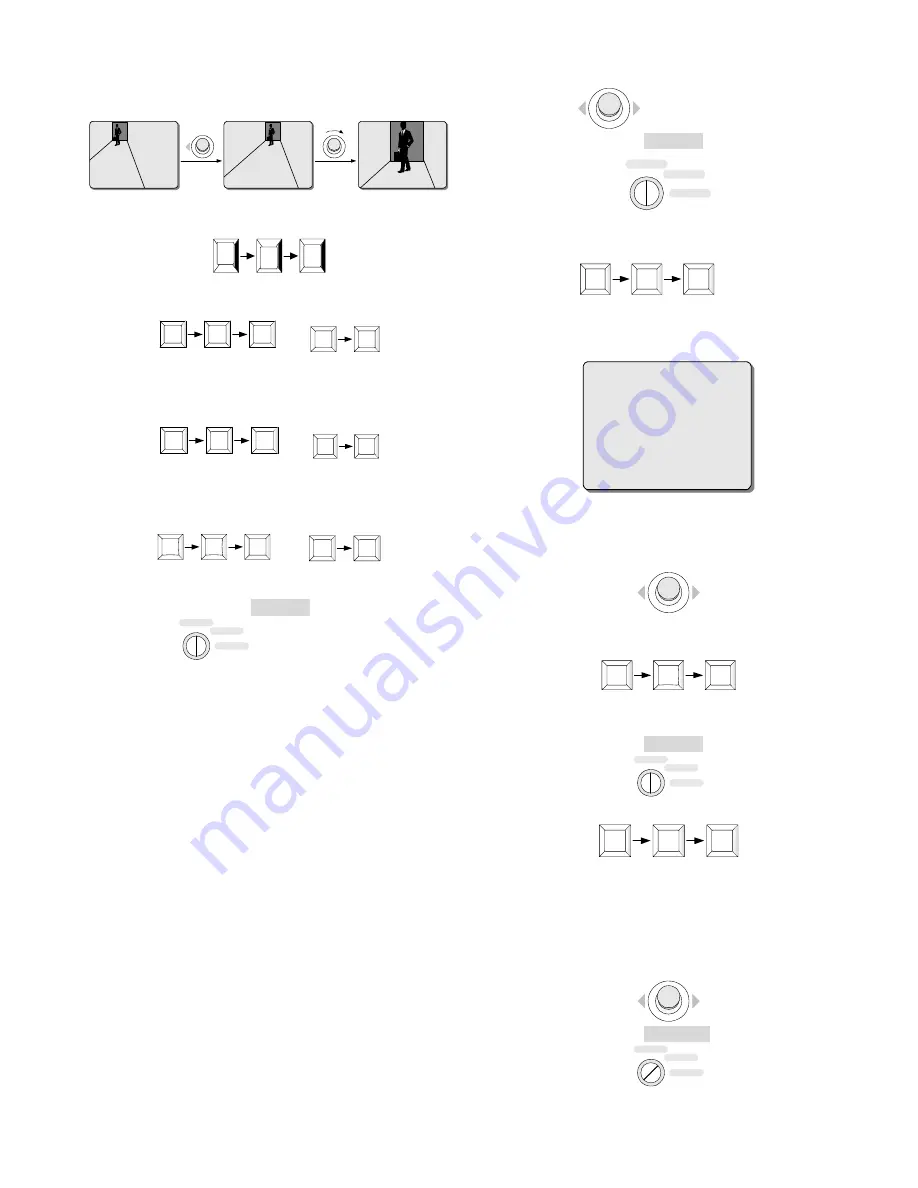
operations to finish a navigation course;
Pan Left
Zoom In
Example
4. Enter "69", and then press the SHOT key to save the navigation
course as a pattern;
SHOT
6
9
5. If pattern 2 is needed, Enter "71, SHOT" OR "2, PATRN" to start
recording Pattern 2 (or otherwise skip to step 11);
7
1
SHOT
OR
2
PATRN
6. Repeat step 3 and 4 to save Pattern 2;
7. If pattern 3 is needed, Enter "72, SHOT" OR "3, PATRN" to start
recording Pattern 3 (or otherwise skip to step 11);
7
2
SHOT
OR
3
PATRN
8. Repeat step 3 and 4 to save Pattern 3;
9. If pattern 4 is needed, Enter "73, SHOT" OR "4, PATRN" to start
recording Pattern 4 (or otherwise skip to step 11);
7
3
SHOT
OR
4
PATRN
10.
Repeat step 3 and 4 to save Pattern 4;
11. Place the key switch at the OPERATE position;
OPERATE
PROGRAM
MENU
To recall a pattern once
The procedures to recall a pattern once under PELCO-D/P protocols
are the same with those under INFINOVA protocol.
3.5 Setting and Calling up a Autopan
With the AUTOPAN features, the domes can automatically move
back and forth between two pre-defined positions (AUTOPAN
boundaries). This allows the domes to continuously scan through an
area when no manual operation is performed.
The parameters of autopan such as direction, speed, dwell time, title
can be set via AUTOPAN SET menu. While the start/end point and
calling of autopan are programmed via Infinova V2117 system
keyboards.
Below is the way to program and call up autopan under INFINOVA,
PELCO-D/P protocols:
To define the start point
1.
Use the joystick to move the camera to the position that is desired
as the start point;
2.
Place the key switch at the OPERATE position.
OPERATE
PROGRAM
MENU
3.
Enter code commands "92, SHOT" to set the current position as
the start point.
9
2
SHOT
4.
The following overlay messages will be displayed, indicating the
start point has been defined, and the system is ready for setting
the other boundary.
SET AUTOPAN
To define the end point
1.
Once the above messages are displayed, deflect the joystick to the
position to be set as the end point;
2.
Enter code commands "93, SHOT" to set the current position as
the end point.
9
3
SHOT
How to call the AUTOPAN
1.
Place the key switch at the OPERATE position.
OPERATE
PROGRAM
MENU
2.
Enter code commands "98, SHOT" to call the AUTOPAN.
9
8
SHOT
Under INFINOVA protocol, there is another way to program the
start/end point and call up the autopan.
To define the start point
1. The joystick to move the camera to the position that is desired as
the start point;
2. Place the key switch at the PROGRAM position.
OPERATE
PROGRAM
MENU
5


