SEL-1FS1/SEL-2FS1 and SEL-1XD1/SEL-2XD1
Installation and Operation Manual
Installation, Operation, and Specifications
© 2015 Imagine Communications Corp.
Proprietary and Confidential.
Version 2.8 | Page 61
The
Open
dialog box displays.
6.
Select your existing logo file and click the
Open
button to open the logo in the
Static Logo
dialog
box.
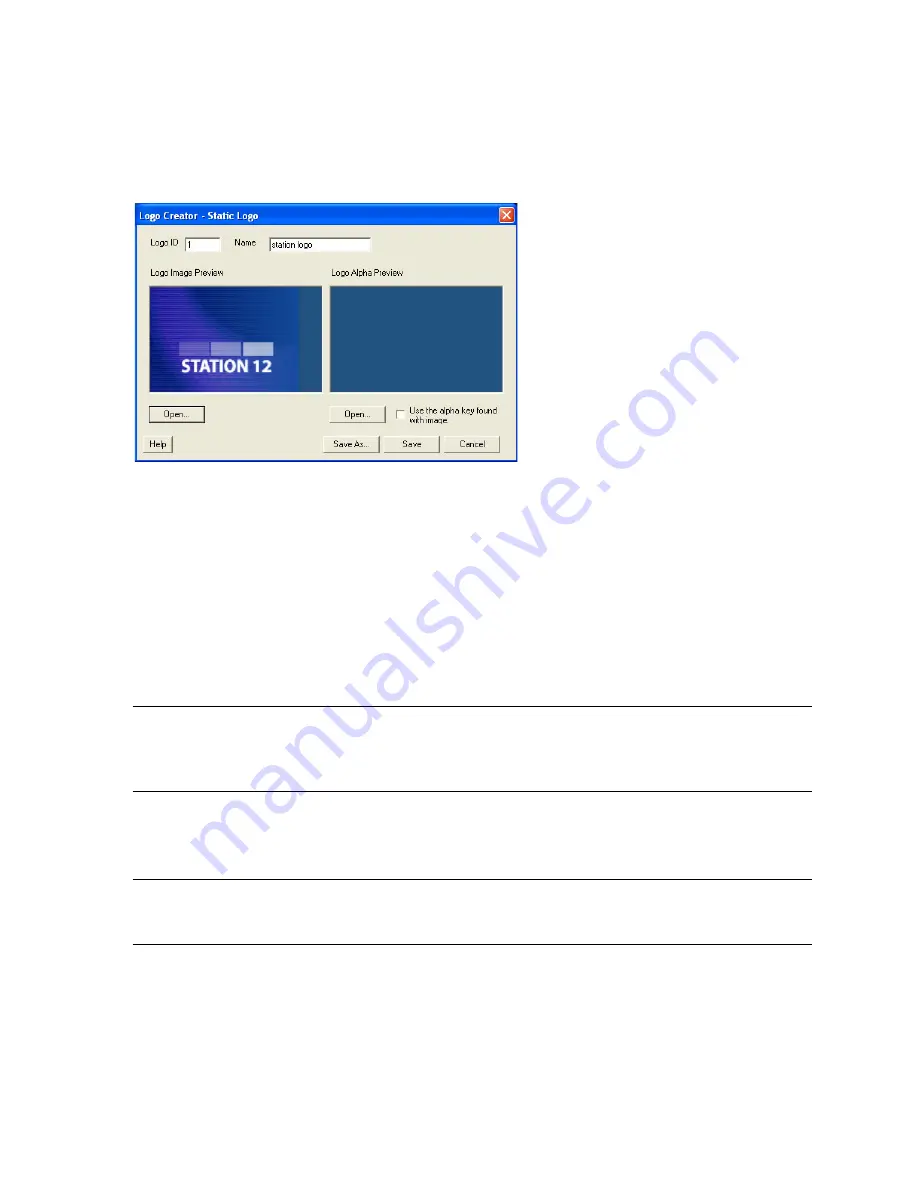
Figure 40:
Static Logo Dialog Box
A preview of the composited logo displays in the
Logo Image Preview
area.
A preview of the image alpha displays in the
Logo Alpha Preview
area if the file contains alpha.
7.
Select a file to use as the alpha channel for your logo.
You must select a file before you can save the logo.
To use the original image’s alpha channel, select the
Use the alpha key found with image
check
box.
To use a different image for the alpha channel, clear the
Use the alpha key found with image
check box, and then click the
Open
button to select a new file for your alpha channel.
Note
: An alpha channel is an 8-bit layer in a graphics file format that is used for expressing
translucency (transparency). Typically, you define the alpha channel on a per-object basis. Different
parts of an object will have different levels of transparency depending on how much background
you want to show through.
8.
Click the
Save
button in the
Static Logo dialog box
.
The
Save Logo File
dialog box opens where you can save your logo as a .mg2 file. Once you save the
logo as a .mg2 file, the logo displays in the LogoCreator workspace.
Note:
The
Logo Position
and
Opacity
controls on the LogoCreator software are not active. These
features are controlled by the
X Position
,
Y Position,
and
Transparency
parameters found in the FS1
and XD1 parameter list at
Video > Processing Channel 1 and 2 > Logo 1 and 2 > Raster x
.


